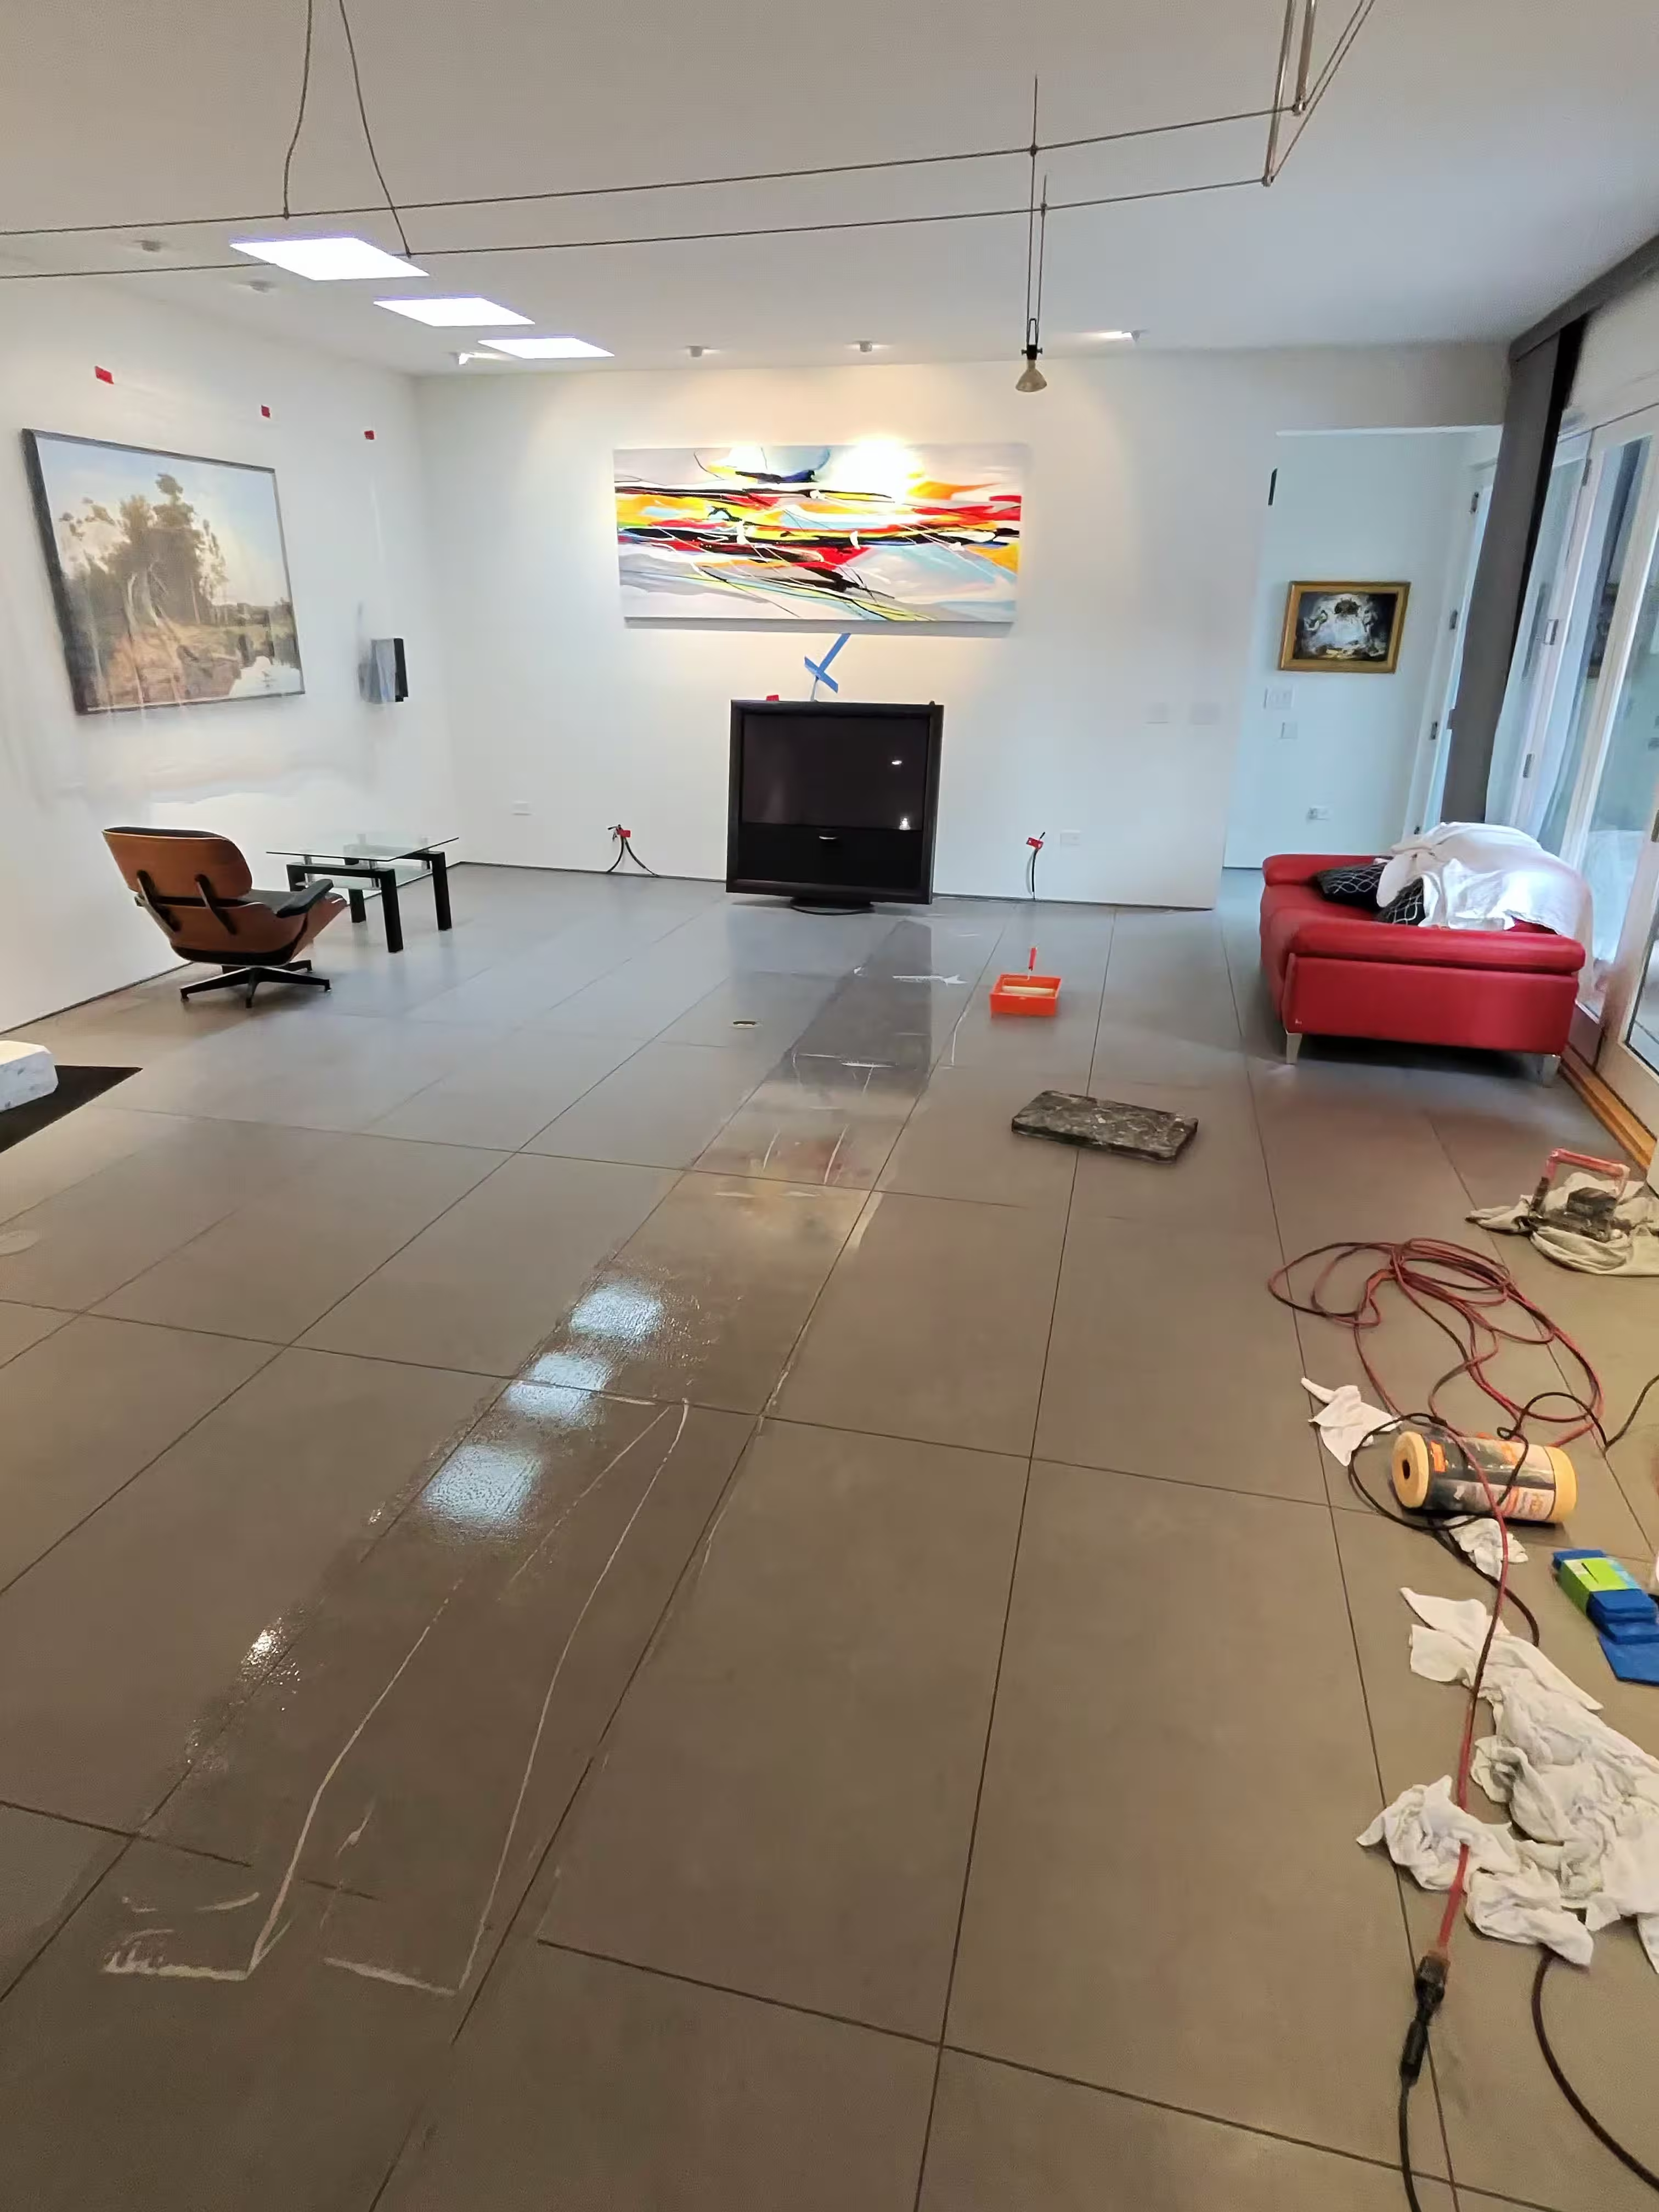
A persistent white film can remain on tile after using epoxy grout or pre-mixed products (such as brands like MAPEI). It's stubborn, but removable with a controlled, tile-safe process. Our technicians at South Denver Tile Experts apply a calibrated cleaning method that lifts the epoxy residue while protecting the tile's finish and surrounding grout.
Why Choose Professional Epoxy Grout Removal
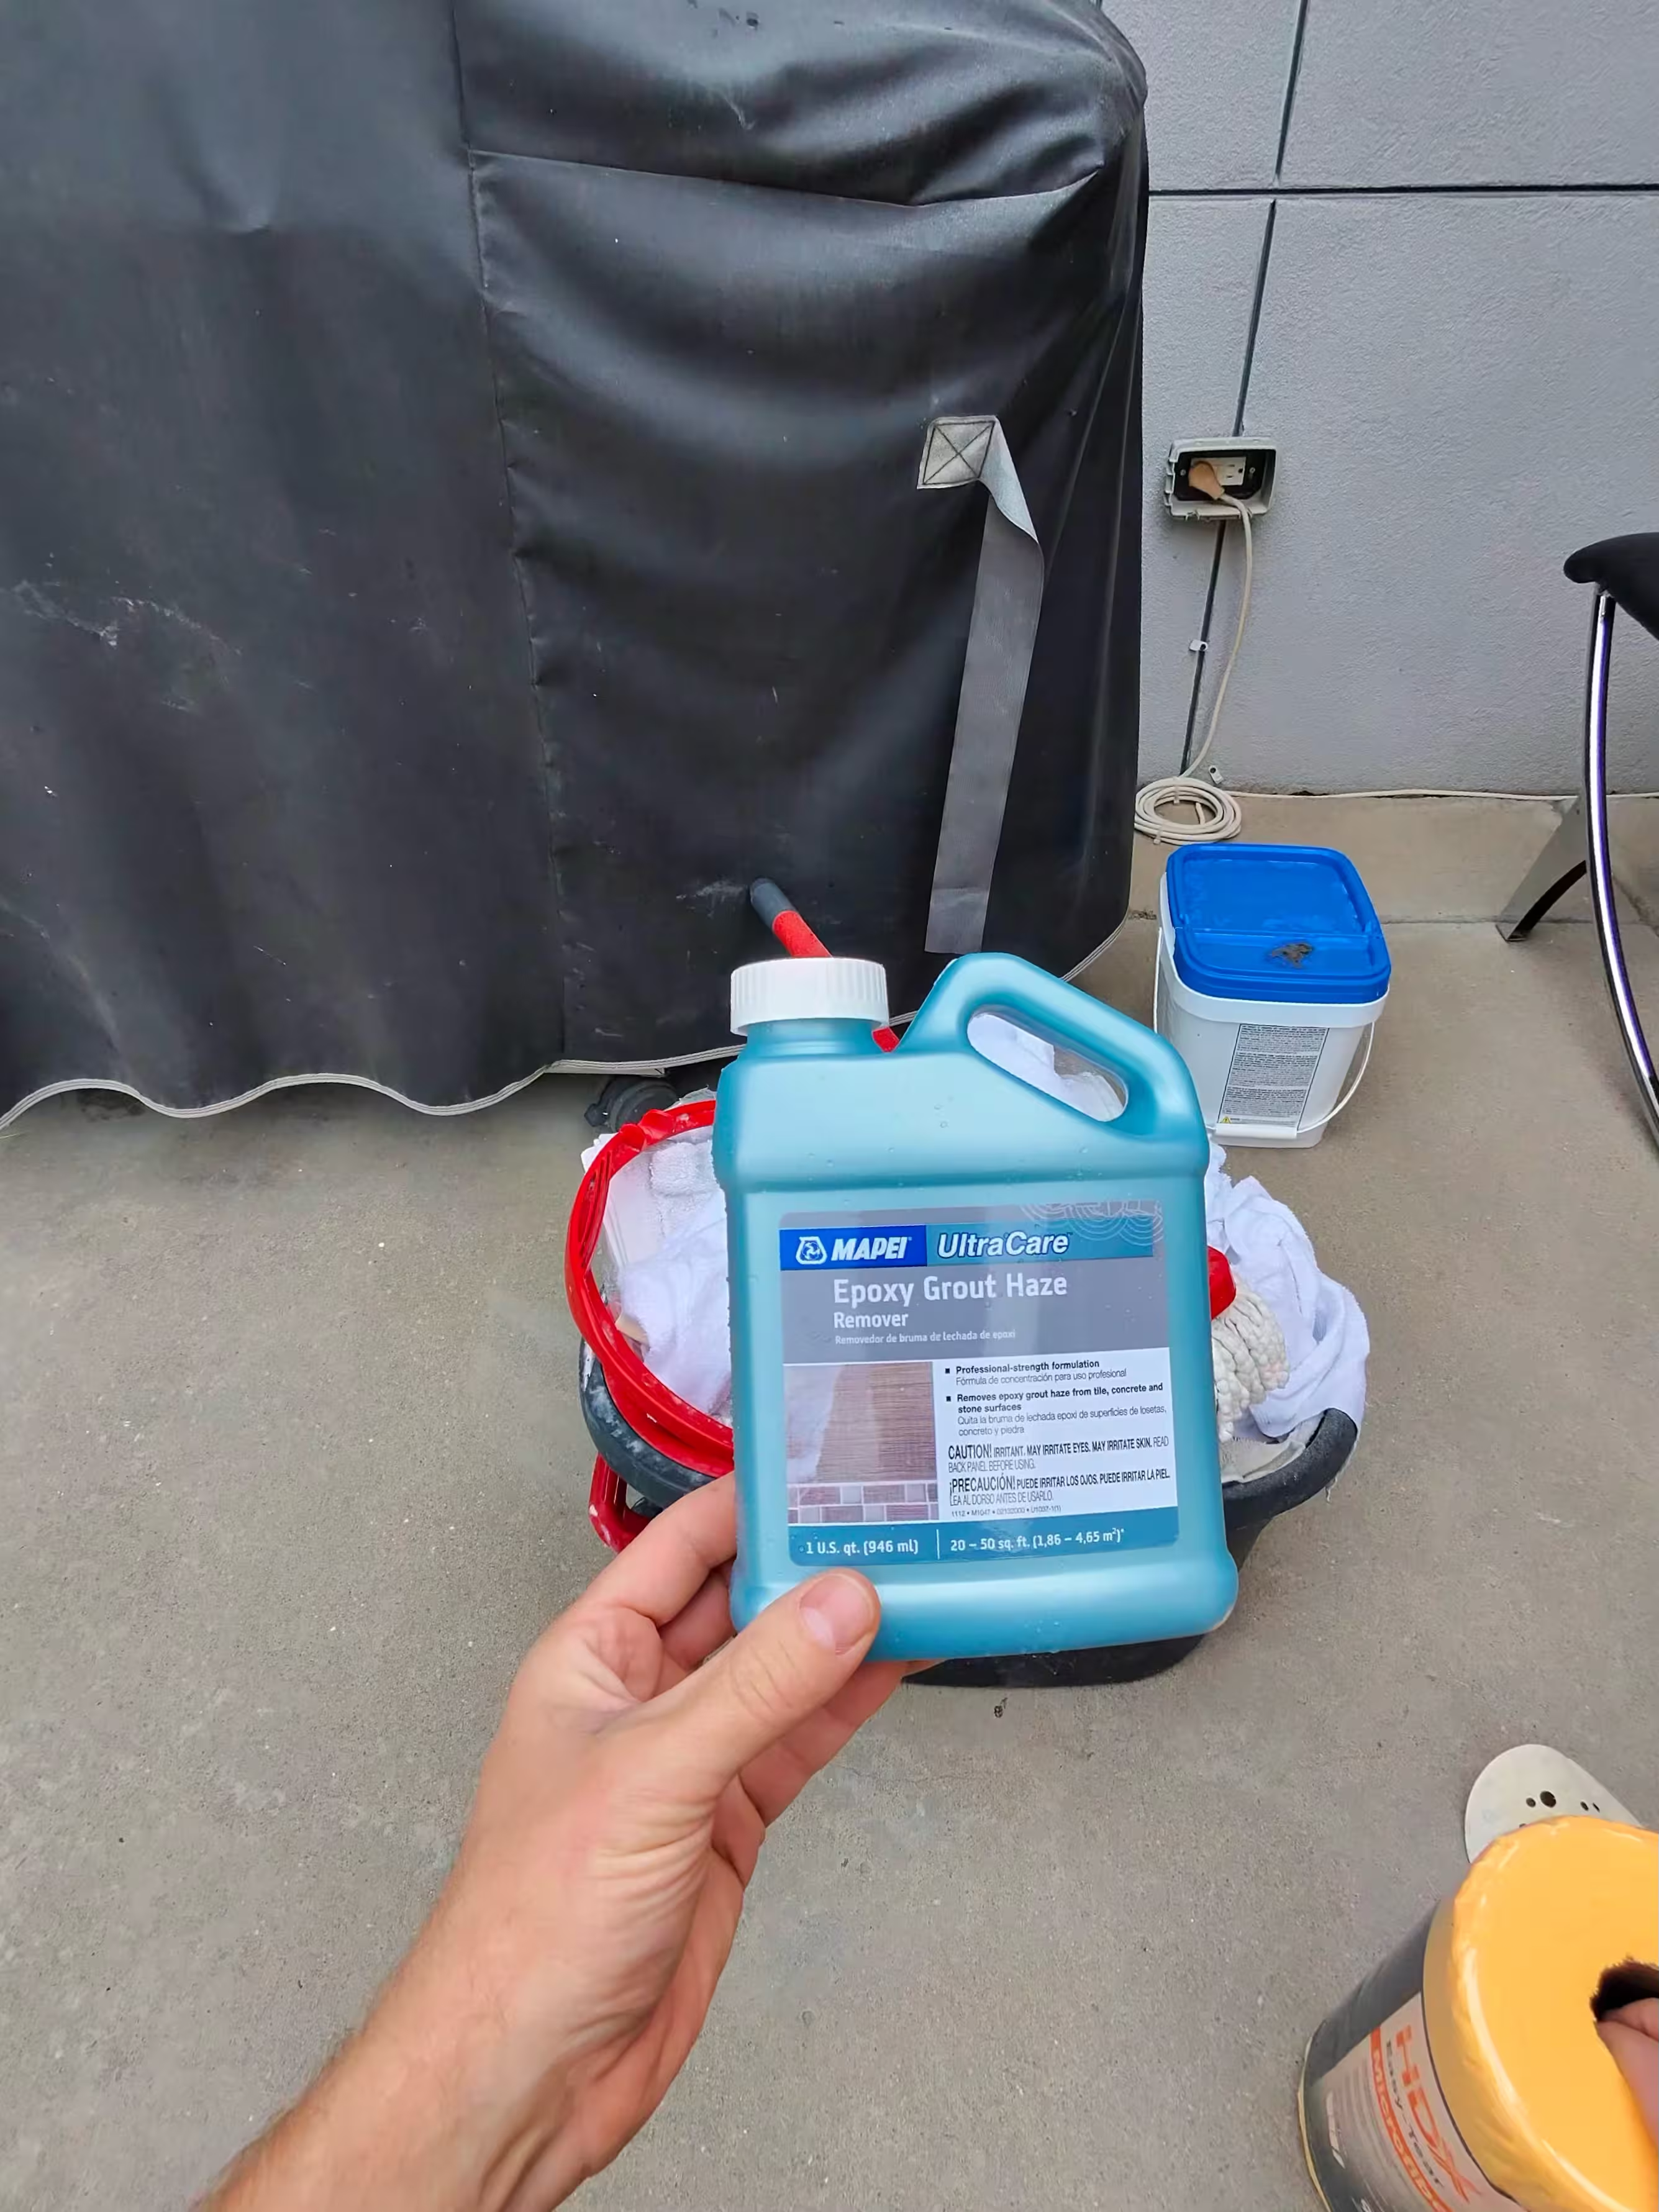
Professional-grade epoxy removal products and tools
Epoxy grout is incredibly durable and stain-resistant, but that same strength makes accidental residue extremely difficult to remove. DIY approaches often damage the tile surface, leave streaks, or fail to fully remove the haze. Professional removal ensures your tile looks pristine without risking costly damage.
Our team has worked extensively throughout South Denver metro areas, including communities like Fort Logan, where older homes often require delicate restoration work. Whether you're in Englewood dealing with commercial tile installations or Littleton with residential bathroom renovations, we bring proven expertise to every project.
Scope — What We Remove
Professional epoxy grout removal addresses several common issues that occur during and after tile installation:
- White residue/film ("epoxy haze") left after installing epoxy or pre-mixed grout
- Smears and drips on tile faces and edges
- Overfilled joints and ridges that catch light and dirt
- Residues around trims, drains, and thresholds
Note: Methods differ for cement-based haze vs. epoxy haze. We assess your specific situation and choose the safest effective approach for your surface type.
Our Professional Process (Step-by-Step)
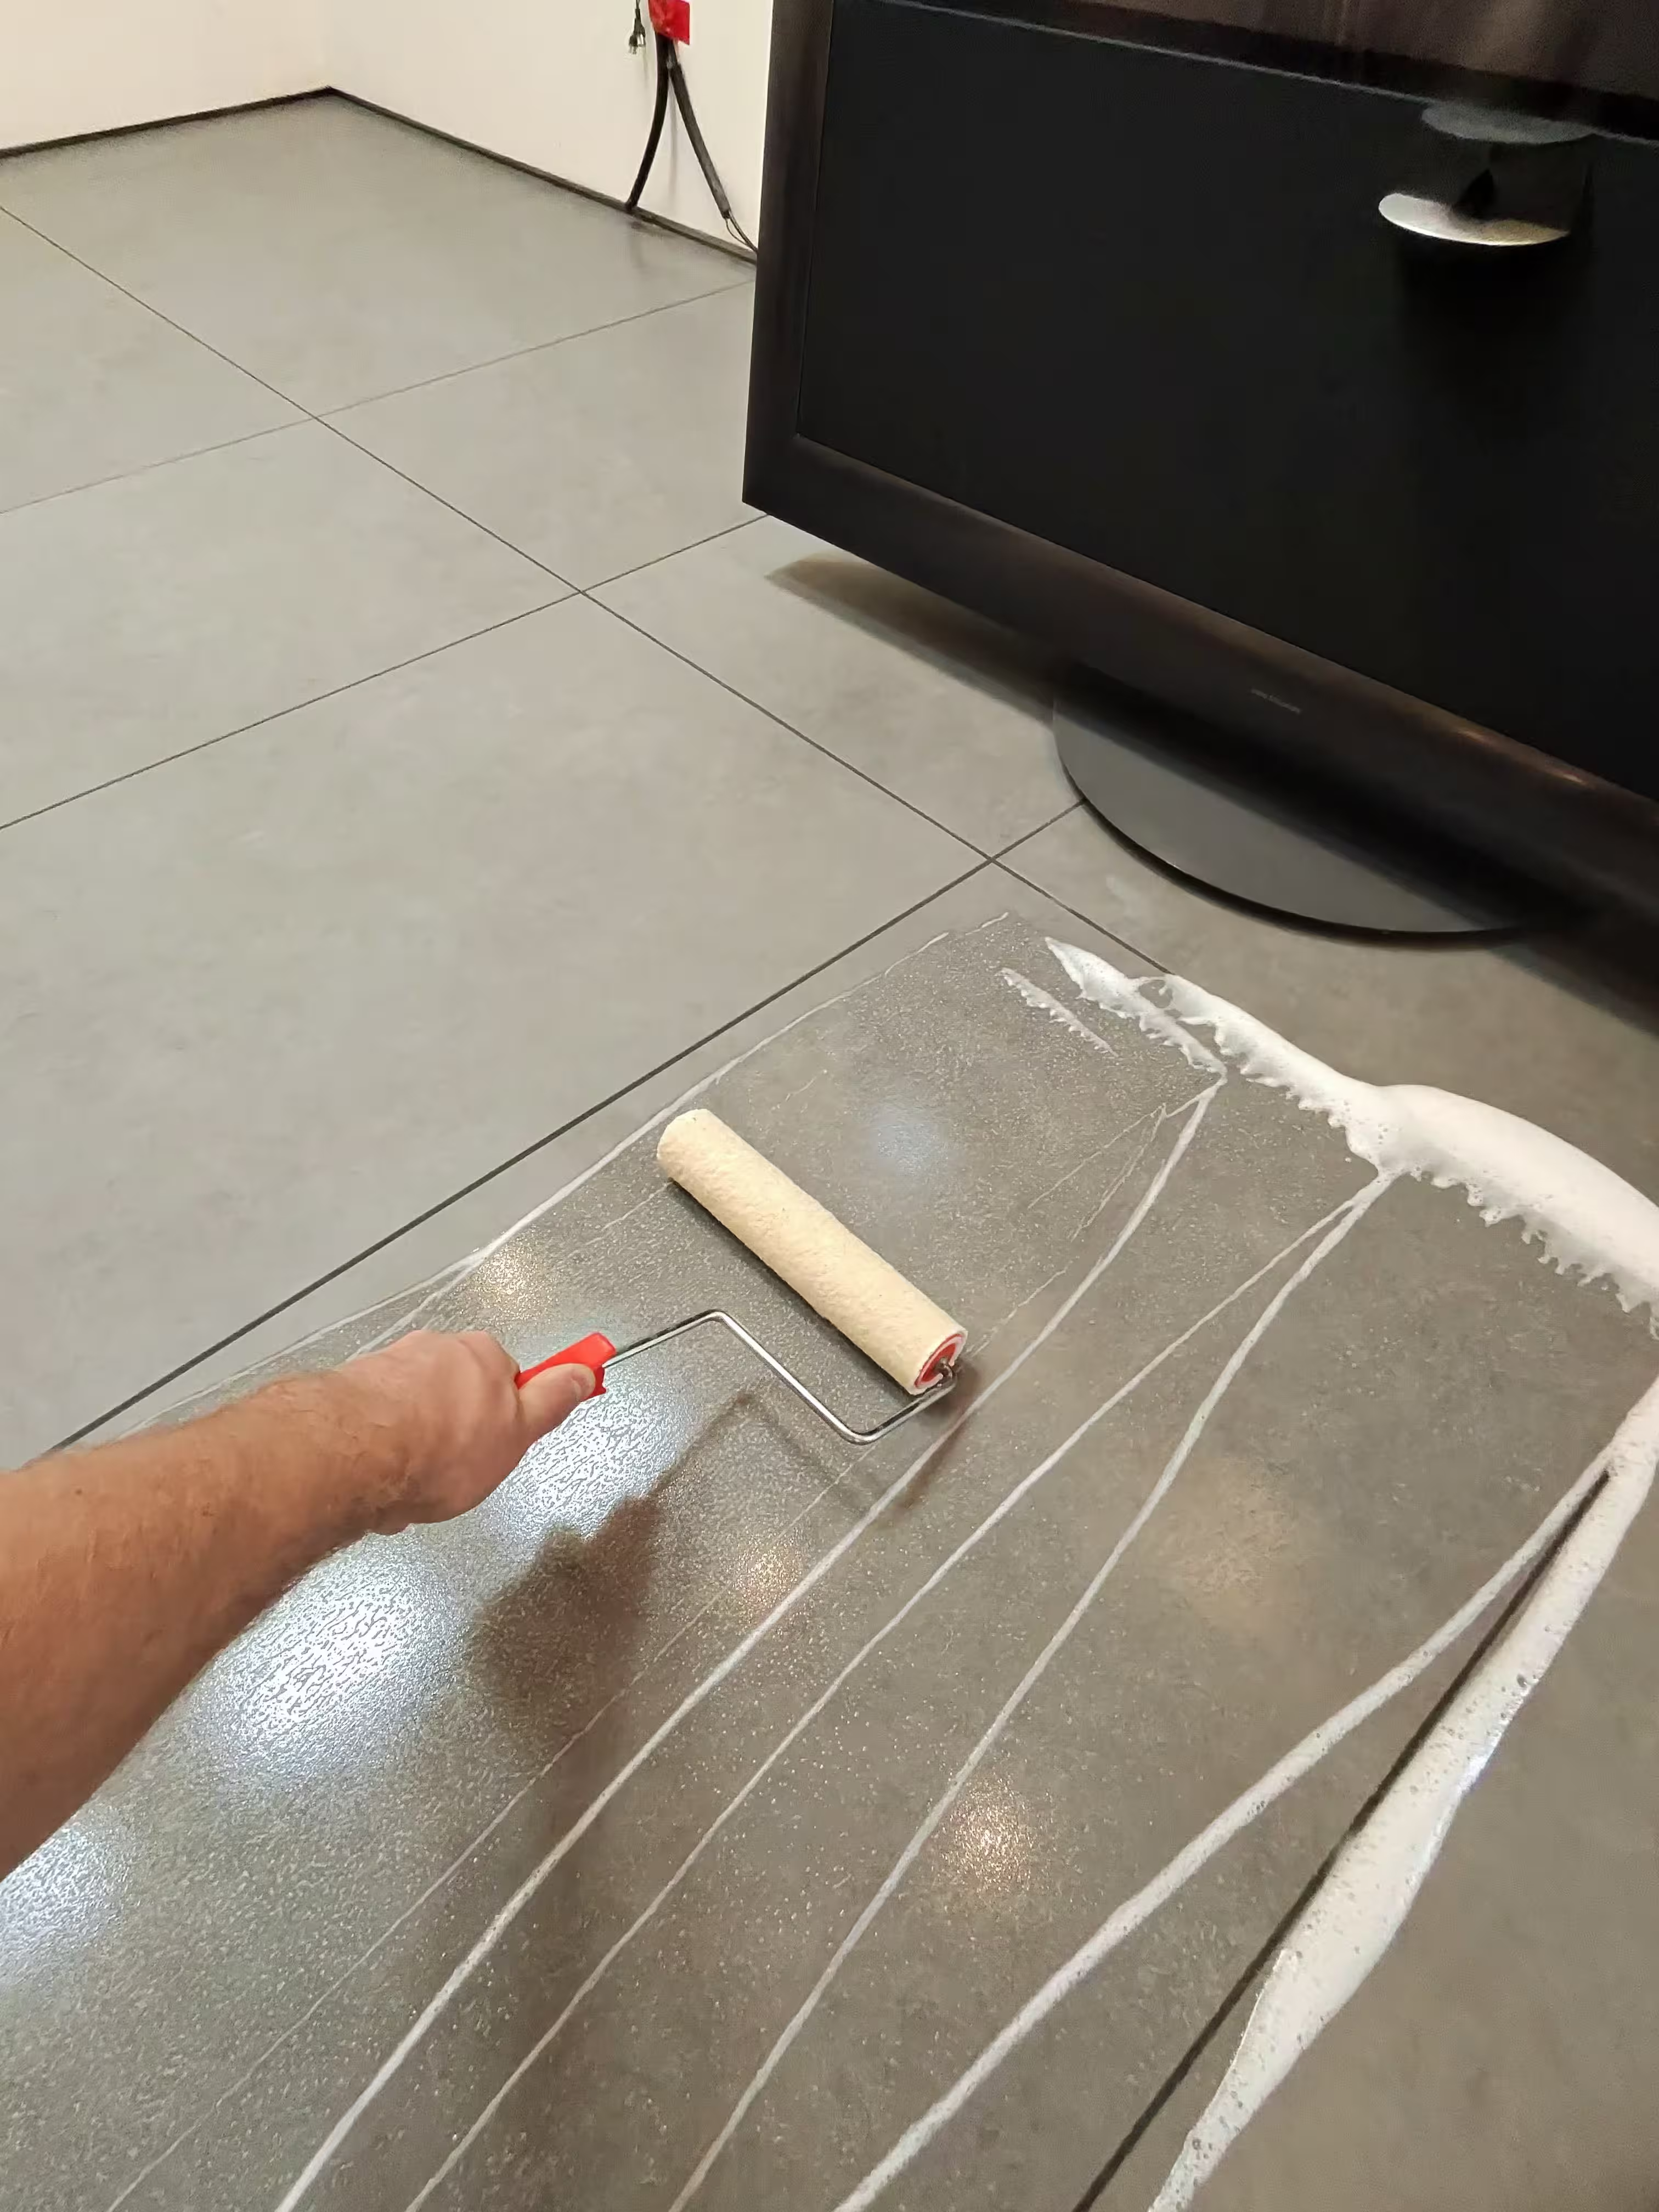
Step 1: Applying controlled acidic solution to loosen epoxy film
Important Safety Note: Do not use acidic solutions on acid-sensitive stone (e.g., marble, limestone, some travertines). For those surfaces we use stone-safe epoxy removers. Always test a small, inconspicuous area first.
- Apply a mild acidic cleaner where appropriate — For ceramic/porcelain tiles with white epoxy film, a 5%–10% vinegar (acetic acid) solution may be used. We roll the solution evenly over the tile surface to wet out the film.
- Dwell time — Allow 3–5 minutes for the solution to work. Do not let it dry; re-wet if needed.
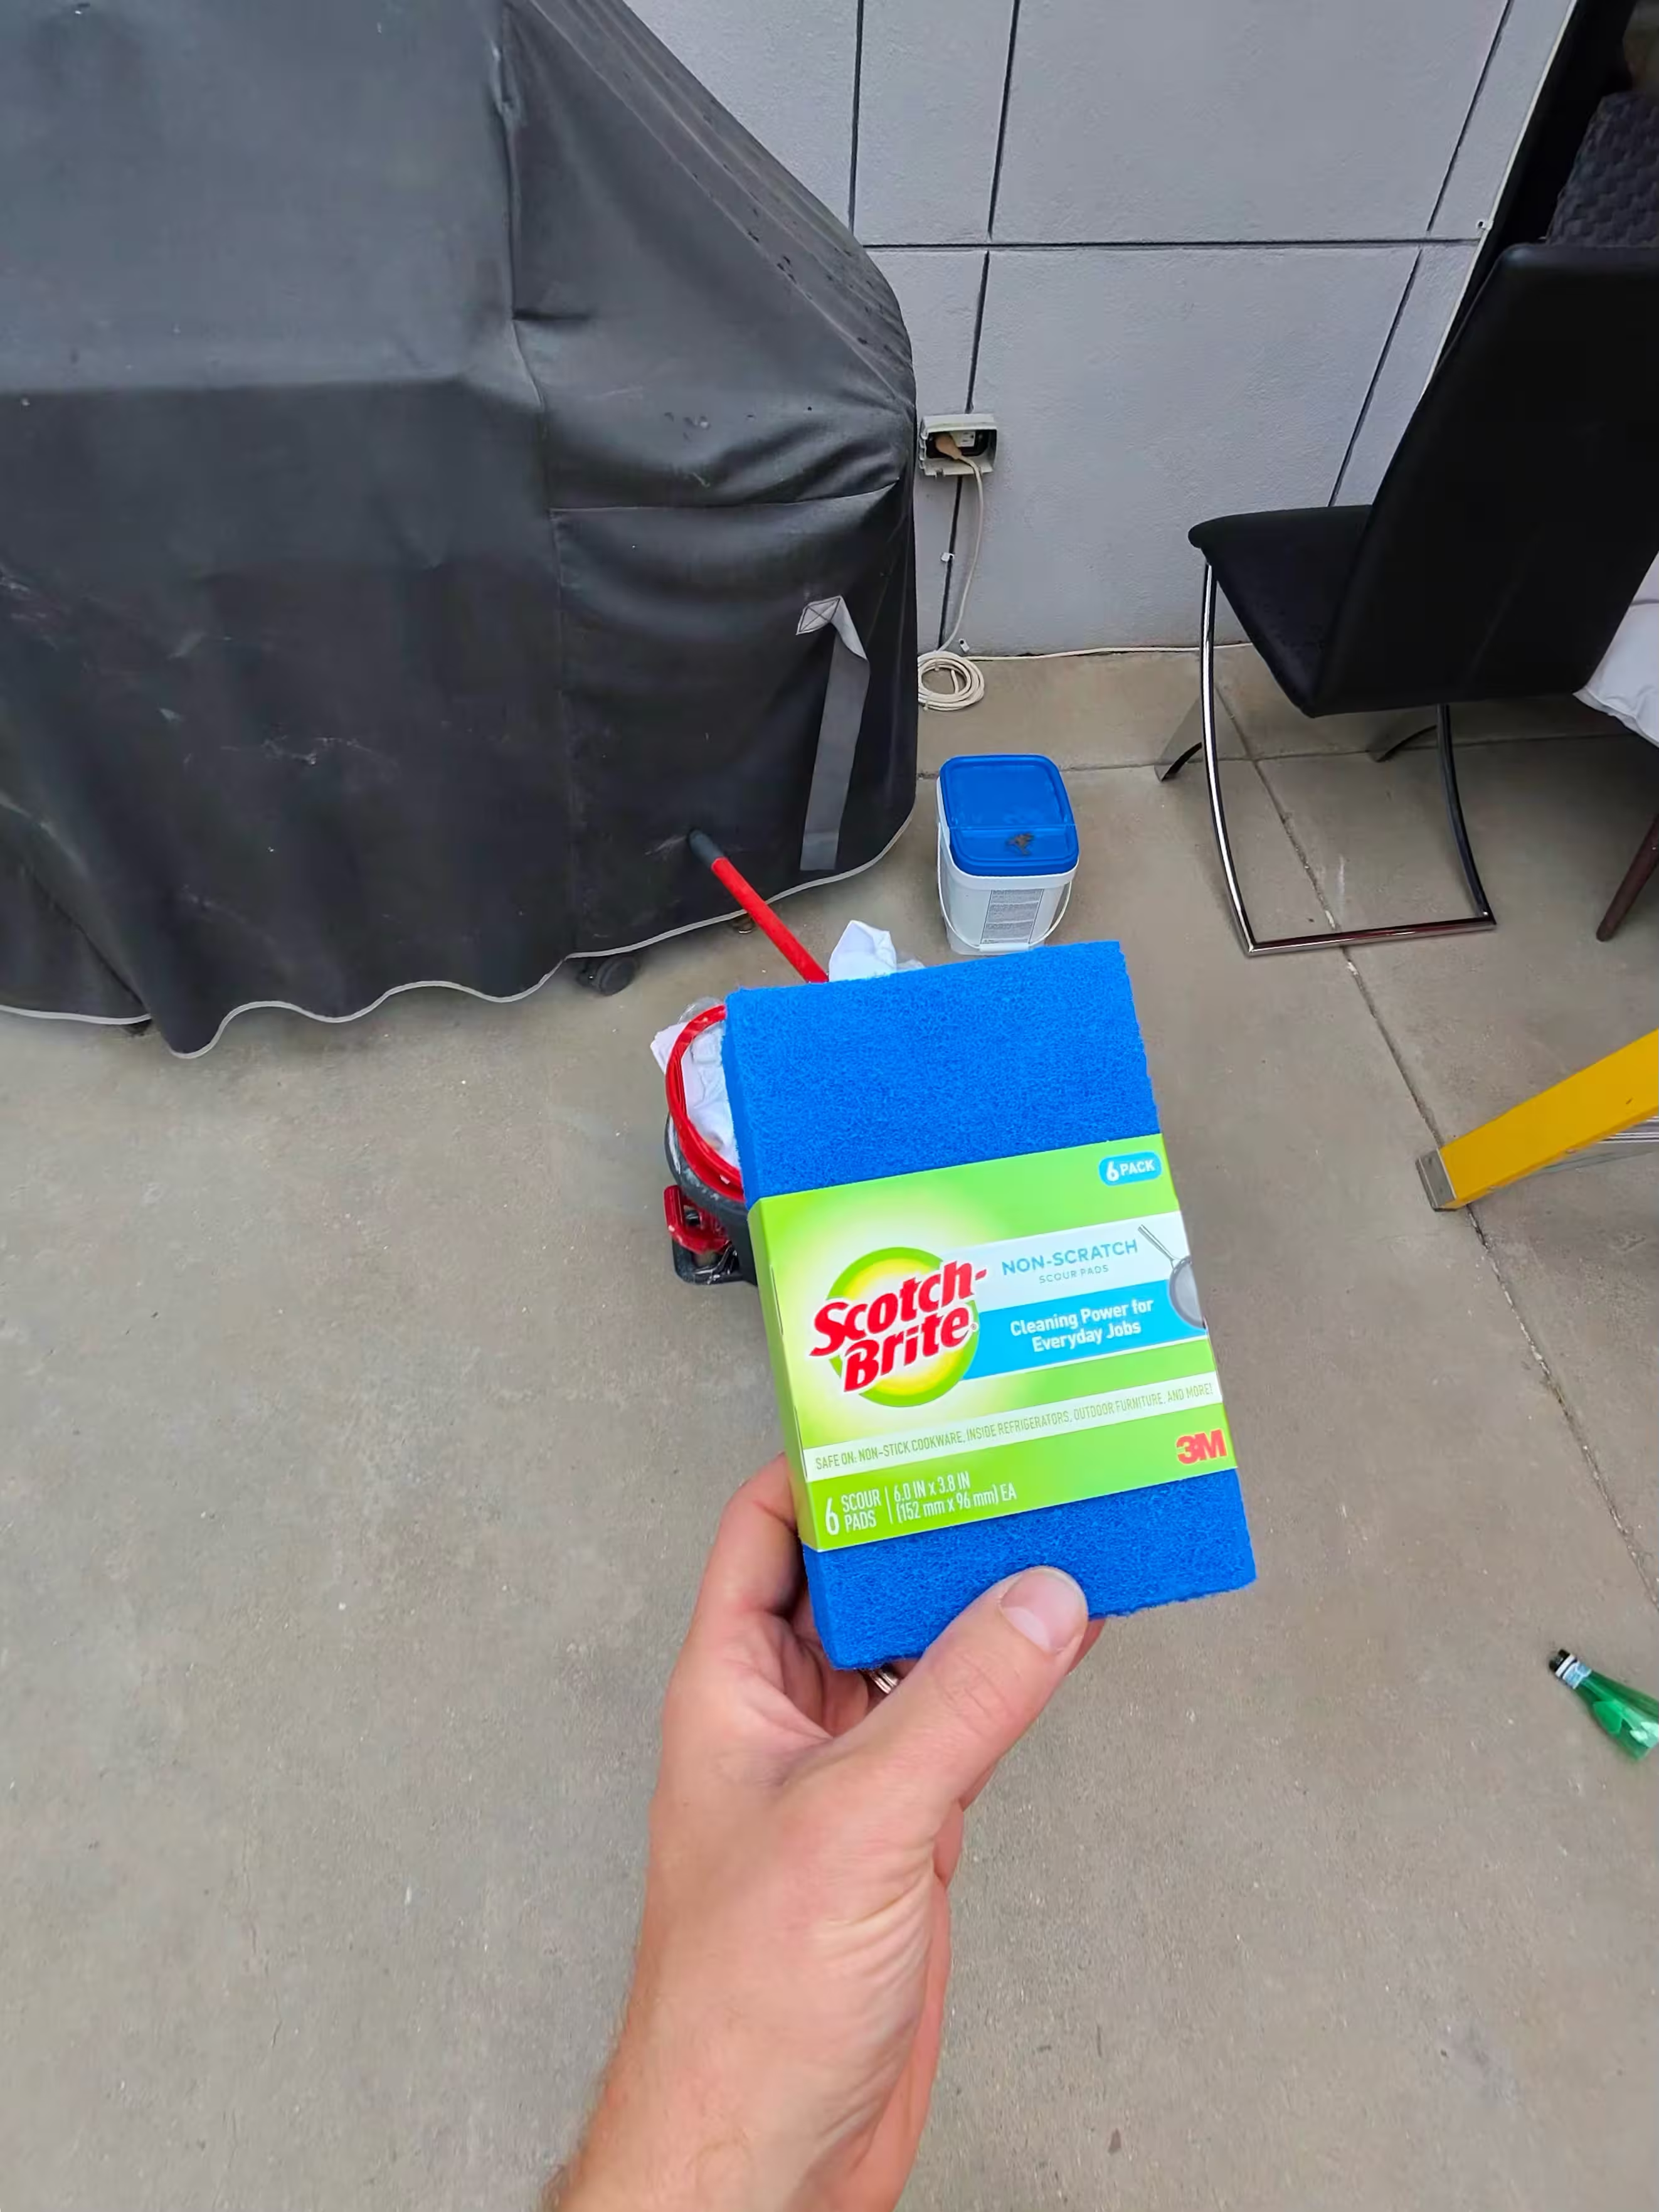
- Gentle agitation — Using a soft, non-scratch (blue) pad/sponge, we rub the surface in circular motions to loosen the residue.
- Lift and wipe — As the film releases, we wipe with clean microfiber to collect the slurry and prevent re-depositing.
- Rinse thoroughly — Rinse the area with clean water and wipe dry. A second rinse ensures chemistry is neutralized and any loosened residue is removed.
- Compare and refine — We compare treated vs. untreated sections under raking light and repeat localized steps as needed for a uniform finish.
This process is labor-intensive but delivers the most consistent results on suitable tile types. For heavy or fully cured epoxy smears, we supplement with tile-safe gel removers and mechanical detailing with protective shims.
Tools and Materials We Use
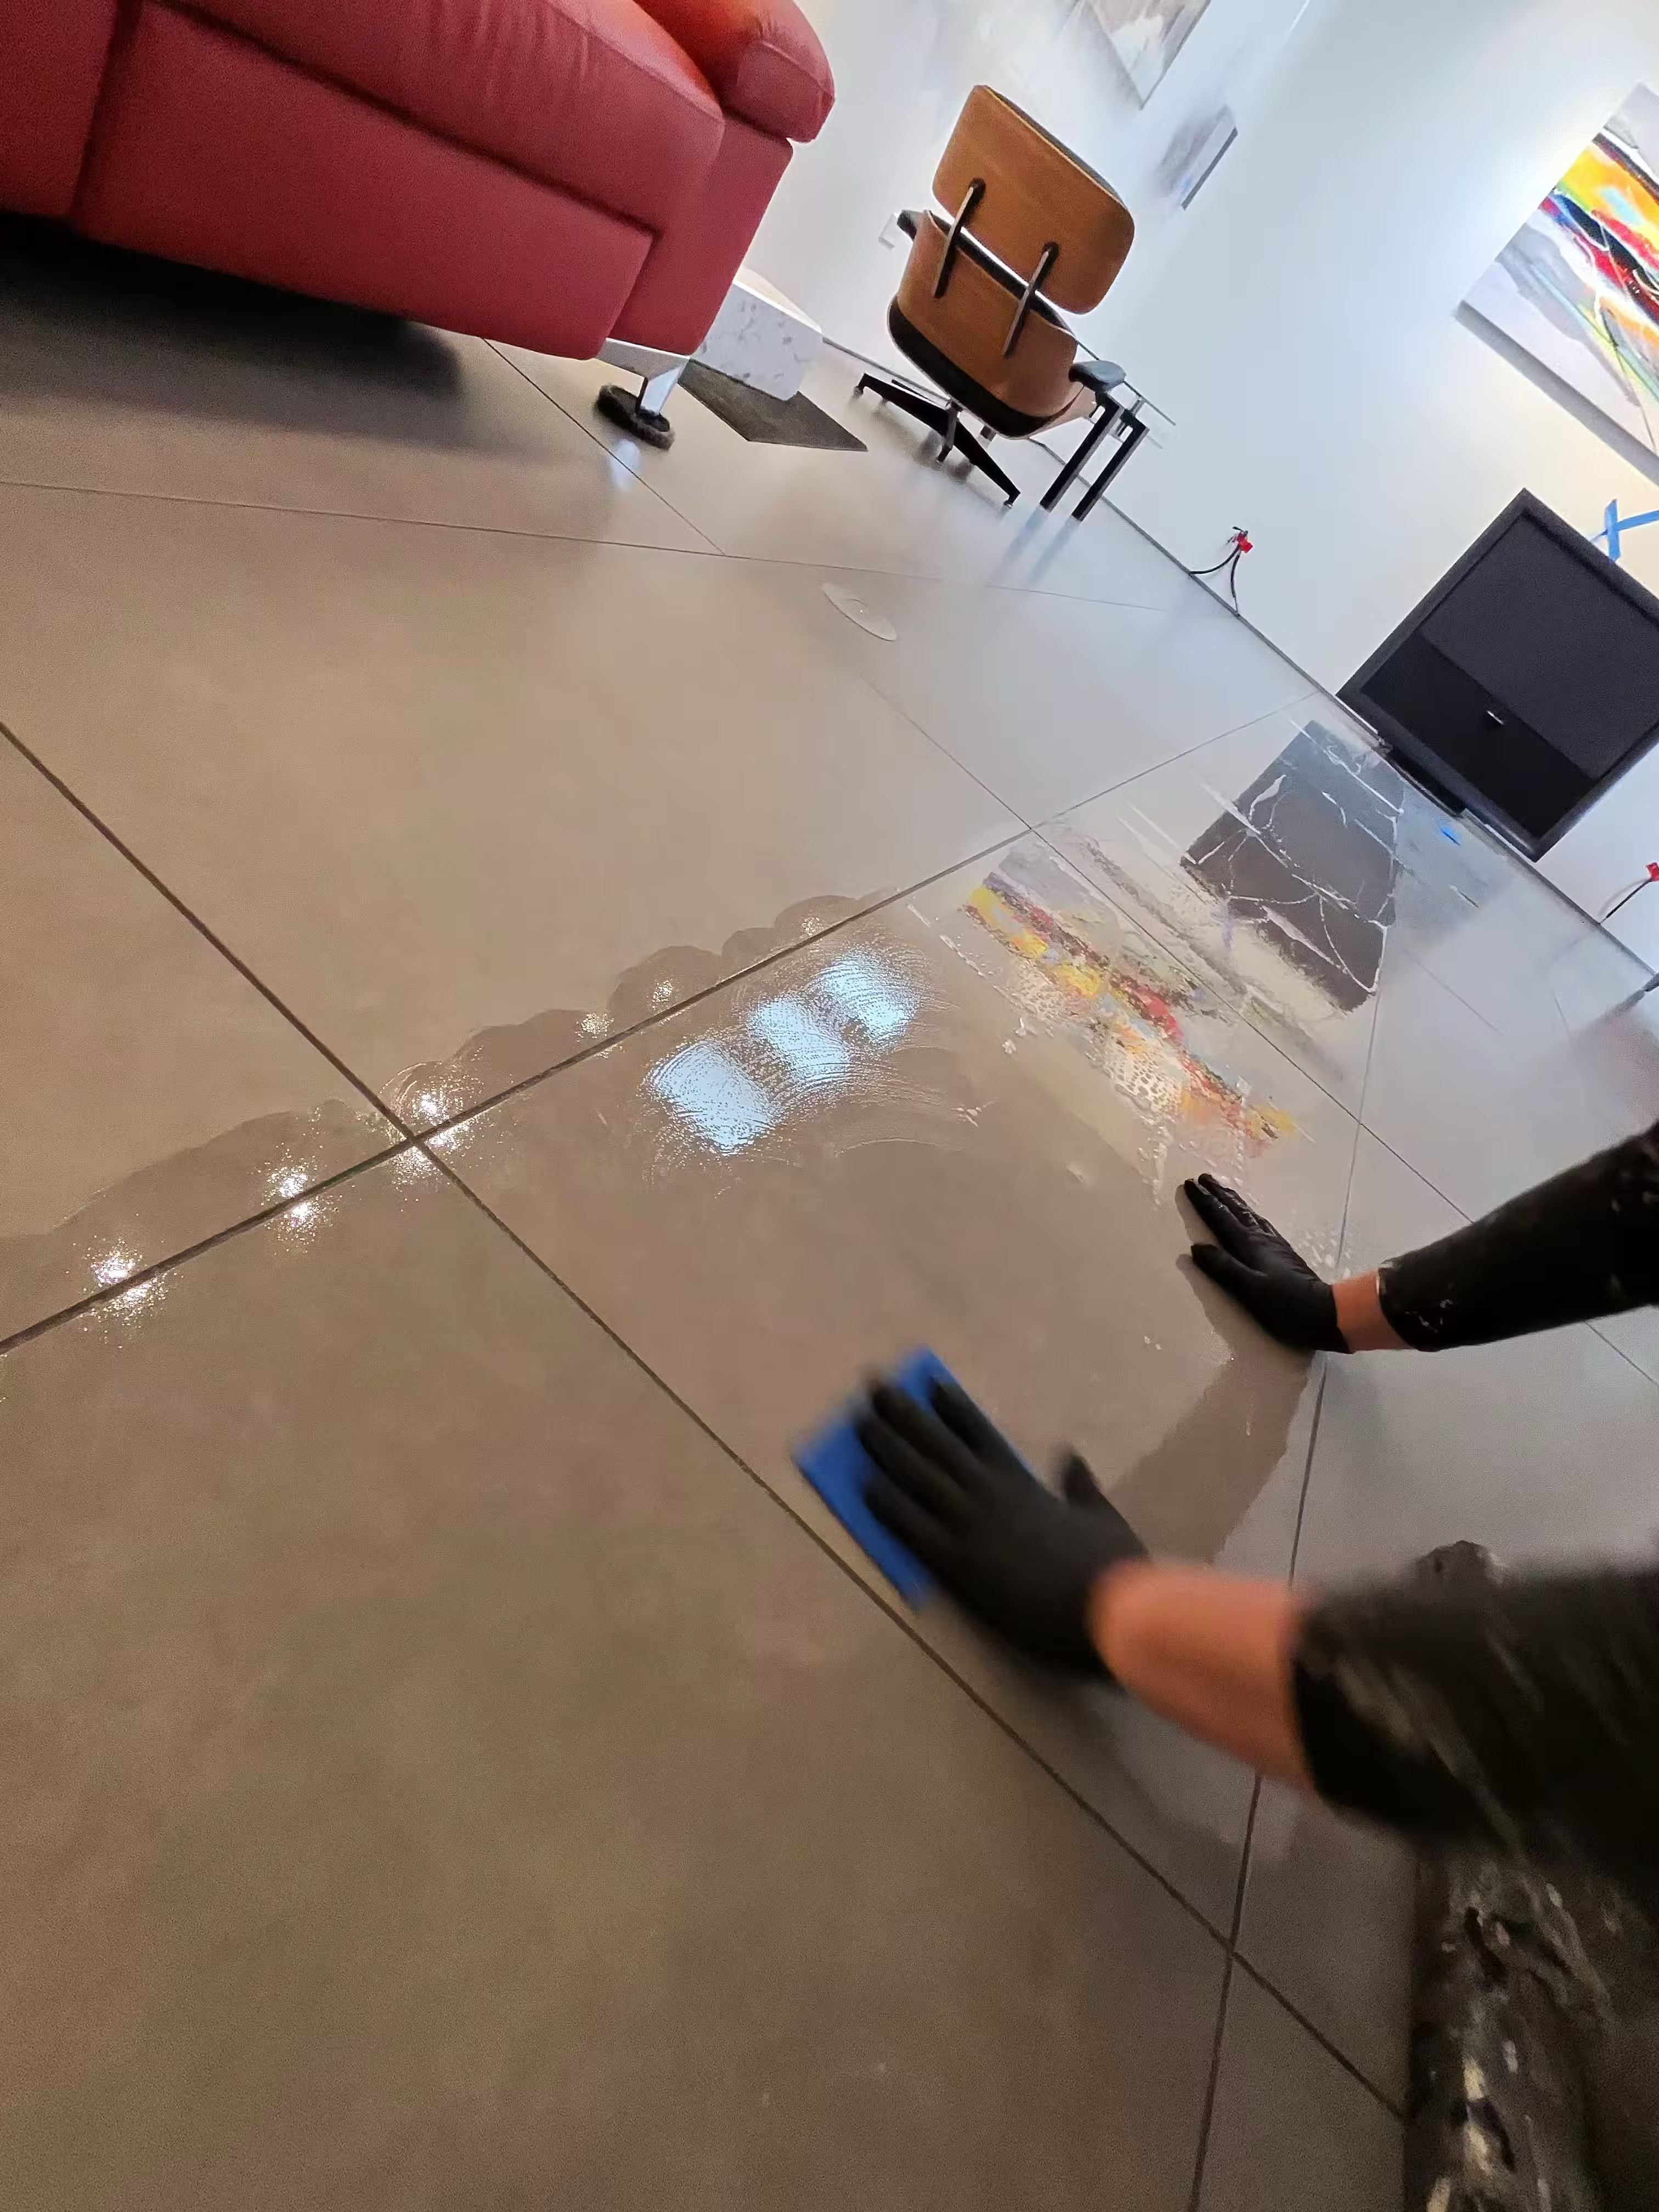
Soft blue sponge provides gentle agitation without scratching tile surfaces
Professional epoxy removal requires specialized tools and materials to achieve safe, effective results:
Primary Cleaning Tools
- Soft non-scratch blue sponges/pads for gentle agitation
- High-quality microfiber cloths for residue pickup
- Professional spray bottles for controlled application
- Clean water buckets for multiple rinse cycles
Cleaning Solutions
- 5%–10% vinegar (acetic acid) solution for ceramic/porcelain
- pH-neutral cleaners for natural stone
- Specialized epoxy removal gels for heavy buildup
- Stone-safe chemistry for acid-sensitive materials
Surfaces We Work On
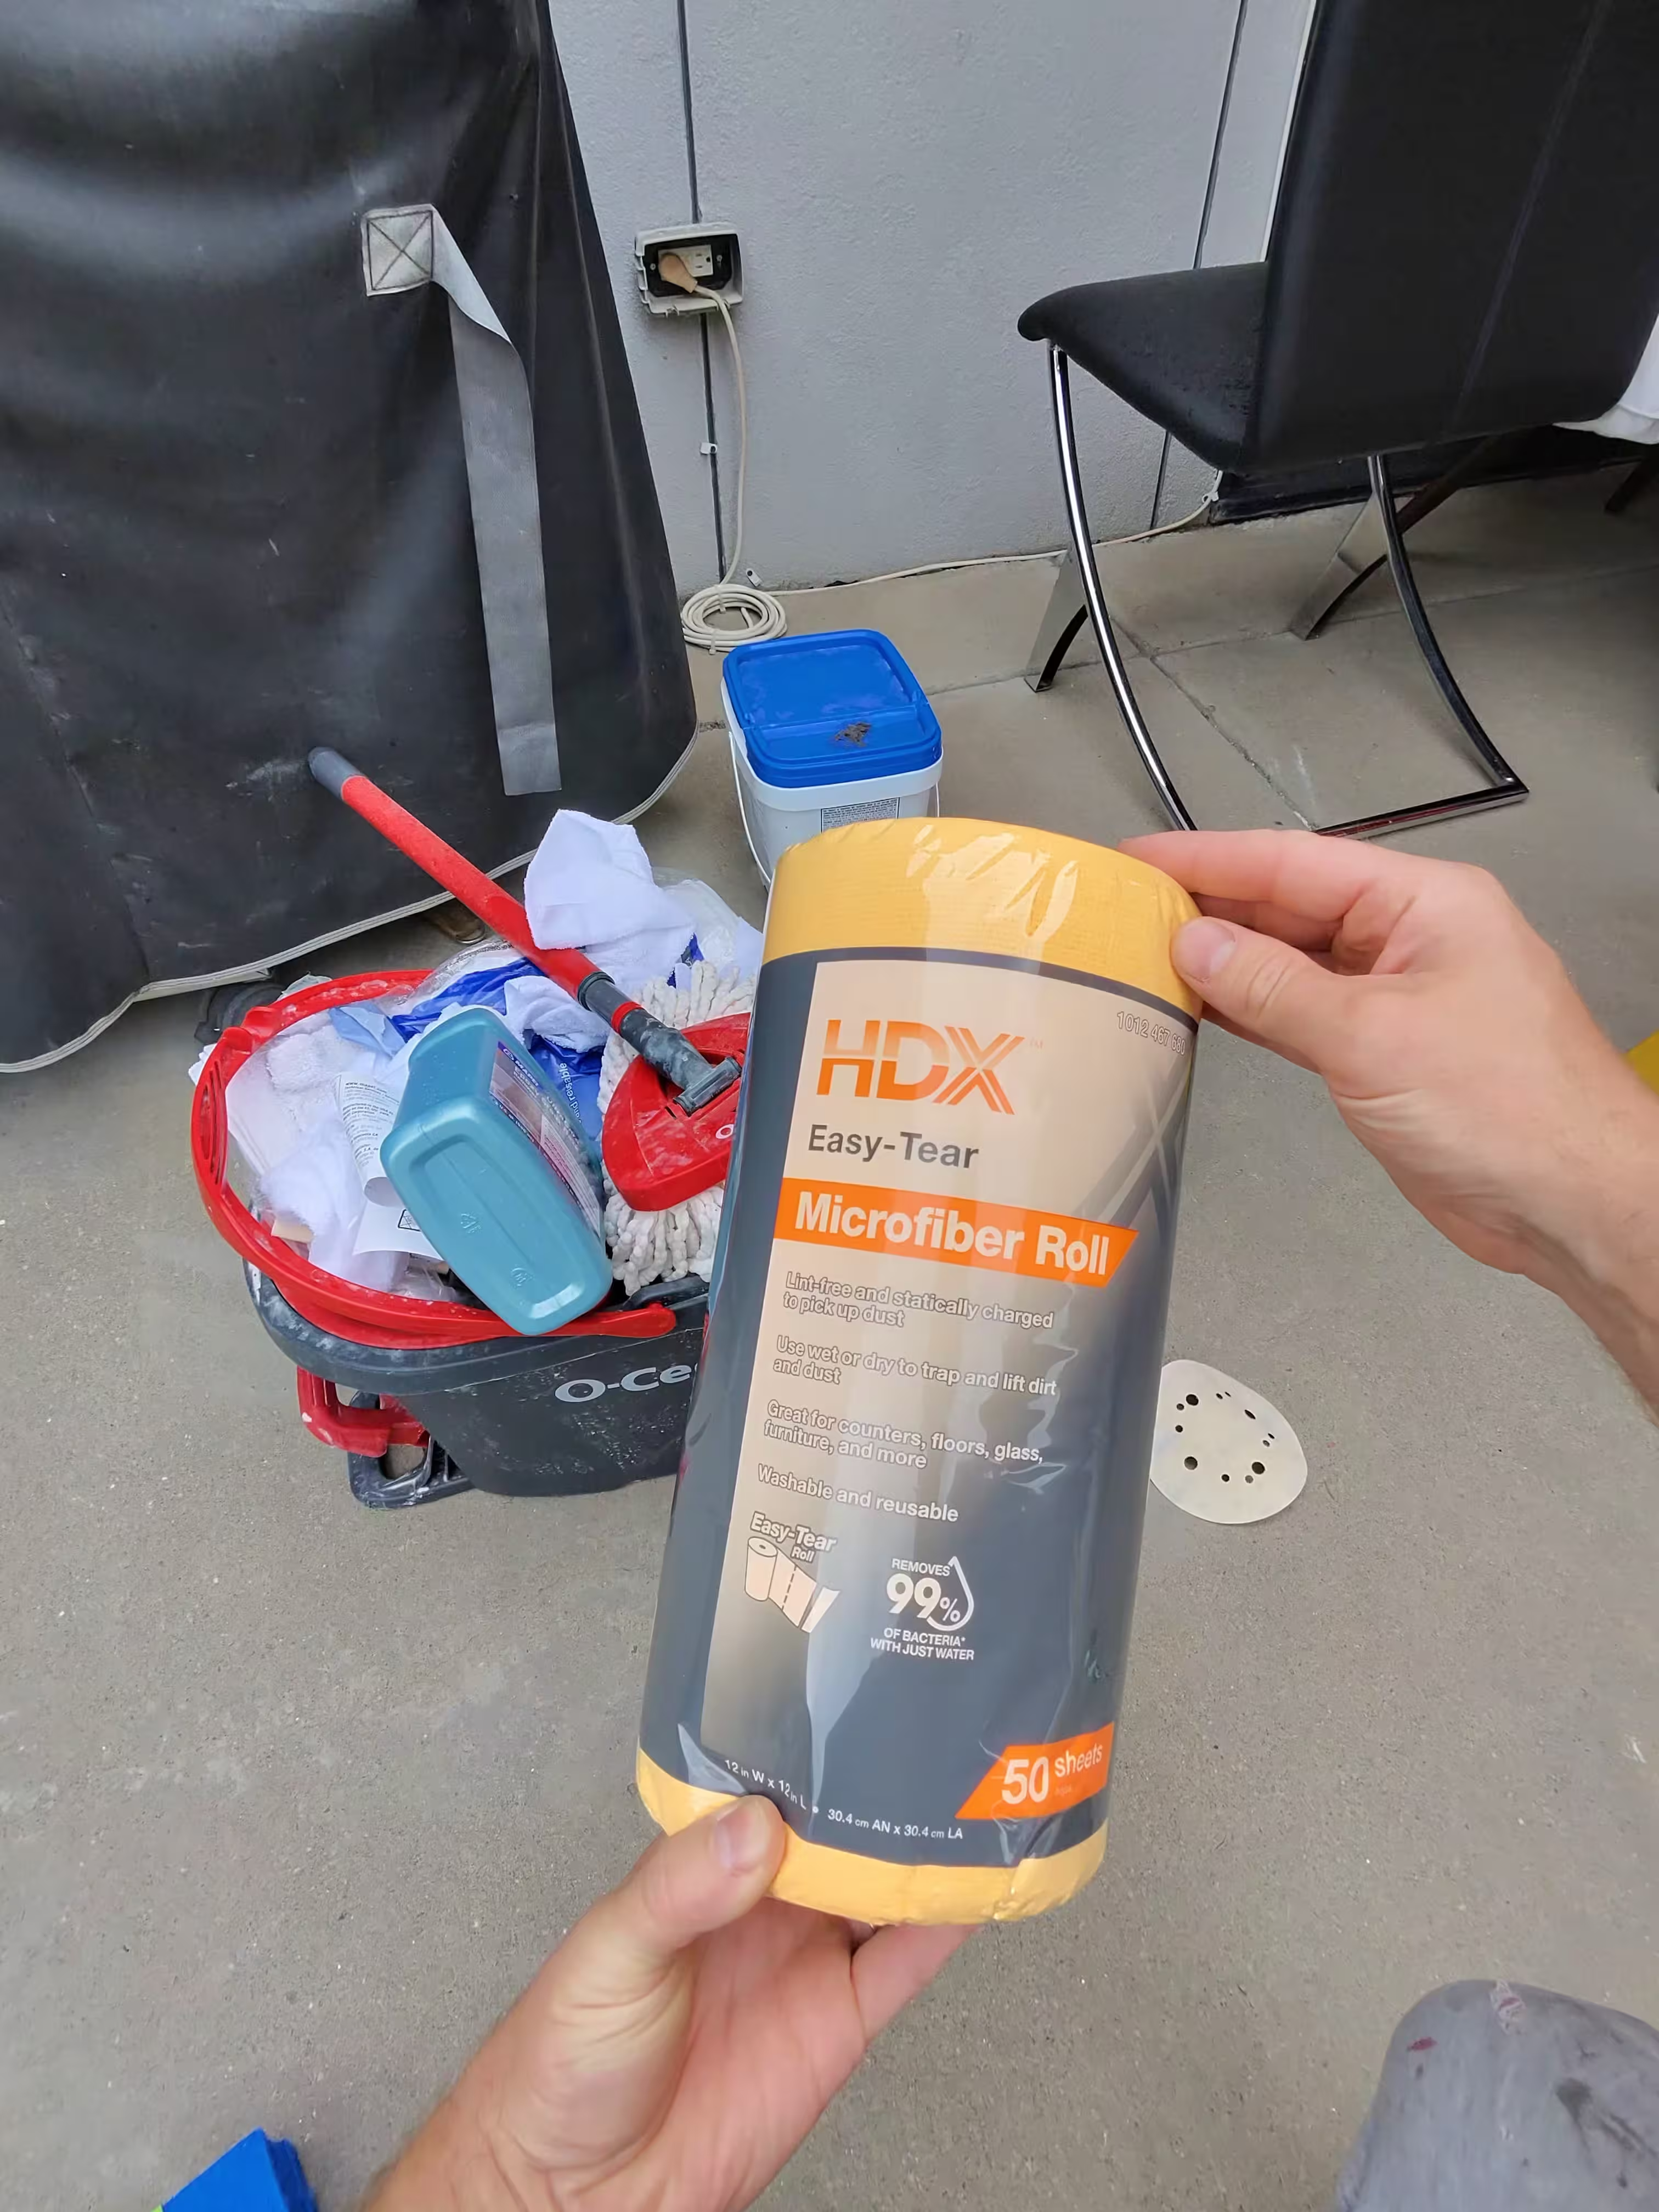
Professional-grade microfiber for streak-free tile restoration
Our epoxy grout removal service works safely on most tile surfaces when using appropriate methods for each material:
Safe for Acidic Treatment:
- Ceramic tile (glazed and unglazed)
- Porcelain tile (polished, matte, and textured)
- Glass tile and glass mosaics
- Quarry tile and terracotta (sealed)
Requires Stone-Safe Methods:
- Marble (all varieties)
- Limestone and travertine
- Onyx and other calcite-based stones
- Polished granite (some varieties)
Specialty Surfaces:
- Slate and sandstone (varies by type)
- Cement and encaustic tiles
- Metal inlays and decorative borders
- Mixed-material installations
When Epoxy Removal Makes Sense
Professional epoxy grout removal is the right solution in several common scenarios:
Post-Installation Cleanup
The most common need arises immediately after tile installation. Even experienced installers can leave epoxy haze, especially on large format tiles or complex patterns. Professional removal within 24-72 hours prevents the film from becoming permanently bonded.
Renovation and Restoration
When purchasing a home or updating older tile work, you may discover aged epoxy residue that previous owners couldn't remove. Professional techniques can often restore tile to like-new condition, increasing property value and aesthetic appeal.
Commercial Applications
Restaurants, hotels, and retail spaces require pristine tile appearance. Professional removal ensures your commercial tile meets the highest standards for client-facing areas.
Pre-Sale Preparation
Before listing your property, professional tile restoration—including epoxy haze removal—can significantly improve buyer impressions and potentially increase sale price.
Pricing & Timeframes
Controlled mechanical removal for stubborn epoxy deposits
Cost Factors
Epoxy grout removal pricing depends on several variables:
- Square footage of affected area
- Severity of epoxy buildup (light haze vs. heavy smears)
- Tile type (porcelain vs. natural stone requires different approaches)
- Accessibility (floor vs. wall vs. ceiling applications)
- Age of epoxy residue (fresh vs. fully cured)
Typical Timelines
- Small bathroom (50-75 sq ft): 2-4 hours
- Standard bathroom (100-150 sq ft): 4-6 hours
- Large floor area (300+ sq ft): Full day or multiple visits
- Commercial spaces: Estimated after site assessment
For an accurate quote, contact South Denver Tile Experts at 720-717-3990. We provide free estimates with a detailed scope, preparation checklist, and scheduling within 24 hours.
Prep Checklist (For Homeowners & Contractors)
Proper preparation ensures the most efficient and effective epoxy removal:
Before Our Arrival:
- Clear the work area of furniture, bath mats, and decorative items
- Remove or protect nearby surfaces that shouldn't get wet
- Ensure adequate ventilation (open windows or run exhaust fans)
- Provide access to clean water source and drainage
- Identify any tile damage or loose grout for separate attention
For New Installations:
- Wait minimum 24 hours after epoxy grout application
- Document areas of concern with photos
- Ensure installer has completed initial cleanup
- Protect adjacent finished surfaces
- Schedule removal before final construction walkthrough
Health & Safety Considerations
Our professional approach prioritizes safety for both our technicians and your household:
Ventilation
We ensure proper air circulation during all cleaning processes. While our solutions are relatively mild, adequate ventilation speeds drying and prevents any chemical odor buildup.
Chemical Safety
- All cleaning solutions stored and handled per manufacturer guidelines
- pH-balanced rinses neutralize any acidic residues
- Low-VOC products minimize indoor air quality impact
- Complete area rinsing prevents chemical residue
Physical Safety
- Wet floor warnings and barriers during service
- Complete drying before allowing foot traffic
- Slip-resistant techniques for all tile types
- Protection of surrounding surfaces and fixtures
Pet and Child Safety
We recommend keeping pets and children away from the work area during service and until surfaces are completely dry (typically 2-4 hours). All cleaning products are thoroughly rinsed, leaving no harmful residues.
Real Projects (Case Snapshots)
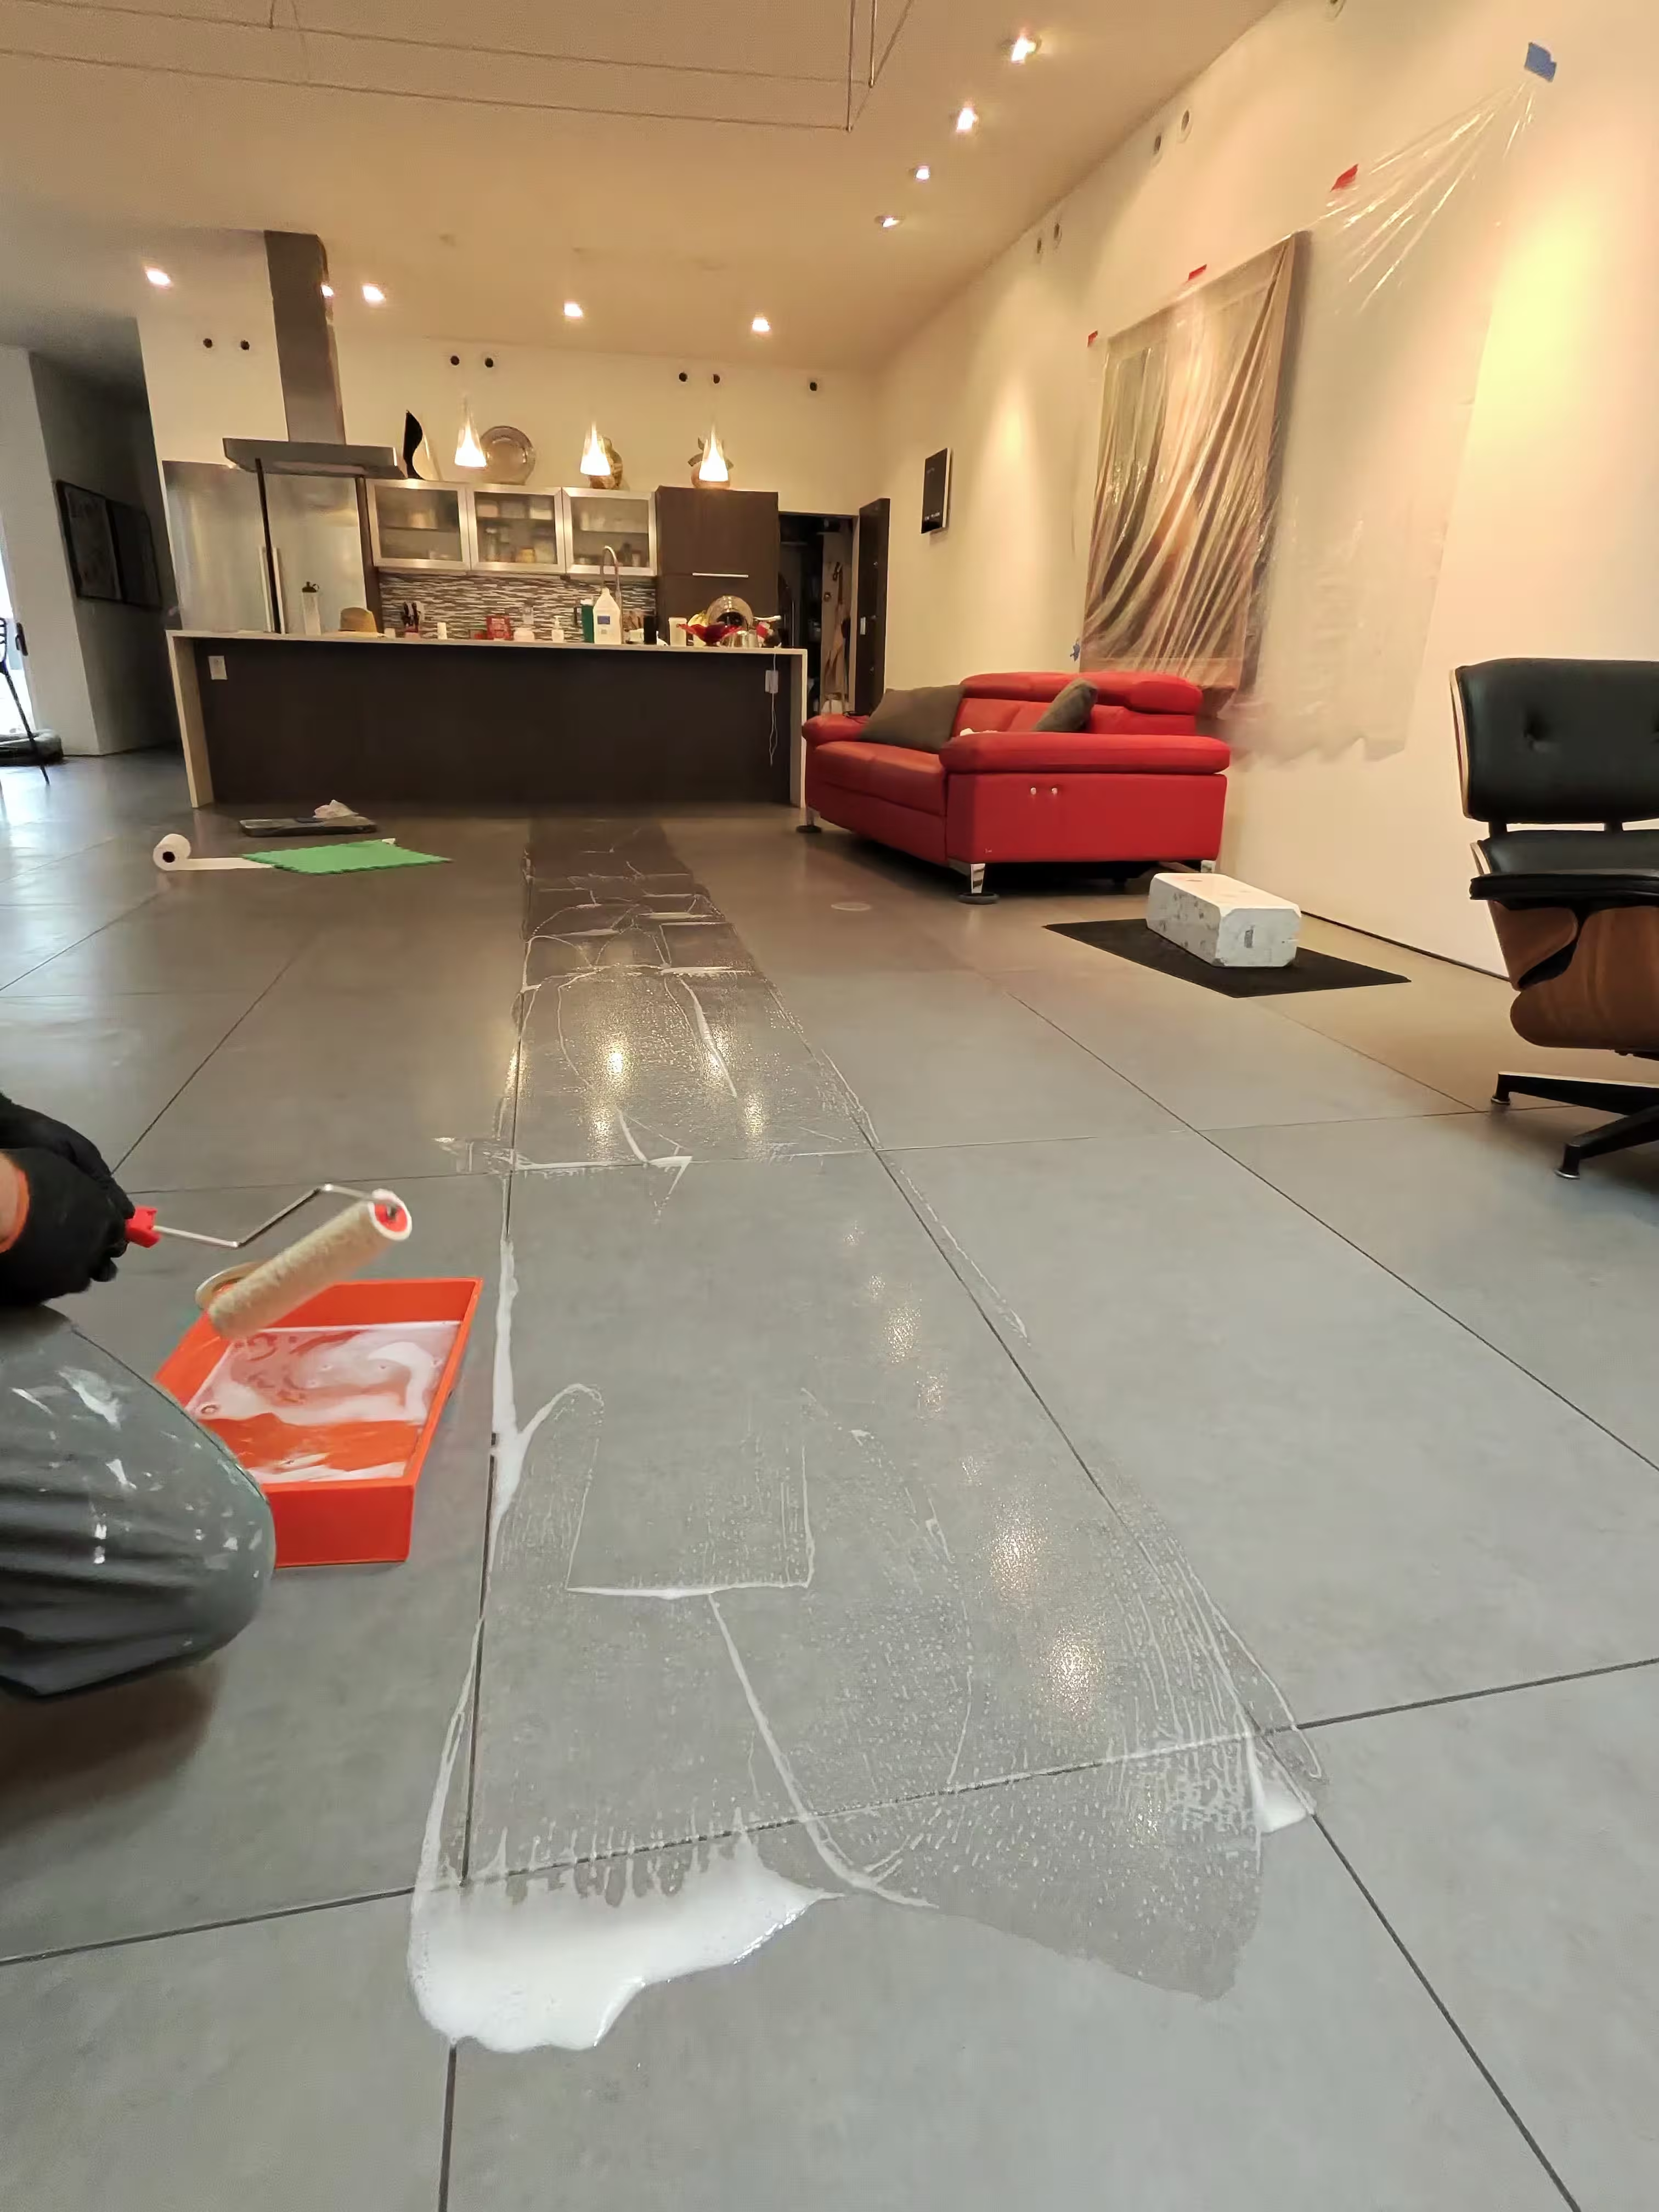
Dramatic transformation: cloudy epoxy haze removed revealing pristine tile
Case A — Englewood Master Bathroom Renovation
Challenge: A newly remodeled master bathroom had severe epoxy haze across 120 sq ft of large-format porcelain tile. The homeowner attempted DIY removal with commercial cleaners but achieved poor results and feared tile damage.
Solution: We performed a test patch in an inconspicuous corner, confirmed tile compatibility, then methodically treated the entire floor using our controlled vinegar solution process. Multiple gentle agitation and rinse cycles removed all haze without affecting the grout or tile finish.
Result: Completed in 5 hours. The tile appeared brand new with crystal-clear surfaces and uniform sheen. Customer remarked it "finally looked like the showroom sample."
Case B — Fort Logan Kitchen Backsplash
Challenge: A glass mosaic backsplash had epoxy smears and drips from a rushed installation. The reflective glass made every imperfection highly visible.
Solution: Glass tile required extra care to avoid scratching. We used gel-based epoxy remover on heavy spots, followed by gentle microfiber buffing. Each small section received individual attention for streak-free results.
Result: Three-hour service restored the backsplash to flawless condition. The glass tiles sparkled without any hazing or streaks, dramatically improving the kitchen's appearance.
Case C — Littleton Commercial Lobby
Challenge: A professional office building's 800 sq ft lobby floor had widespread epoxy haze from a contractor's installation. The building manager needed immediate resolution before a major client visit.
Solution: We scheduled evening work to avoid disrupting business operations. Our team worked systematically across the large space, maintaining consistent results throughout. Professional-grade equipment allowed faster processing without sacrificing quality.
Result: Completed overnight in 12 hours with two technicians. The lobby floor was pristine for the morning business opening, exceeding the building manager's expectations.
Frequently Asked Questions
Will vinegar remove epoxy haze?
On many ceramic and porcelain tiles with light white film, a 5%–10% vinegar solution with a short dwell time (3–5 minutes) and gentle agitation can be effective. Always test first and rinse twice. For heavy or fully cured smears, we use specialized epoxy removers and controlled mechanical methods.
Is it safe on natural stone?
No—avoid acids on marble, limestone, travertine, and other acid-sensitive stones. We switch to stone-safe chemistry and alternative techniques for those surfaces. This is one reason professional service is crucial: we select appropriate methods for each material type.
What tools do you use for scrubbing?
A soft non-scratch blue sponge/pad for agitation, microfiber for pickup, and clean water rinses to neutralize. We never use abrasive pads or steel wool that could scratch tile surfaces.
How quickly will we see results?
Results are typically immediate when comparing treated vs. untreated tiles under the same lighting. Heavier residues may require additional localized passes, but improvement is visible from the first treatment.
Can I remove epoxy haze myself?
Light haze on porcelain or ceramic can sometimes be addressed with DIY methods if you're careful. However, professional removal is recommended for: natural stone, glass tile, heavy buildup, large areas, or if you're unsure about your tile type. The cost of professional service is minimal compared to replacing damaged tile.
How long should I wait after grout installation?
For best results, remove epoxy haze within 24-72 hours of grout application. The longer epoxy cures, the more difficult removal becomes. However, we can successfully remove even old, cured epoxy with appropriate techniques.
Will this damage my grout lines?
Our process is designed to clean tile surfaces while preserving grout integrity. We avoid aggressive scrubbing directly on grout lines and rinse thoroughly to prevent any chemical interaction. Epoxy grout itself is highly resistant to our cleaning solutions.
About South Denver Tile Experts
South Denver Tile Experts brings over 15 years of professional tile installation and restoration experience to the Denver metro area. Our team specializes in solving the toughest tile challenges, from delicate epoxy removal to complete bathroom renovations.
Our Commitment
- Licensed and insured professionals
- Trained in safe cleaning techniques for all tile types
- Documented methods and quality control processes
- Same-day service available for urgent needs
- 100% satisfaction guarantee on all work
Service Guarantee
If our test patch doesn't meet the agreed finish standard, we recalibrate our approach before proceeding. We never continue work that doesn't meet our quality standards or your expectations.
Contact Information
Phone: 720-717-3990
Email: tile@southdenvertileexperts.com
Address: 9494 Halstead Ln, Lone Tree, CO 80124
Hours: Monday-Friday 8am-6pm, Saturday 9am-3pm
Service Areas
We proudly serve homeowners and businesses throughout the South Denver metro area, including:
Central Communities: Englewood, Littleton, Fort Logan, Centennial
South Metro: Highlands Ranch, Lone Tree, Castle Rock, Parker
West Communities: Lakewood, Morrison, Ken Caryl
East Communities: Aurora, Cherry Creek, Greenwood Village
After-hours and weekend appointments available for commercial projects. We're familiar with local building requirements and HOA specifications throughout the Denver area.
Conclusion
Epoxy grout haze doesn't have to be a permanent problem. With professional removal techniques, the right tools, and experienced technicians, your tile can be restored to its original pristine condition. Whether you're dealing with fresh installation haze or years-old residue, South Denver Tile Experts has the knowledge and equipment to deliver spotless results safely.
Don't risk damaging your valuable tile with harsh chemicals or abrasive scrubbing. Our proven process protects your investment while achieving the crystal-clear finish you deserve. Contact us today at 720-717-3990 for a free consultation and detailed quote.
