Modern Kitchen Backsplash Installation in Aurora, CO
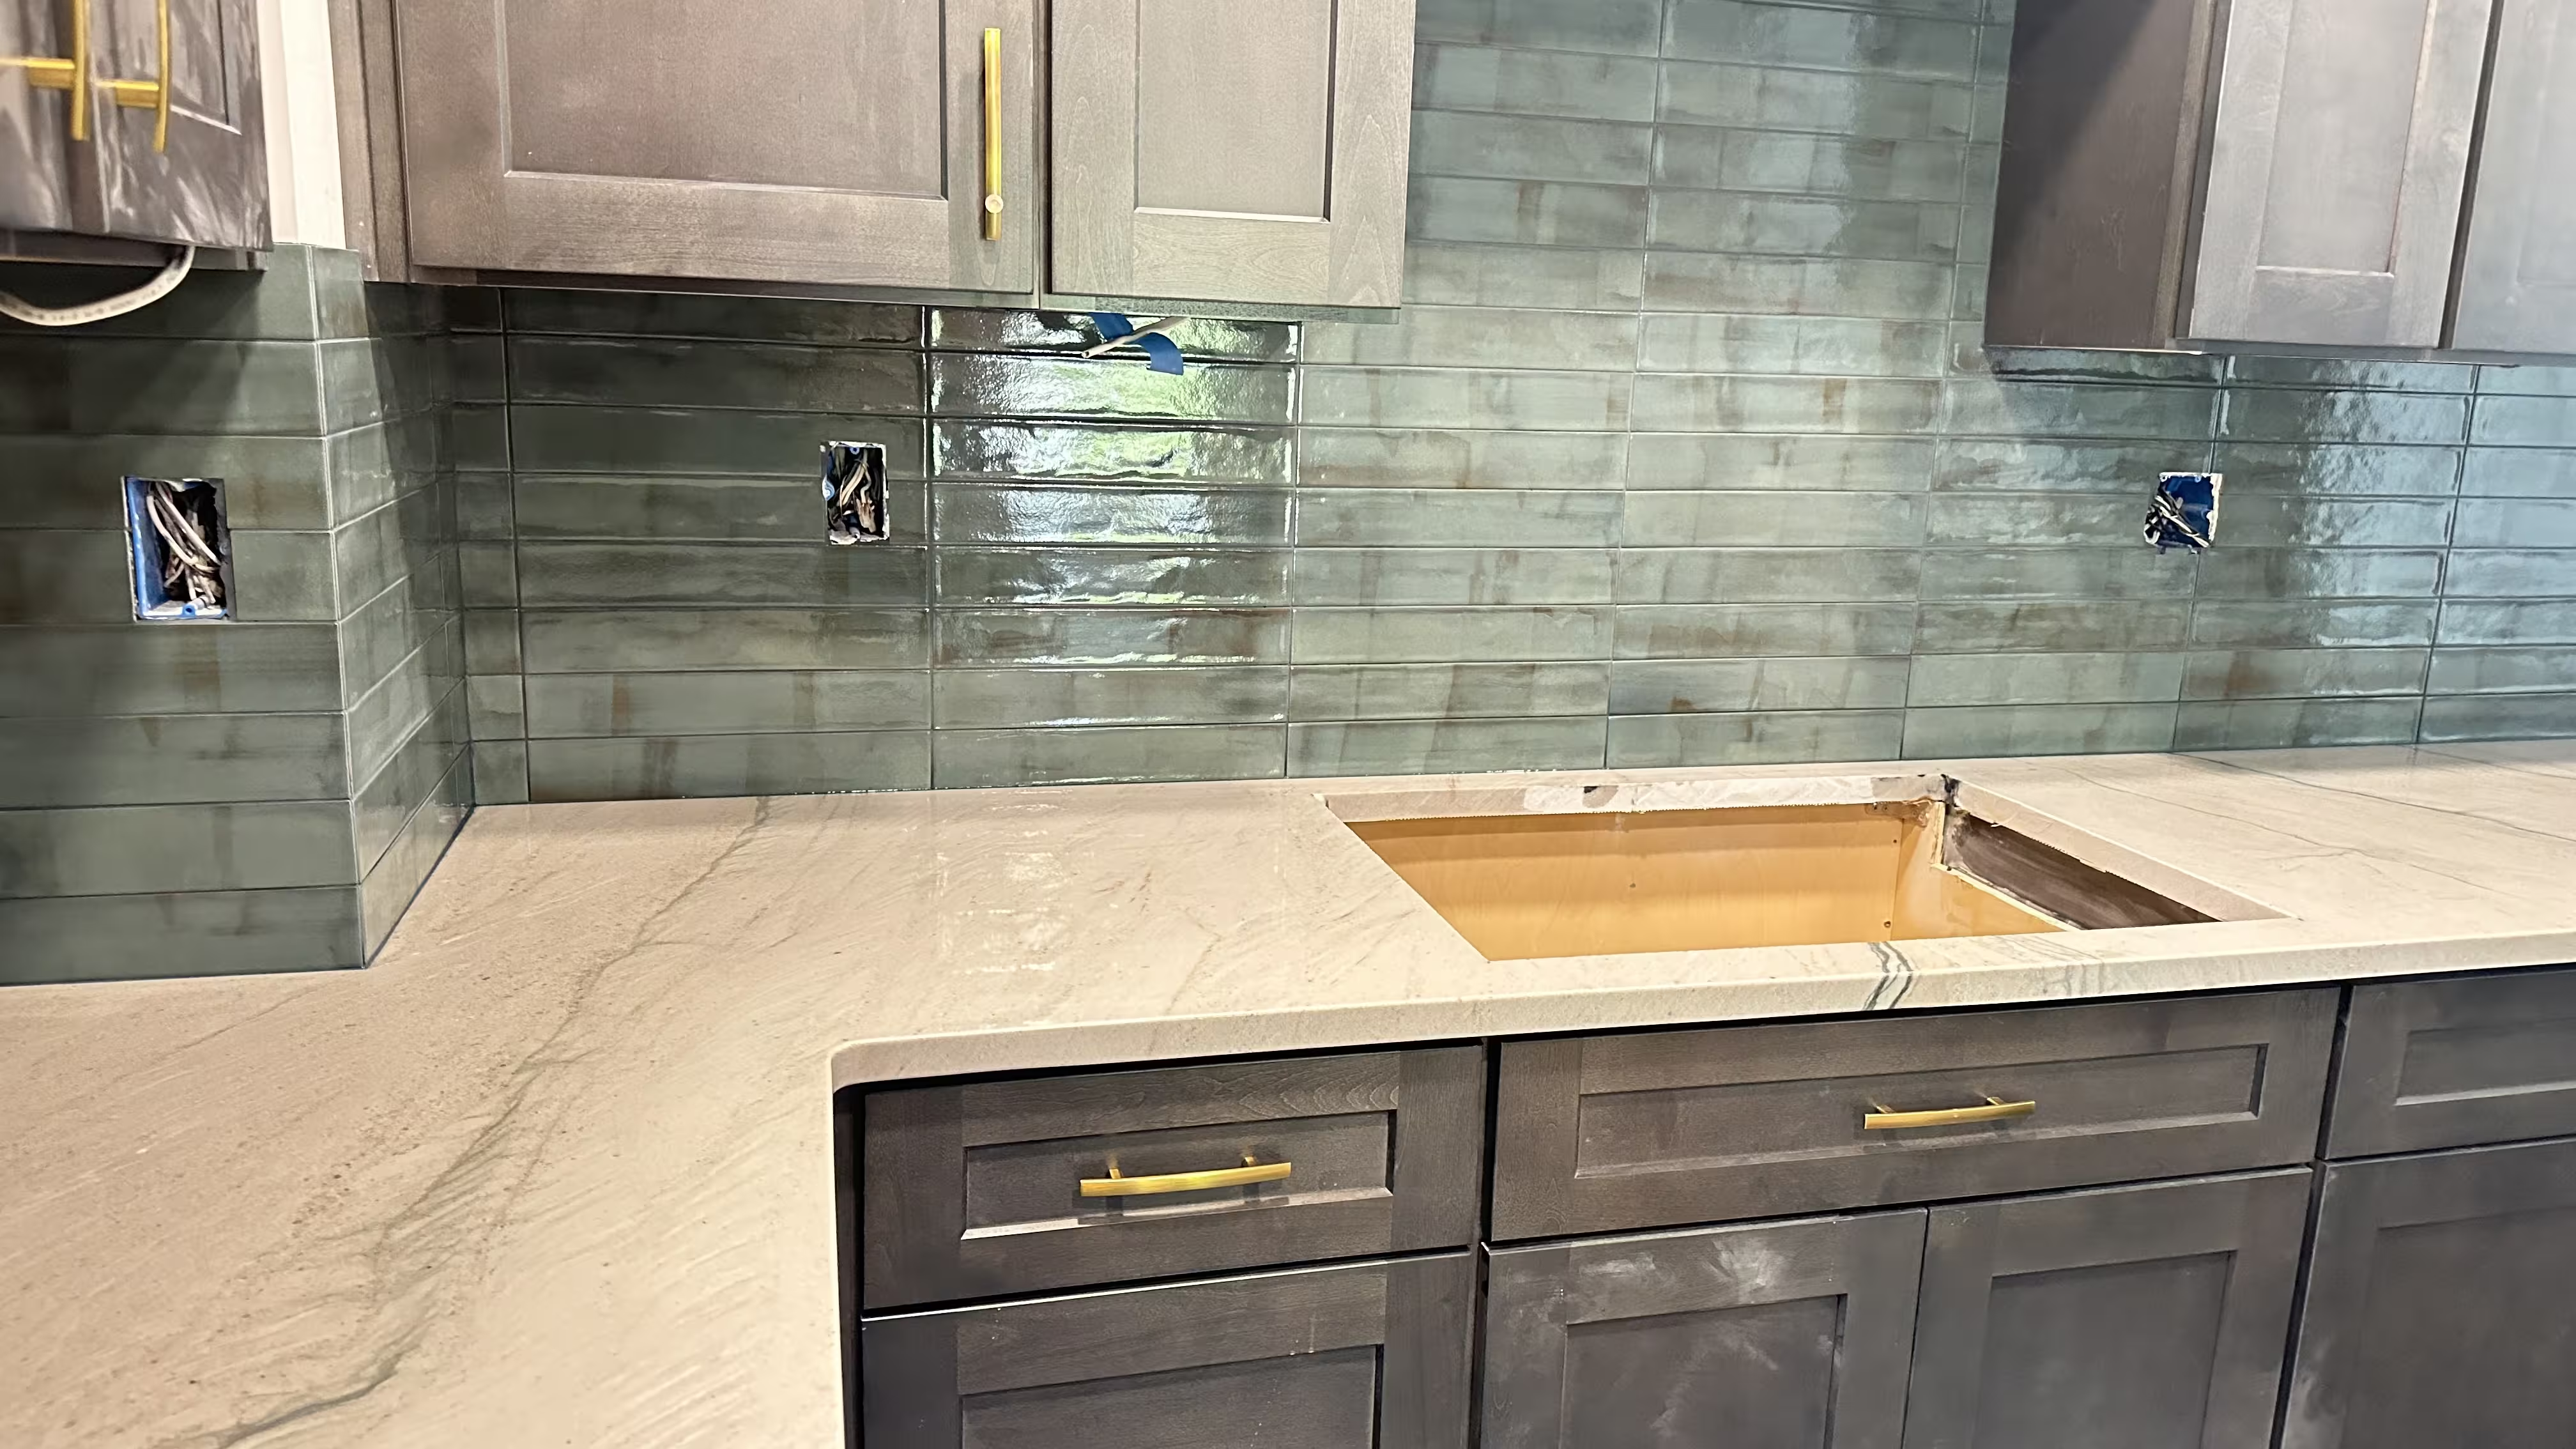
Upgrade your kitchen with a durable, stylish backsplash. This Aurora project showcases a modern dark green porcelain subway tile backsplash, perfectly paired with a new kitchen installation featuring precision cuts around outlets and waterproof grout application.
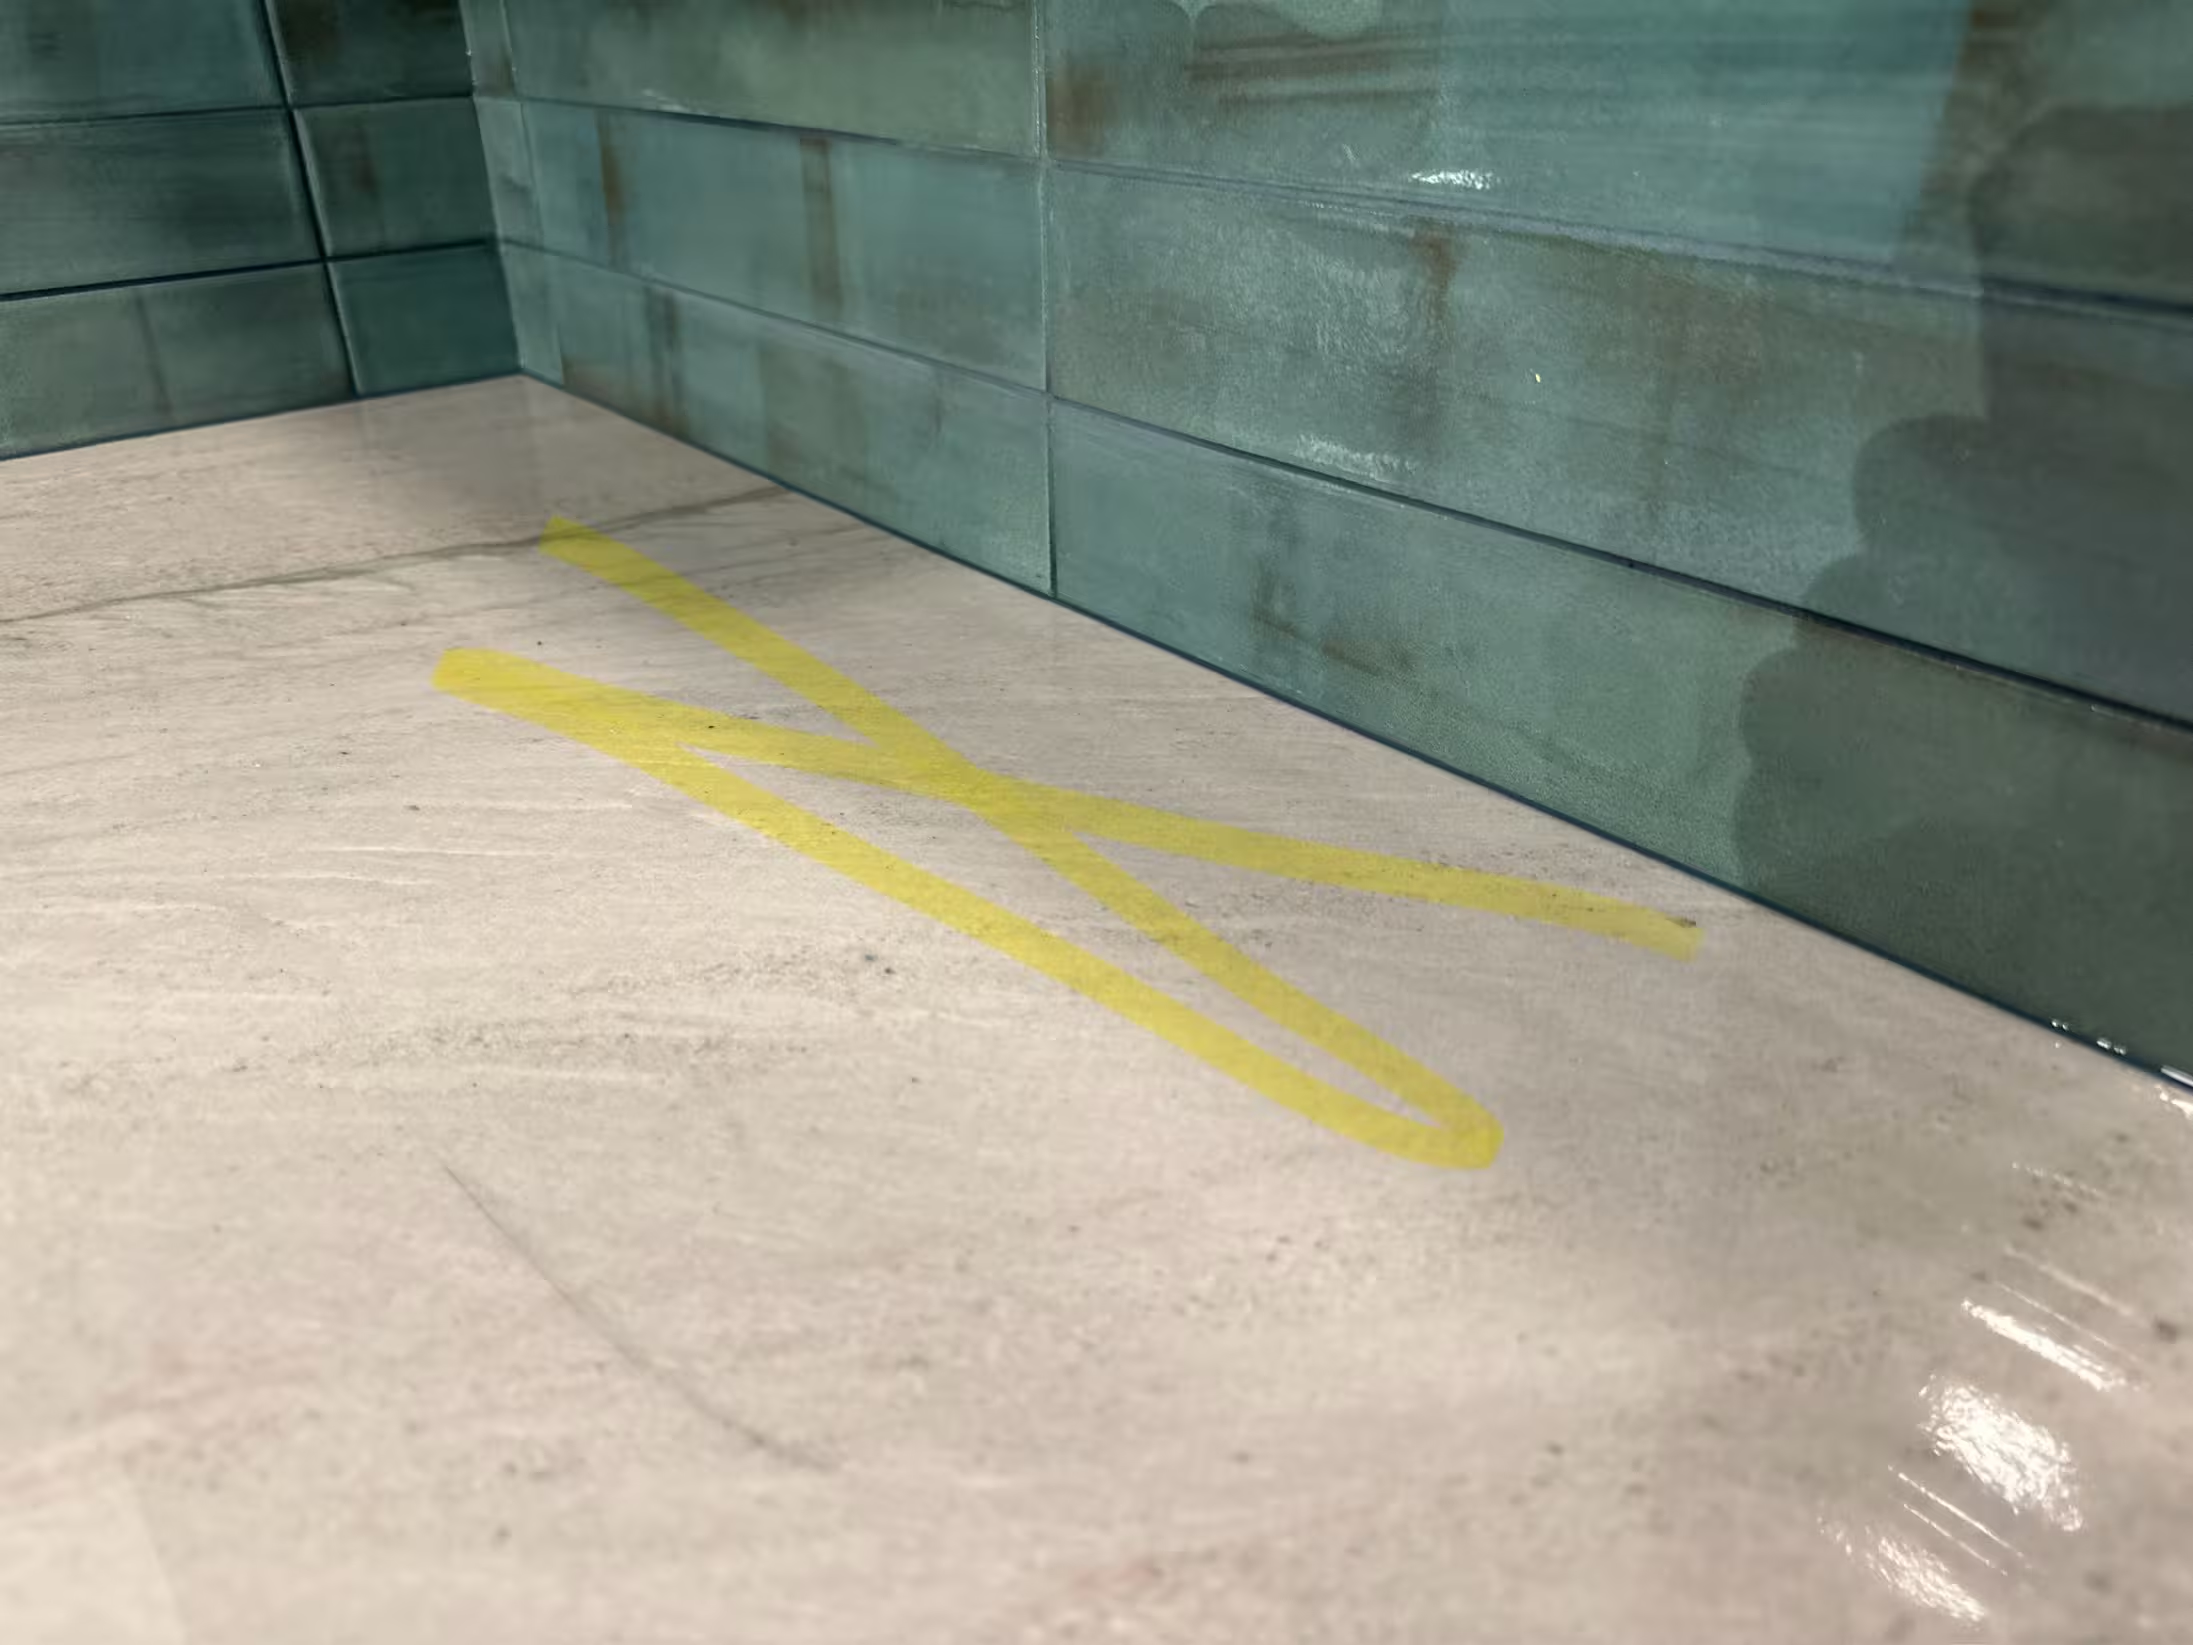
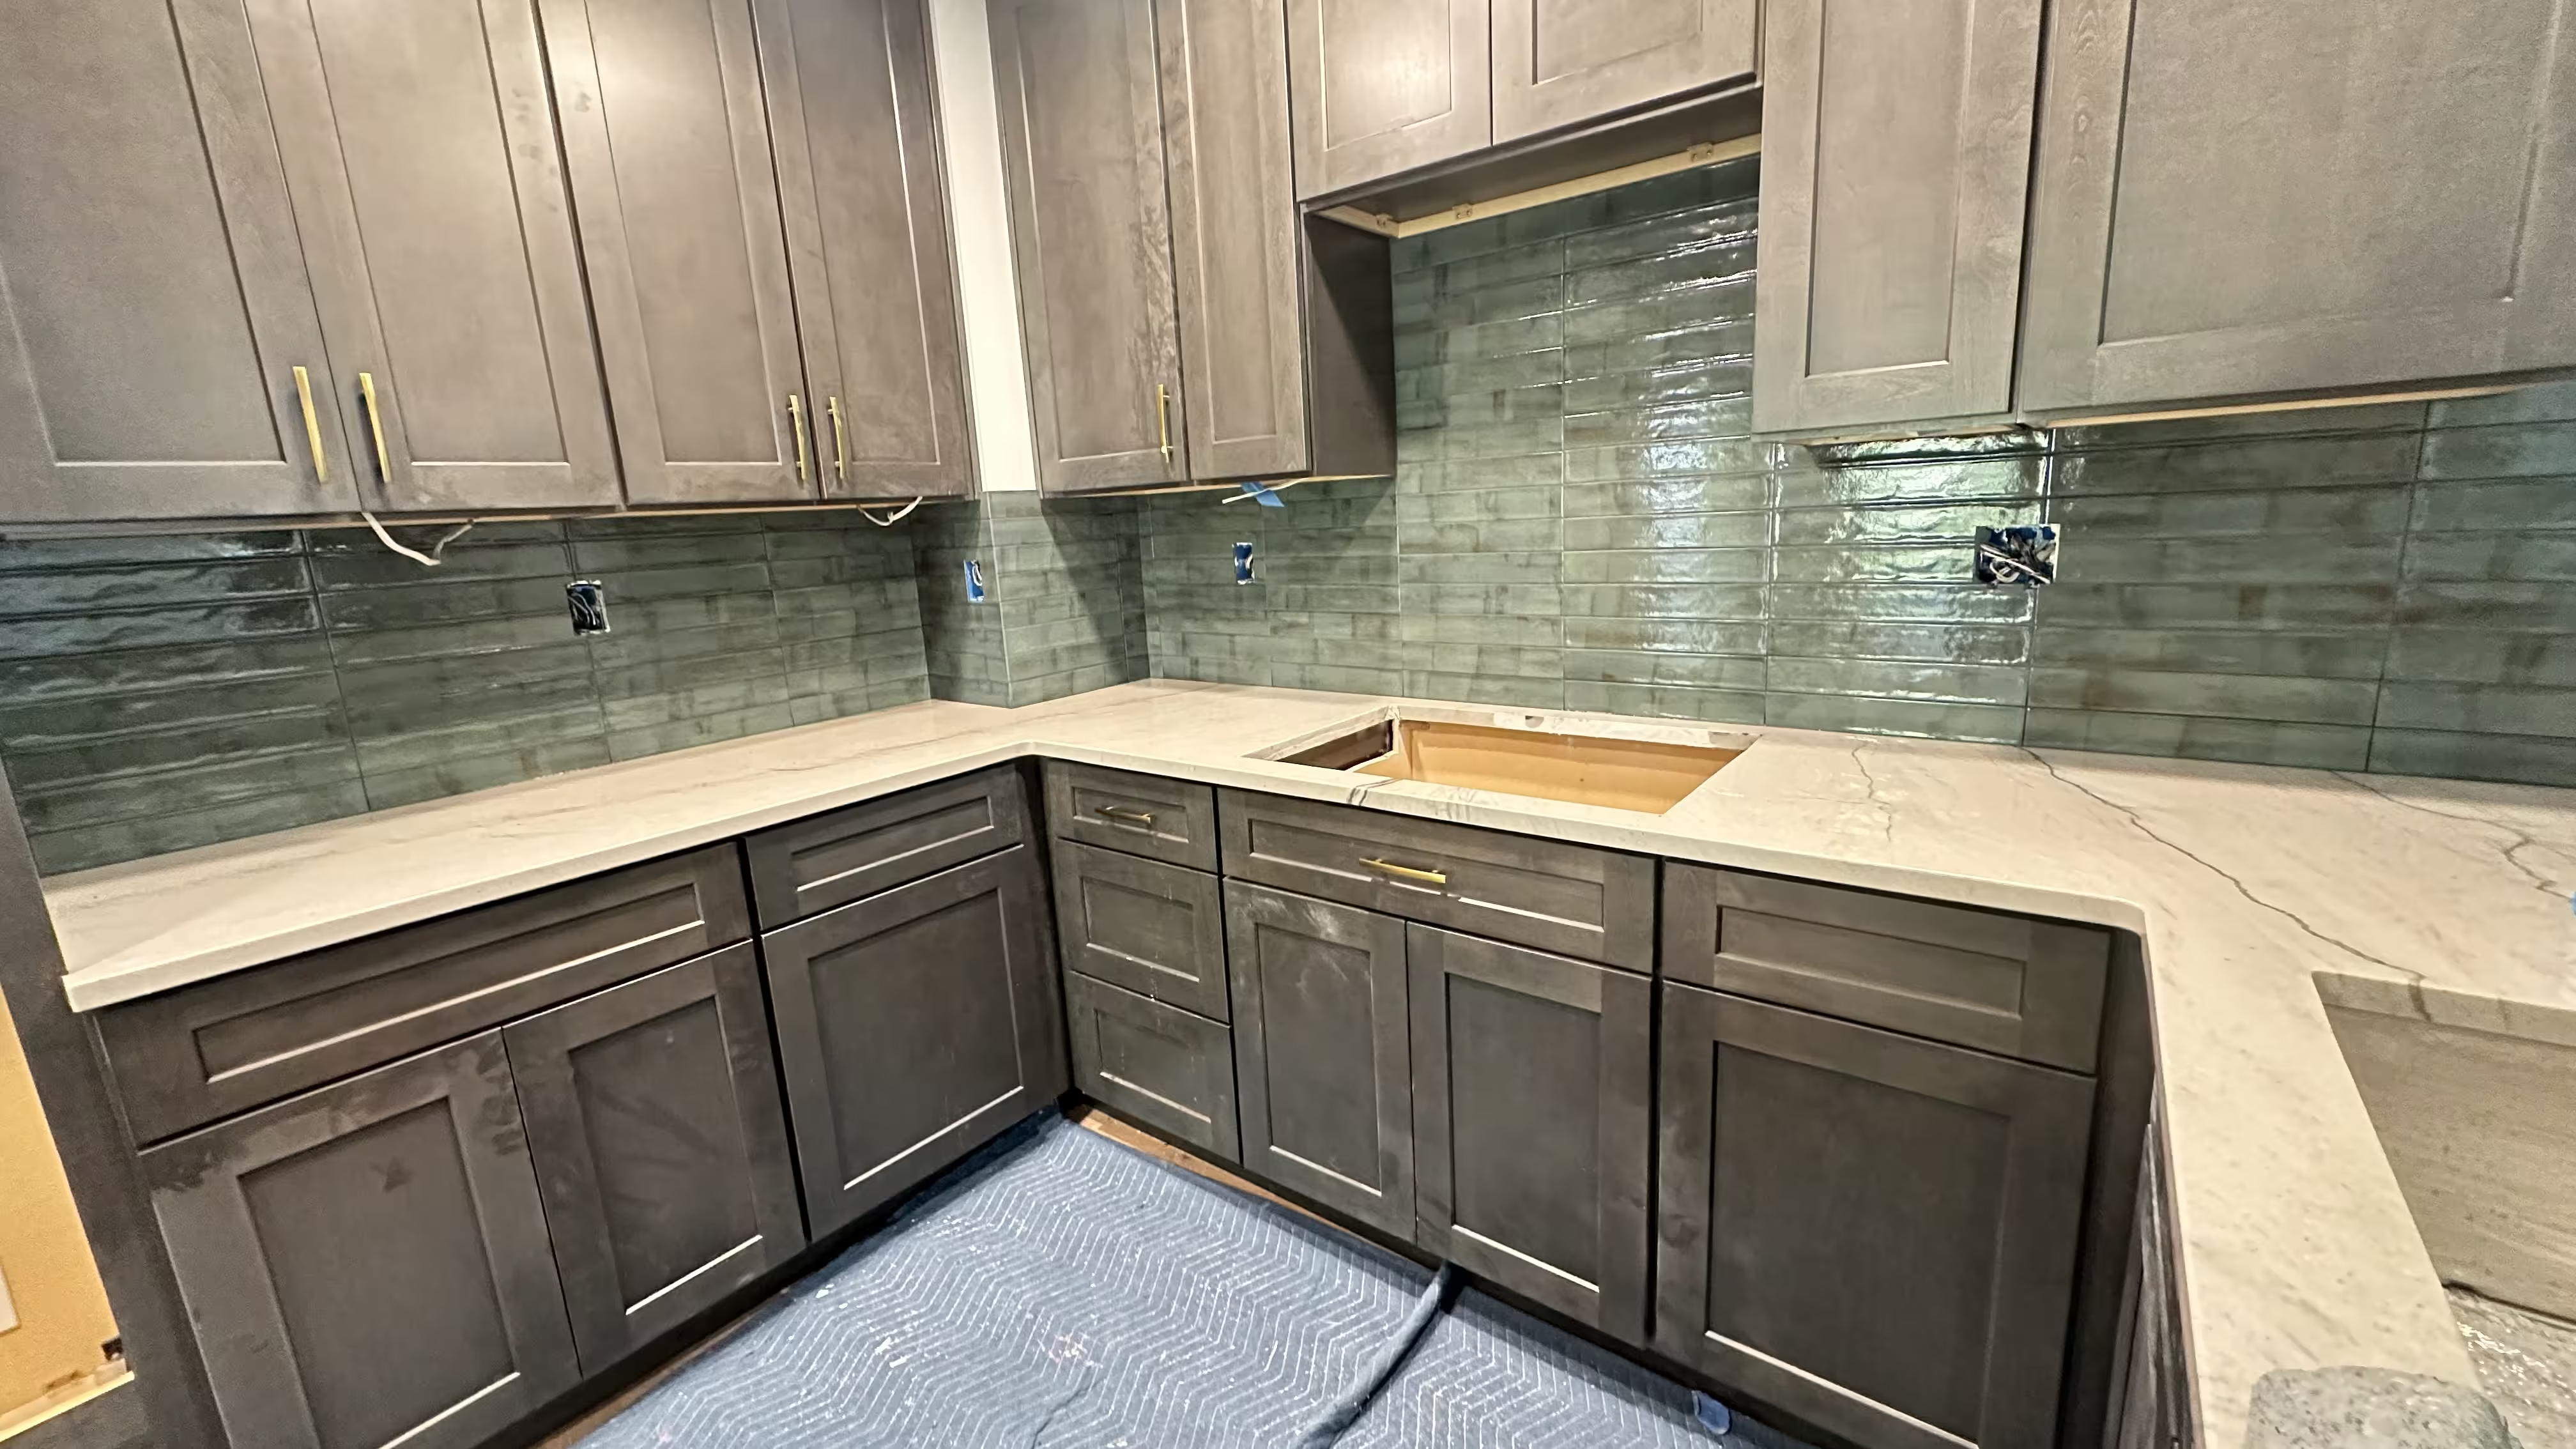
Kitchen Backsplash Installation At-a-Glance
Understanding the complexity and requirements of professional backsplash installation
Difficulty
Moderate to Advanced (precision cuts, electrical outlets)
Estimated Time
1–2 days (depends on kitchen size & outlets)
DIY Materials
$300–$600 materials only
Professional
$1,200–$2,000 complete installation
When to Call a Professional:
- Multiple outlets or switches to cut around
- Large wall sections or tricky corners
- Uneven walls that require prep
- Matching grout lines with cabinets & countertops
- Waterproofing behind sink areas
Essential Tools & Materials
Professional-grade equipment and materials used in this Aurora project
Why it matters: Clean cuts around outlets & edges
Notes: Subway tiles require precise alignment
Why it matters: Durable, stylish, easy to clean
Notes: Porcelain resists stains & heat
Why it matters: Seals against moisture & stains
Notes: Client selected for long-term durability
Why it matters: Controls adhesive spread & tile spacing
Notes: Use 1/16" or 1/8" for subway tiles
Why it matters: Keeps grout lines straight
Notes: Essential for consistent subway pattern
Why it matters: Protect against tile dust & debris
Notes: Especially when cutting porcelain
DIY vs. Hiring South Denver Tile Experts
Understanding the real costs and risks of kitchen backsplash installation
✅ Pros:
- • Lower cost (just materials)
- • Personal satisfaction
❌ Cons:
- • Risk of crooked lines
- • Difficult cuts around outlets
- • Time-consuming for first-timers
✅ Professional Advantages:
- • Precision cuts around outlets & cabinets
- • Waterproof grout & code-aware work
- • Clean worksite, dust control
- • Completed in 1–2 days
- • Peace of mind with professional finish
Step-by-Step Installation Process
Professional kitchen backsplash installation in Aurora, CO
Consultation & Estimate
Evaluate wall condition, cabinet height, outlet positions. Provide cost estimate (this Aurora backsplash was completed for $1,400 labor).
💡 Pro Tip:
Always check walls for flatness before setting tile.
⚠️ Common Mistake:
Forgetting to factor outlet depth (tiles increase thickness).
Surface Preparation
Clean wall, remove grease/dust. Lightly sand glossy paint if present.
🔒 Safety Note:
Shut off power to outlets/switches before working near them.
Tile Layout & Dry Fit
Dry-lay subway tiles to ensure even spacing. Center layout under cabinets for symmetry.
💡 Pro Tip:
Plan cuts where they'll be least visible (near corners).
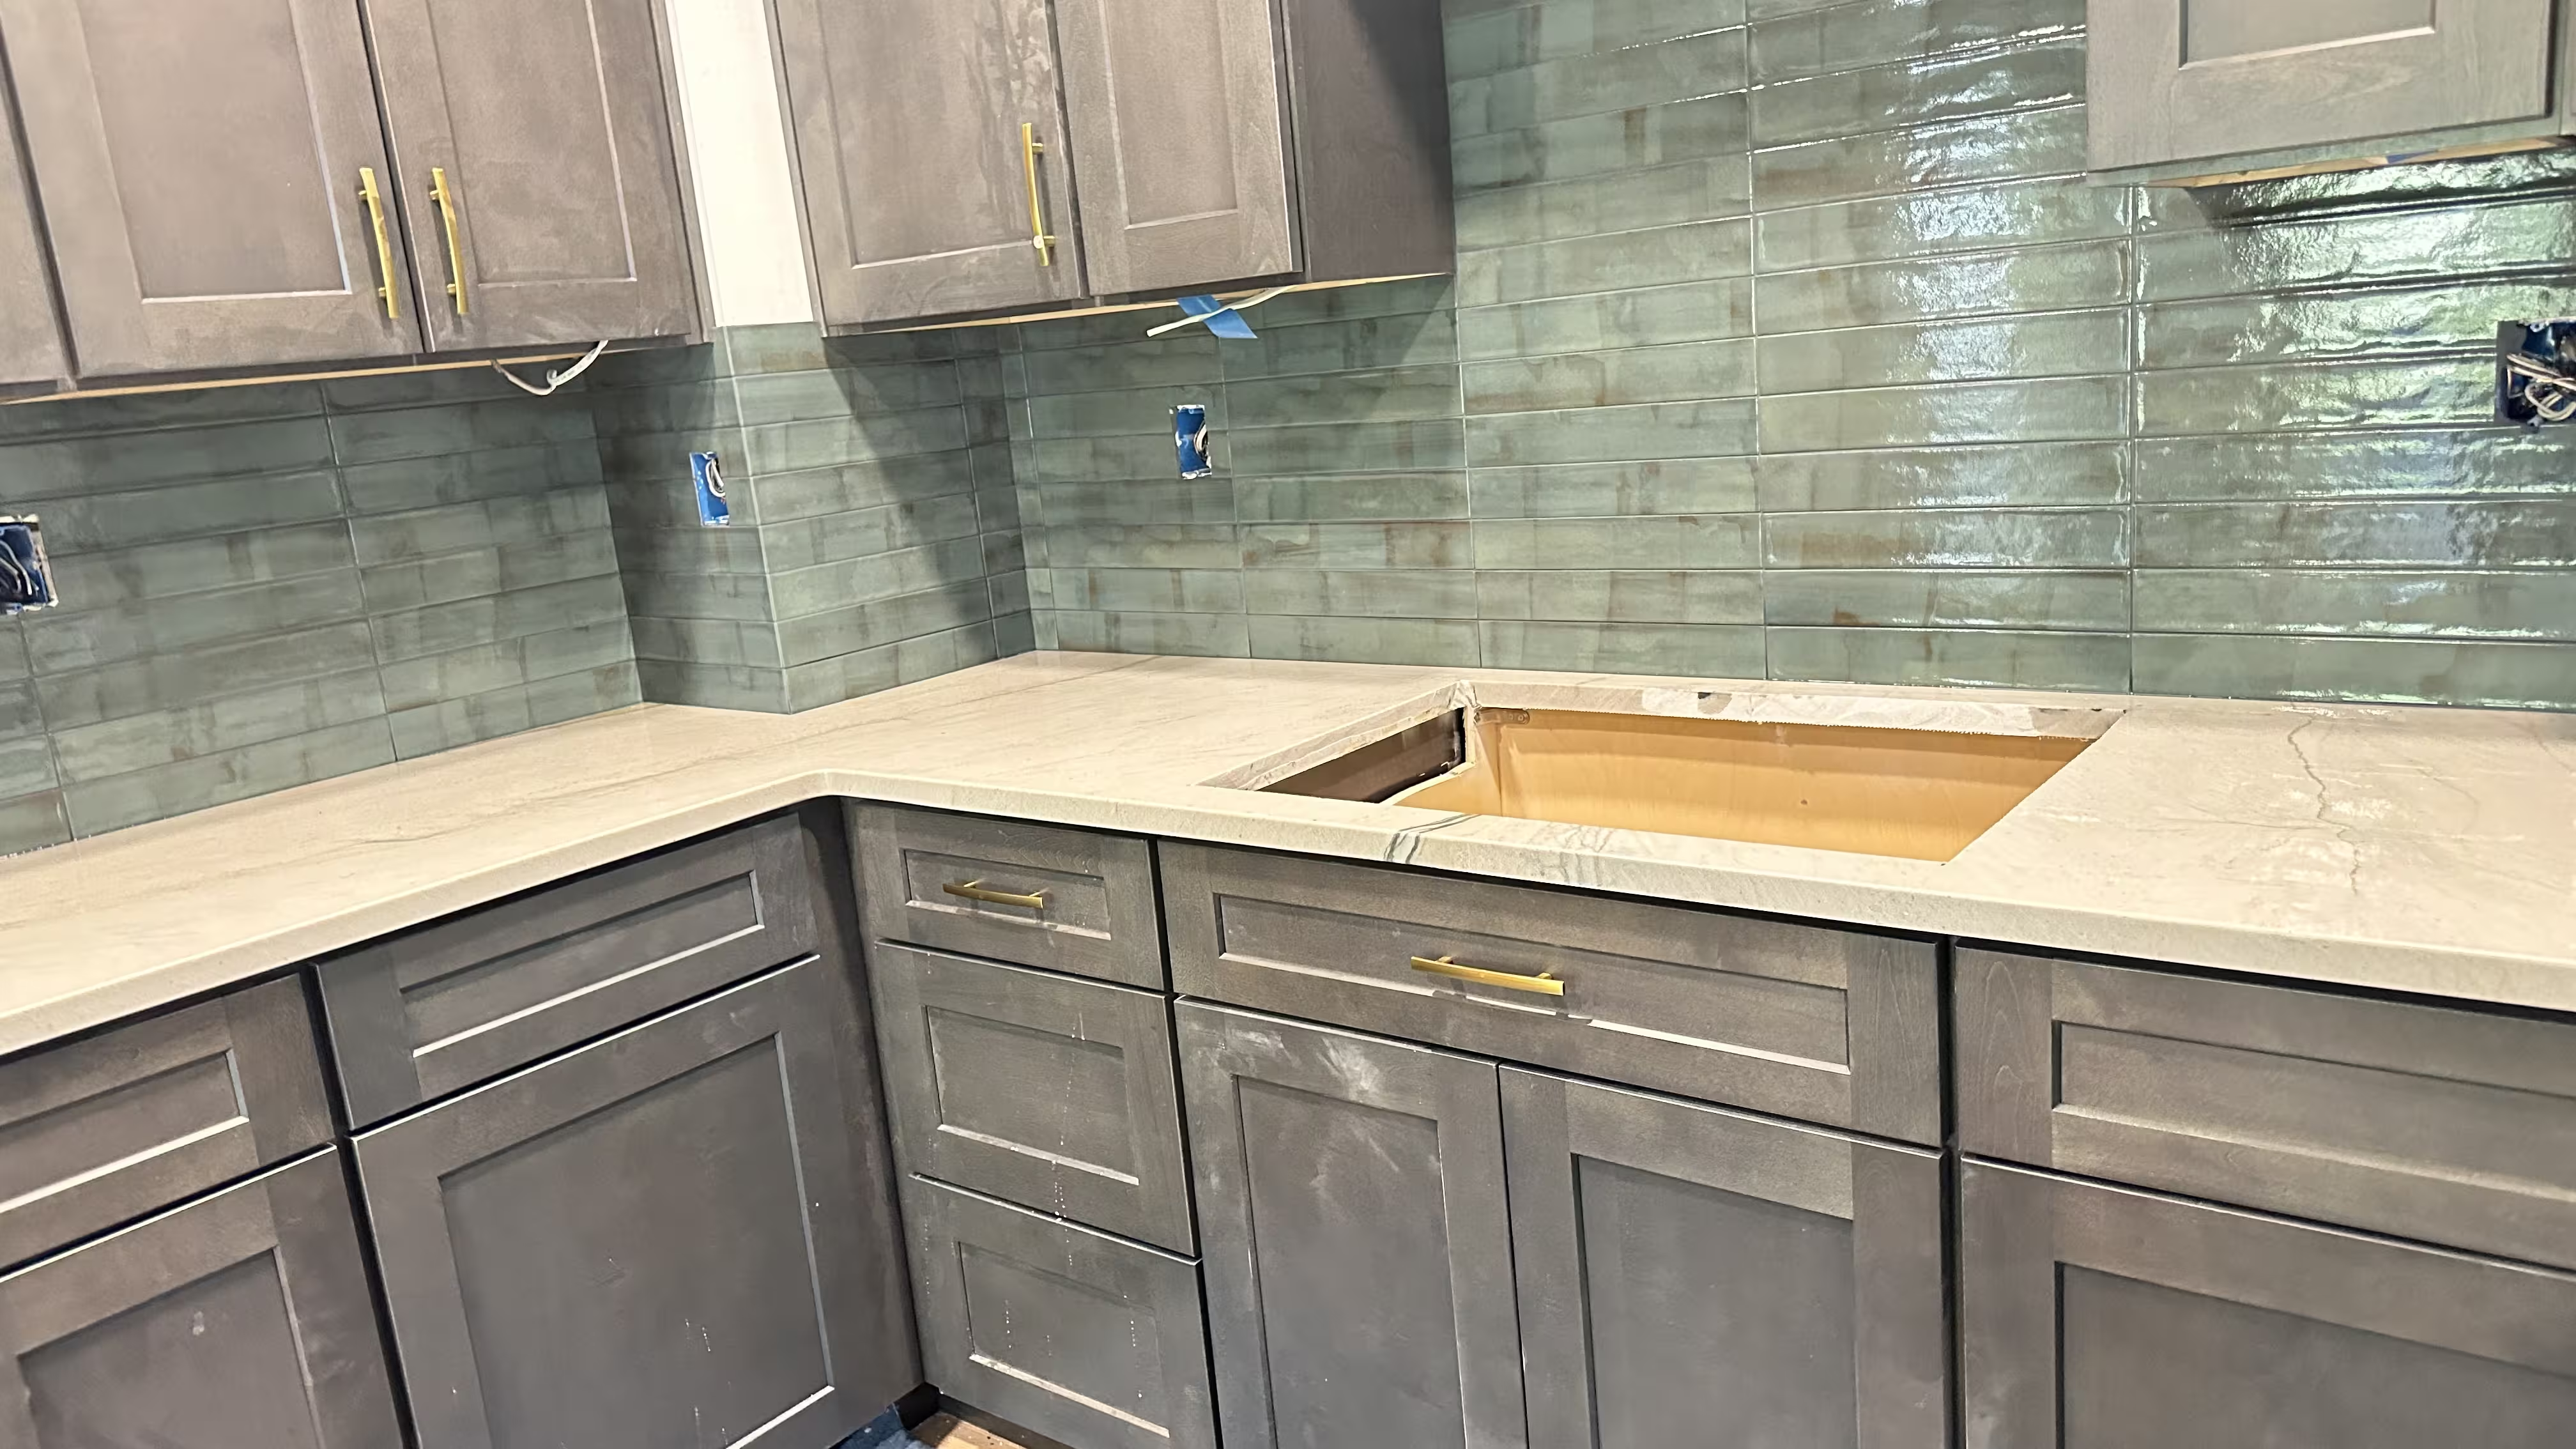
Tile Installation
Apply thinset with notched trowel. Press porcelain subway tiles with spacers. Cut accurately around outlets.
⚠️ Common Mistake:
Rushing adhesive application → uneven lines.
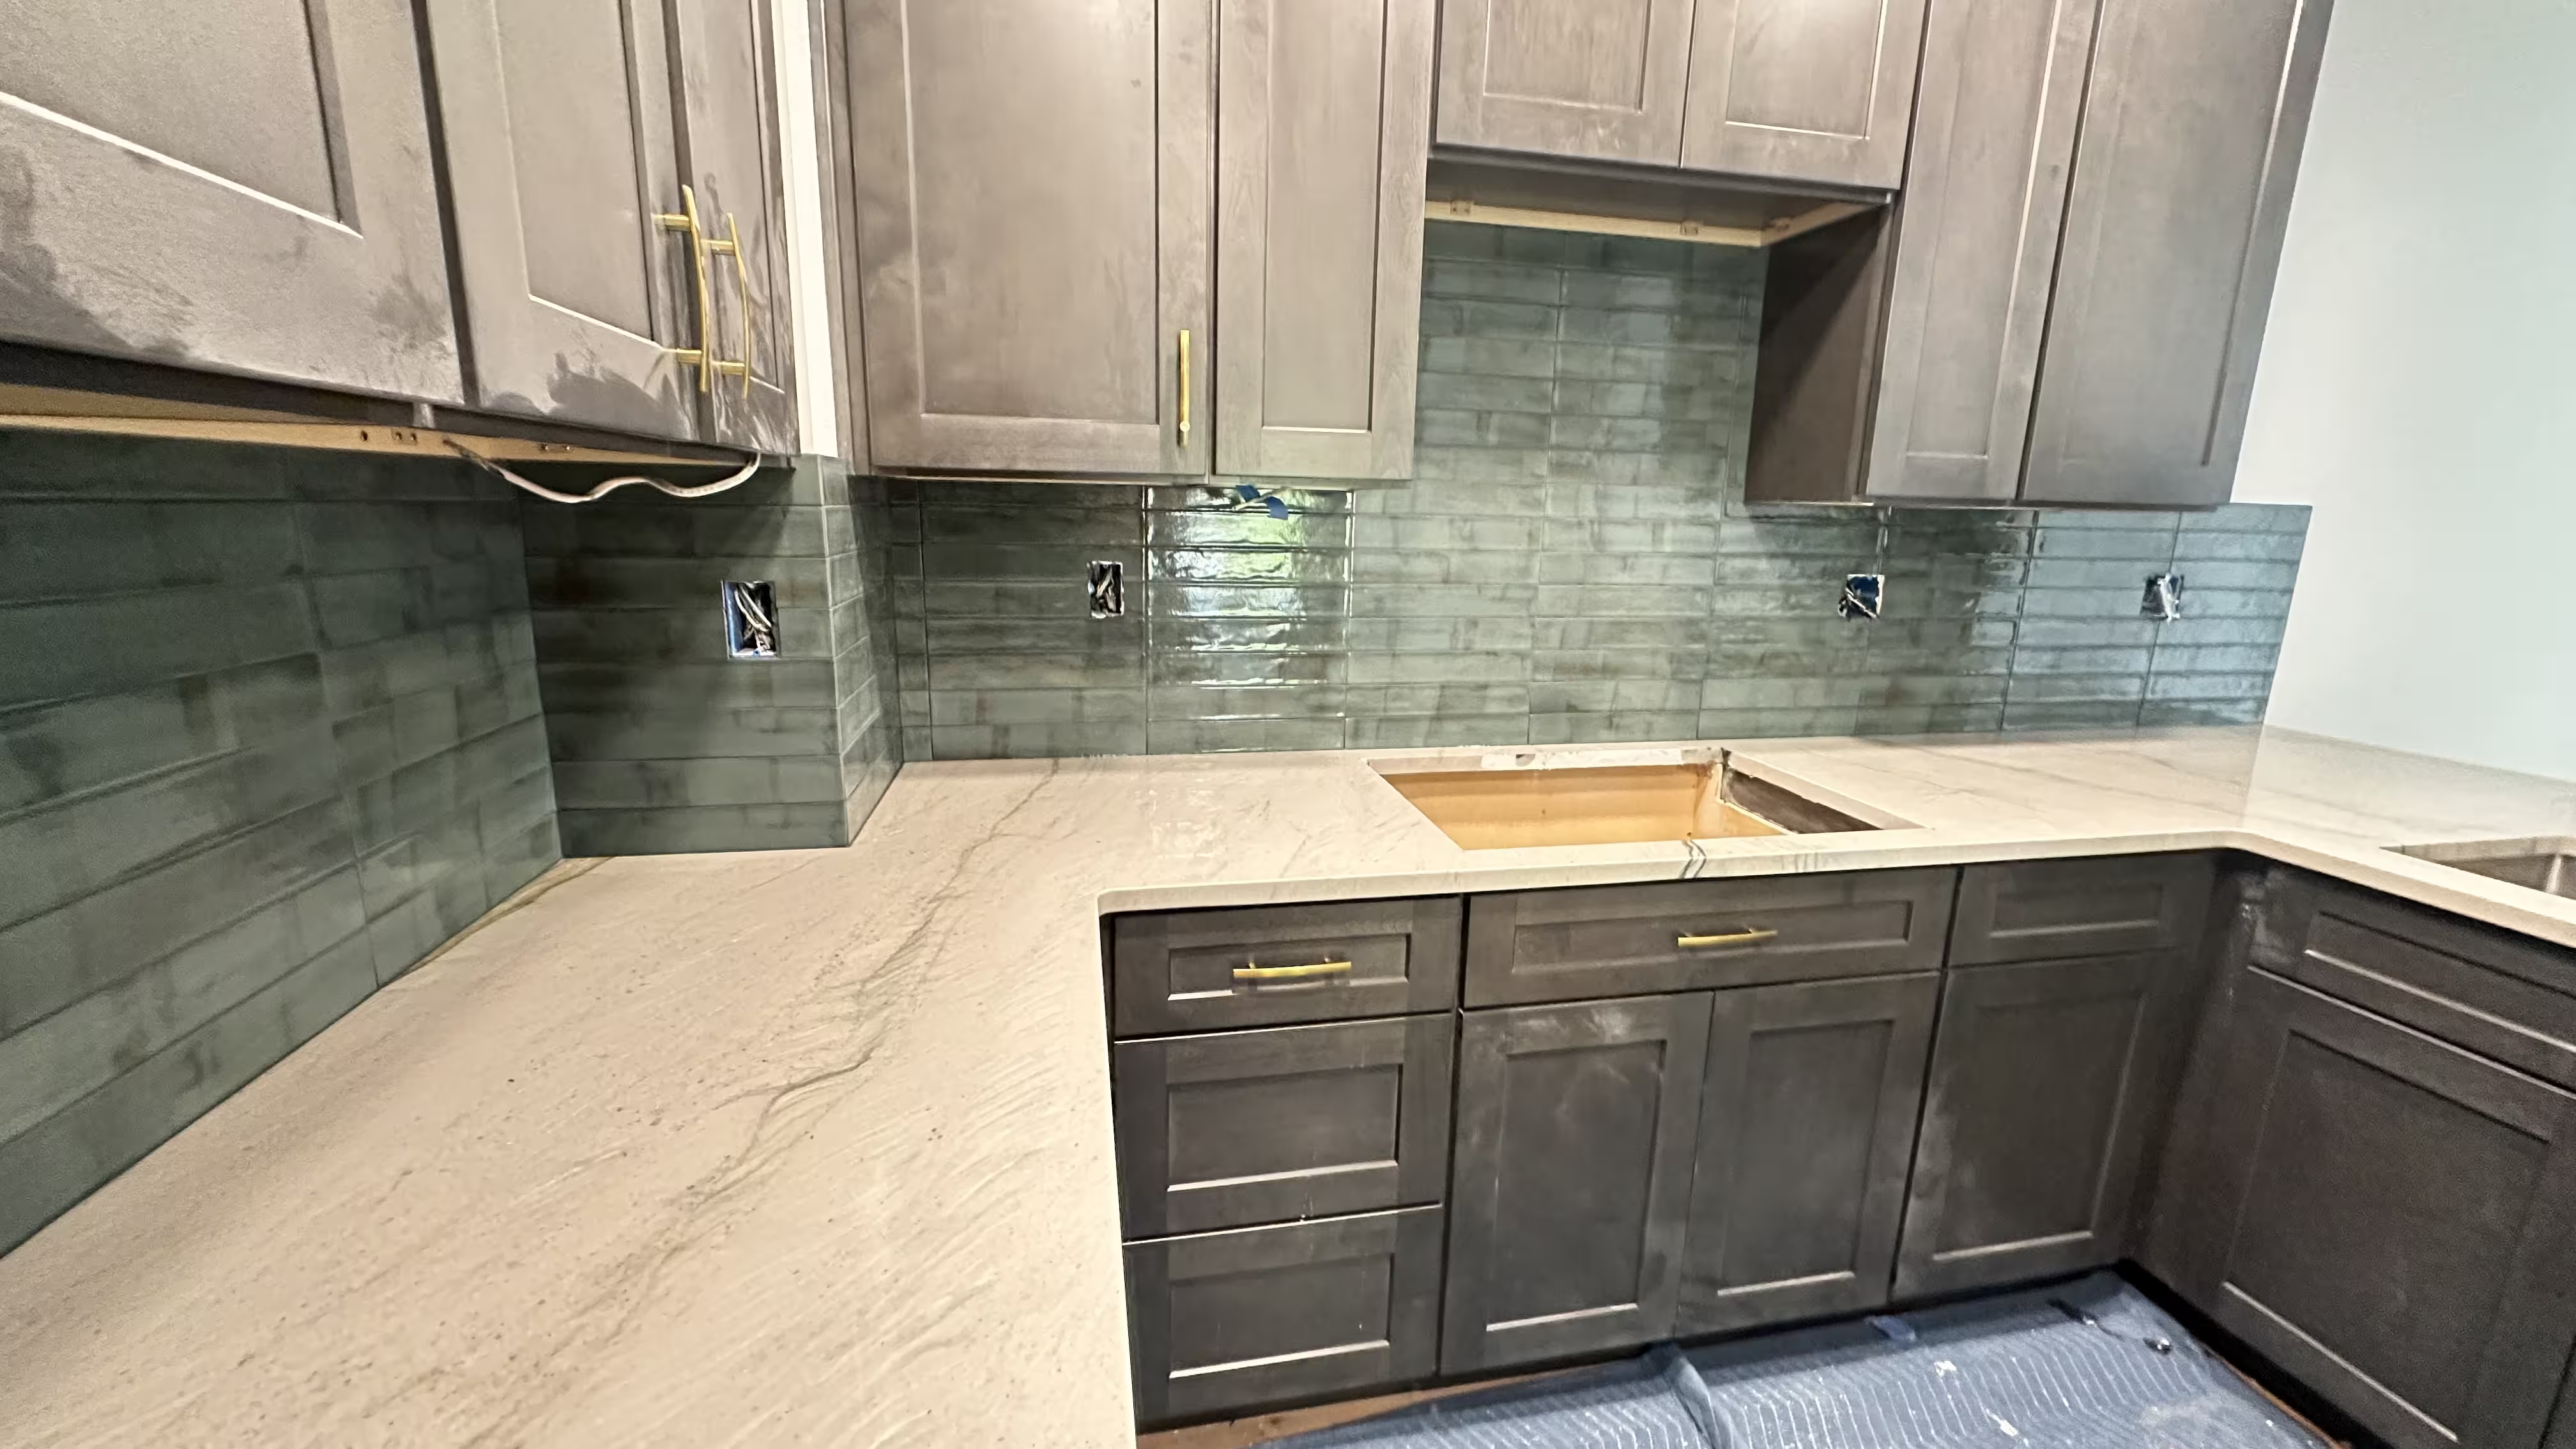
Grouting
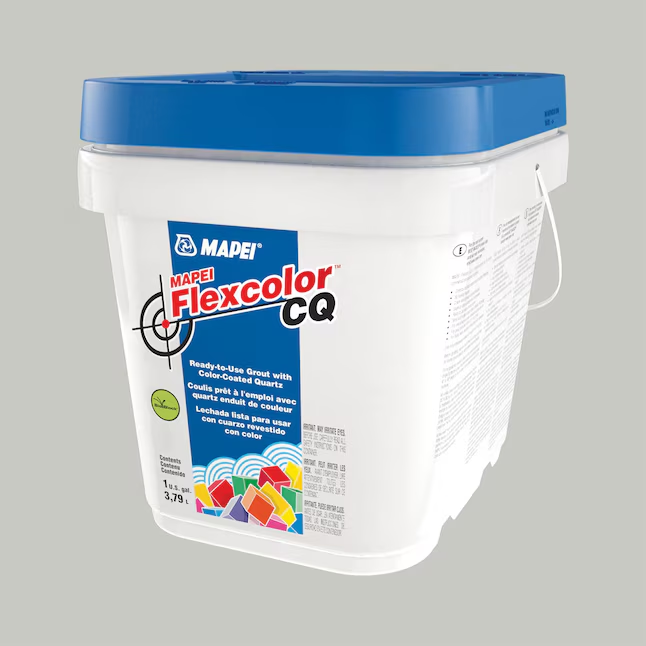
Applied Premix waterproof grout in dark color to match the design. Wipe tiles diagonally to avoid pulling grout.
💡 Pro Tip:
Work in small sections for best results with waterproof grout.
Finishing Touches
Reinstall outlet covers with extenders if needed. Seal grout if manufacturer requires. Final cleanup and client walkthrough.
💡 Pro Tip:
Test all outlets for proper depth before final installation.
Cost & Time Breakdown
Factors that increase cost: complex layouts, many outlets, premium tile
Frequently Asked Questions
Usually 1–2 days depending on kitchen size and complexity of cuts around outlets.
Waterproof premix grout for durability and easy cleaning, like the one used in this Aurora project.
Yes, if the wall is sound, clean, and grease-free. Proper surface preparation is essential.
Porcelain itself doesn't need sealing; only grout may need protection depending on product specifications.
Typically $1,000–$2,000 labor, plus $300–$600 materials. This Aurora project cost $1,400 for labor.
Related Services & Resources
Tile Installation Services in Aurora
Professional tile installation throughout Aurora area
Kitchen Remodeling Experts
Complete kitchen backsplash installations near you
Backsplash Tile Ideas and Inspiration
Learn about tile selection and design
External Resources
Project Gallery
Complete transformation from start to finish


Looking for a kitchen backsplash installer in Aurora, CO?
We provide fast, precise installations with waterproof materials and clean worksites.

Your dream kitchen awaits