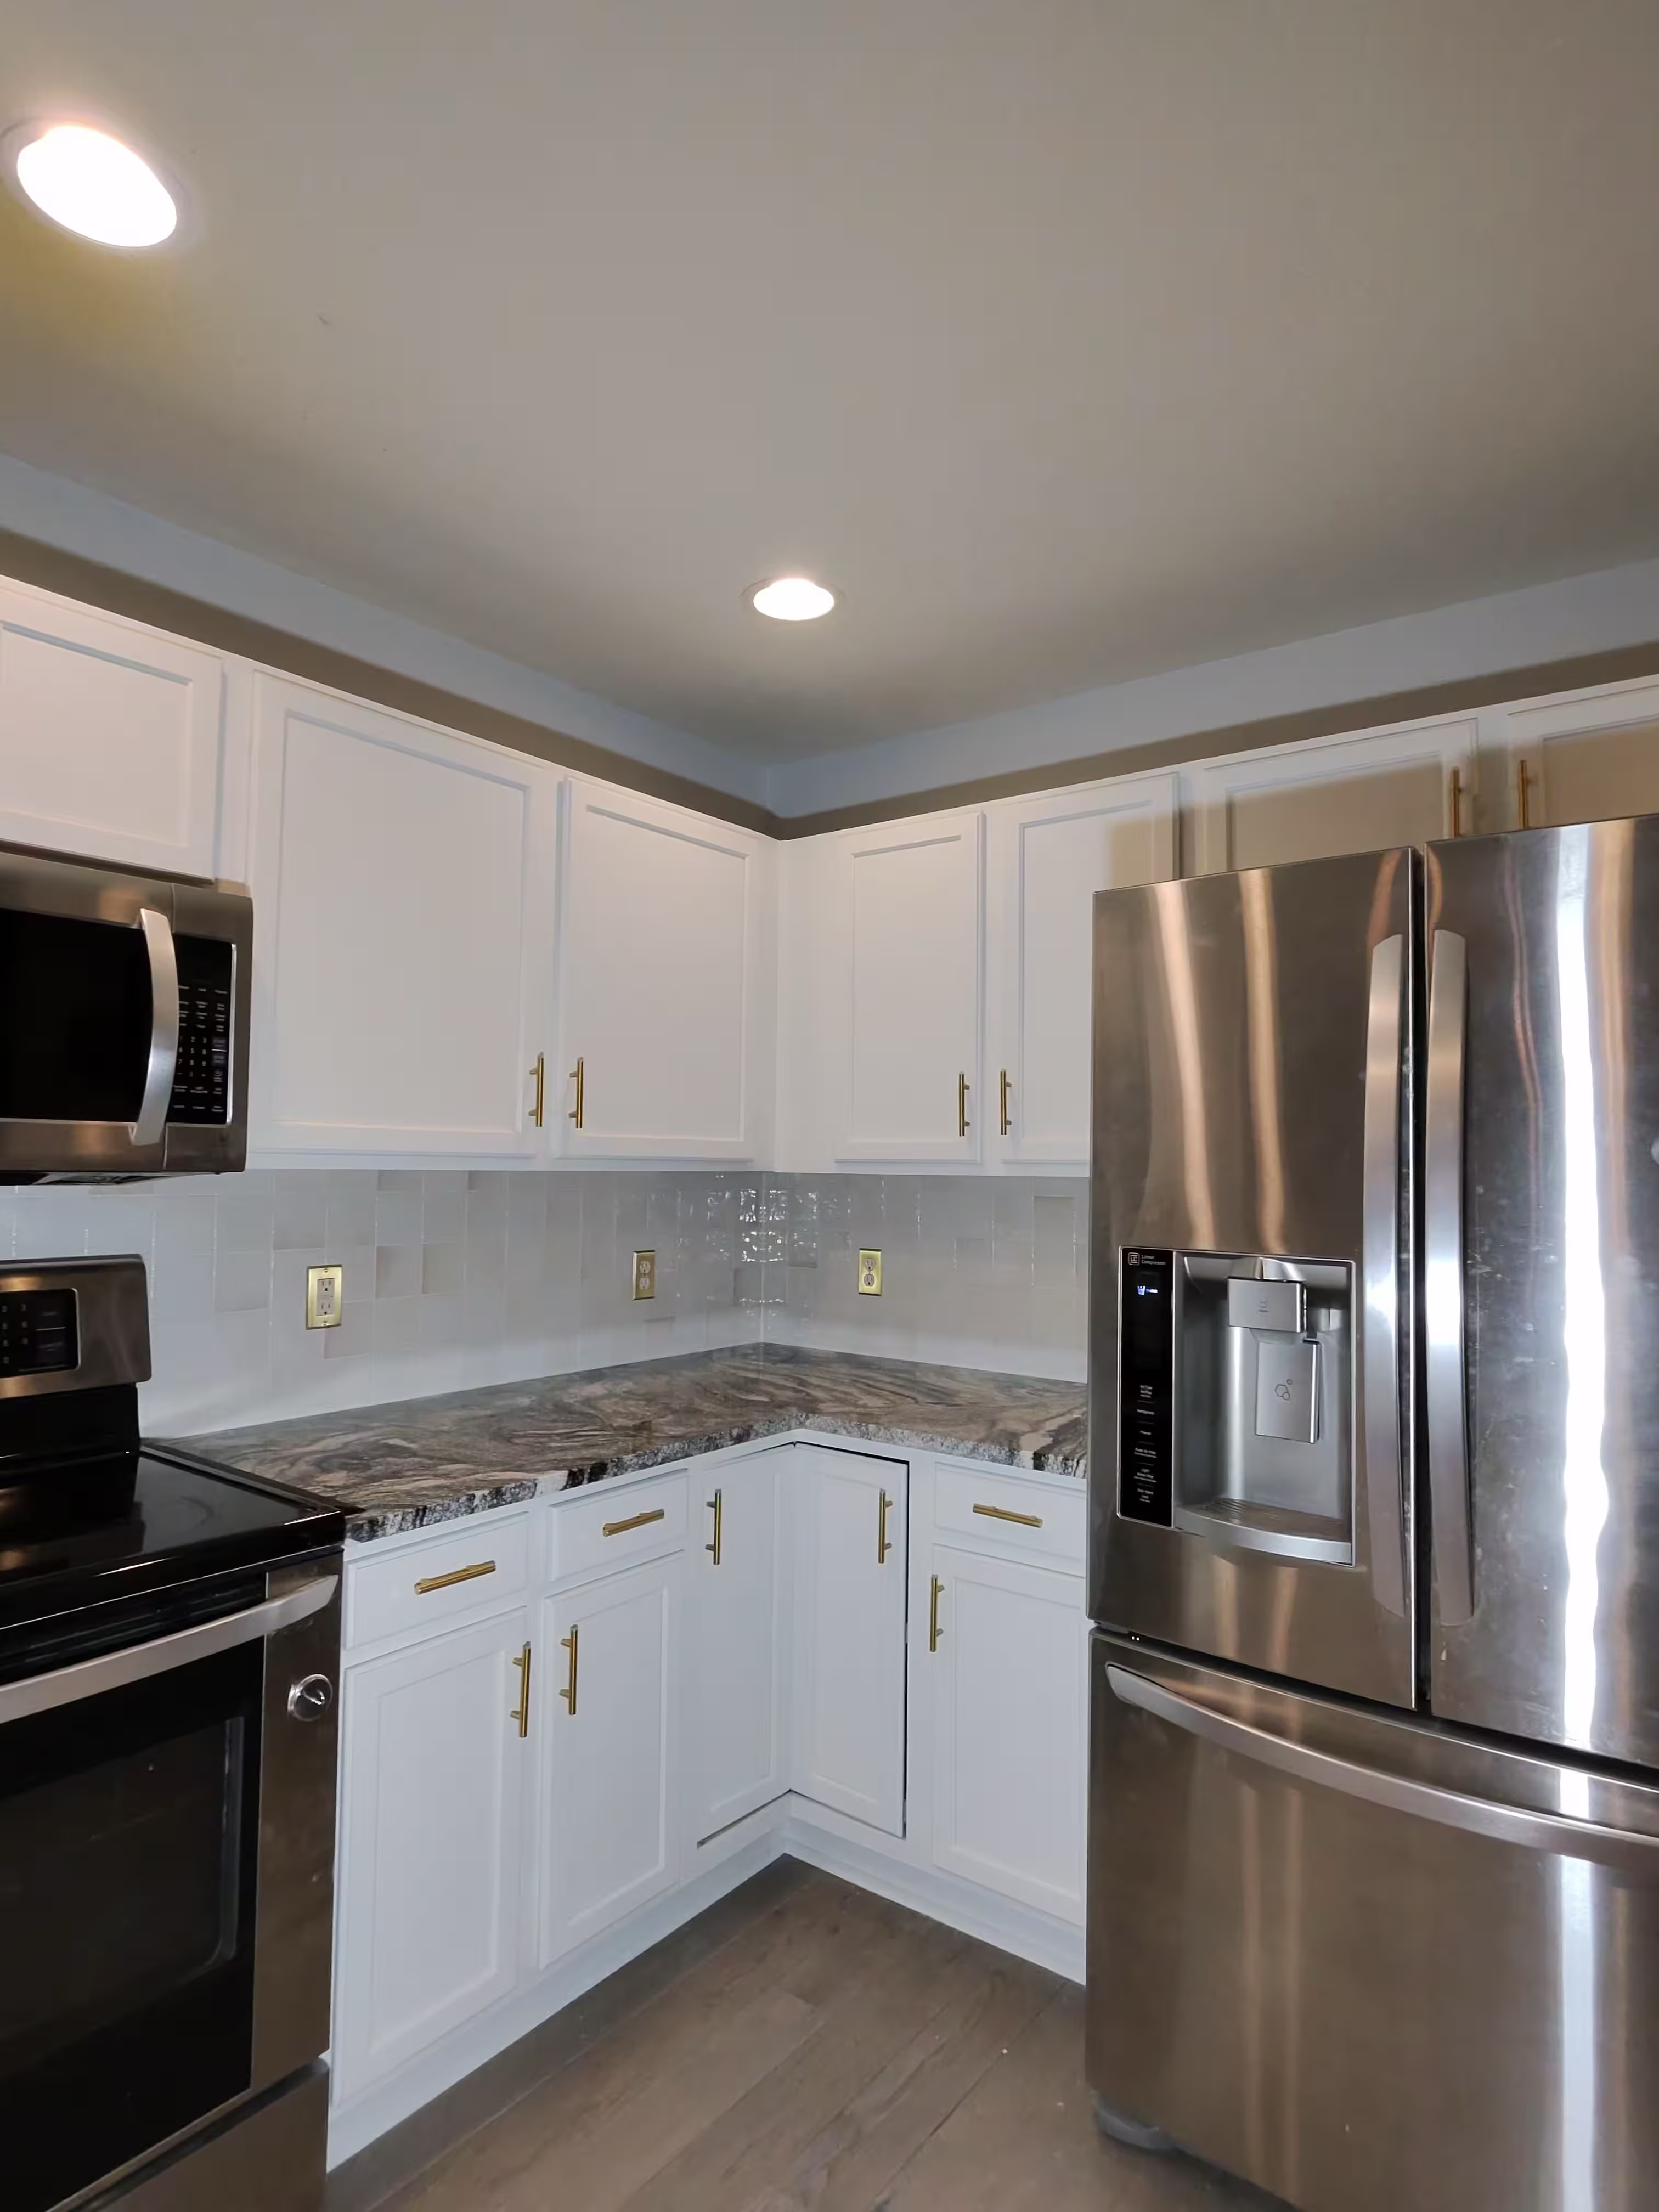
Kitchen Backsplash Installation in Aurora — Glossy White Square Tile
This backsplash installation in Aurora replaced two mismatched old backsplashes — a dated tan tile and an aging subway-tile nook — with one unified design: glossy white square tile set in a clean, laser-straight grid.
Project Overview
This project is a good picture of what a complete backsplash installation in Aurora involves when it is done properly. The kitchen came to us with two different backsplashes installed years apart: a small tan square tile running the length of the range wall, and a white subway-tile section in the secondary counter nook beside the refrigerator. Neither matched the other, and neither matched where the owners wanted to take the kitchen. The assignment was to remove both and replace them with a single, unified design — glossy white square tile set in a straight grid across every counter run.
A backsplash looks like a small project next to a full remodel, but the sequence matters just as much. Old tile rarely releases cleanly, so demolition on this kitchen opened sections of wall down to the studs. That became an advantage: instead of skimming over damaged drywall, we rebuilt the substrate with cement backer board, measured every outlet while the framing was still exposed, and planned the tile courses around the outlets, the window, and the range hood before a single tile was set.
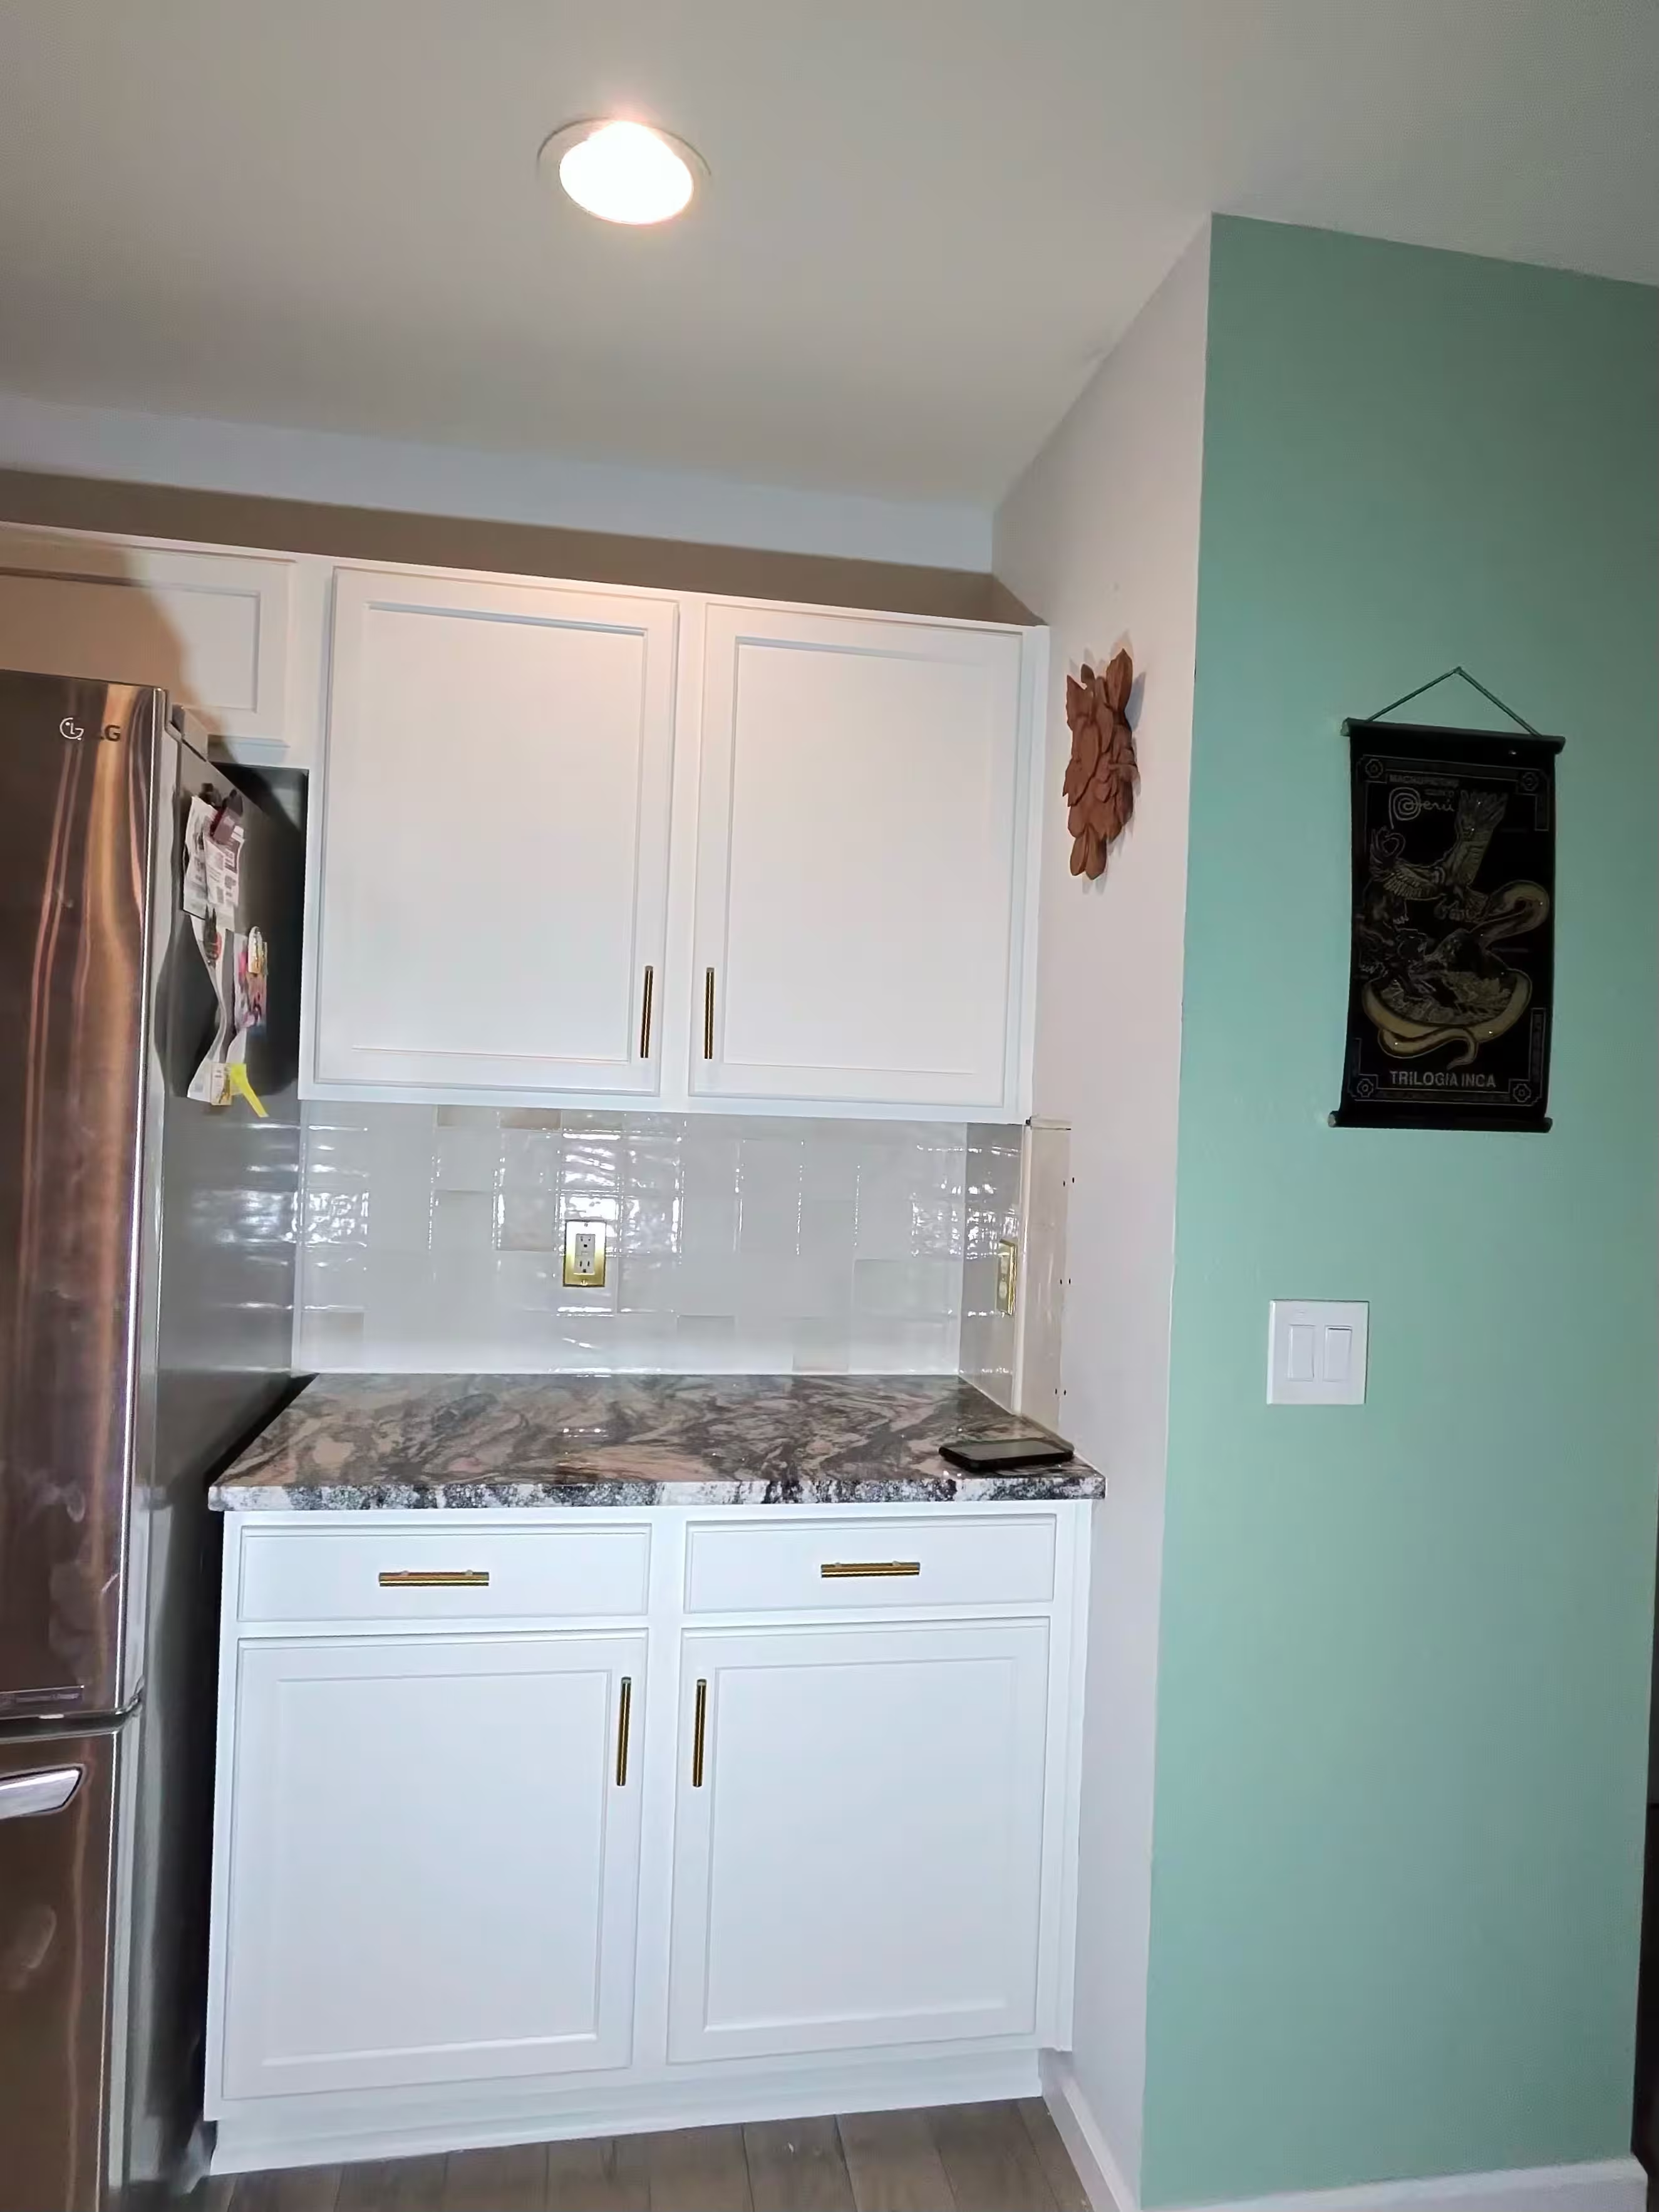
The finished kitchen now reads as one space. The glossy white tile bounces daylight across the room, the grid lines carry uninterrupted from the range wall into the refrigerator nook, and a clean bead of silicone seals the joint where tile meets granite. If you are still comparing materials and patterns for your own kitchen, our main kitchen backsplash installation page covers the full range of options we install across the south Denver area — this page documents one real Aurora kitchen from demolition to the final bead of caulk.
Project Details
Location
Aurora, CO
Project Type
Backsplash demo & replacement
Pattern
Glossy white square tile, straight-set grid
Typical Timeline
1–2 days for most backsplashes
Scope of Work
- Demolition of two existing backsplashes
- Wall rebuild with cement backer board
- Laser-level layout around outlets, window & range
- Glossy white square tile set in a straight grid
- Grouting & haze cleanup
- ASTM C920 silicone at the countertop joint
The Challenge
Two eras of tile had to come off the walls without wrecking anything around them. The tan tile behind the range and the subway tile in the nook were both bonded hard, which meant hammer-and-chisel demolition inches above finished granite counters and tight against cabinet faces. We wrapped the counters in kraft paper before the first swing, cut the old tile away from outlet boxes with an oscillating tool, and accepted that portions of the drywall face would come out with the tile — because they always do.
The second challenge was the layout itself. A straight-set grid is unforgiving: every vertical joint stacks, so any drift shows. This kitchen added outlets at different heights, a window, a range hood, and a separate nook wall that all had to share one coherent grid. Glossy tile raises the stakes further because its reflective surface highlights any wave in the substrate. Getting this design right meant the flatness of the rebuilt wall mattered as much as the tile setting itself.
Backsplash Installation in Aurora, Step by Step
From two mismatched backsplashes to one unified glossy white grid
Demolition of Both Old Backsplashes
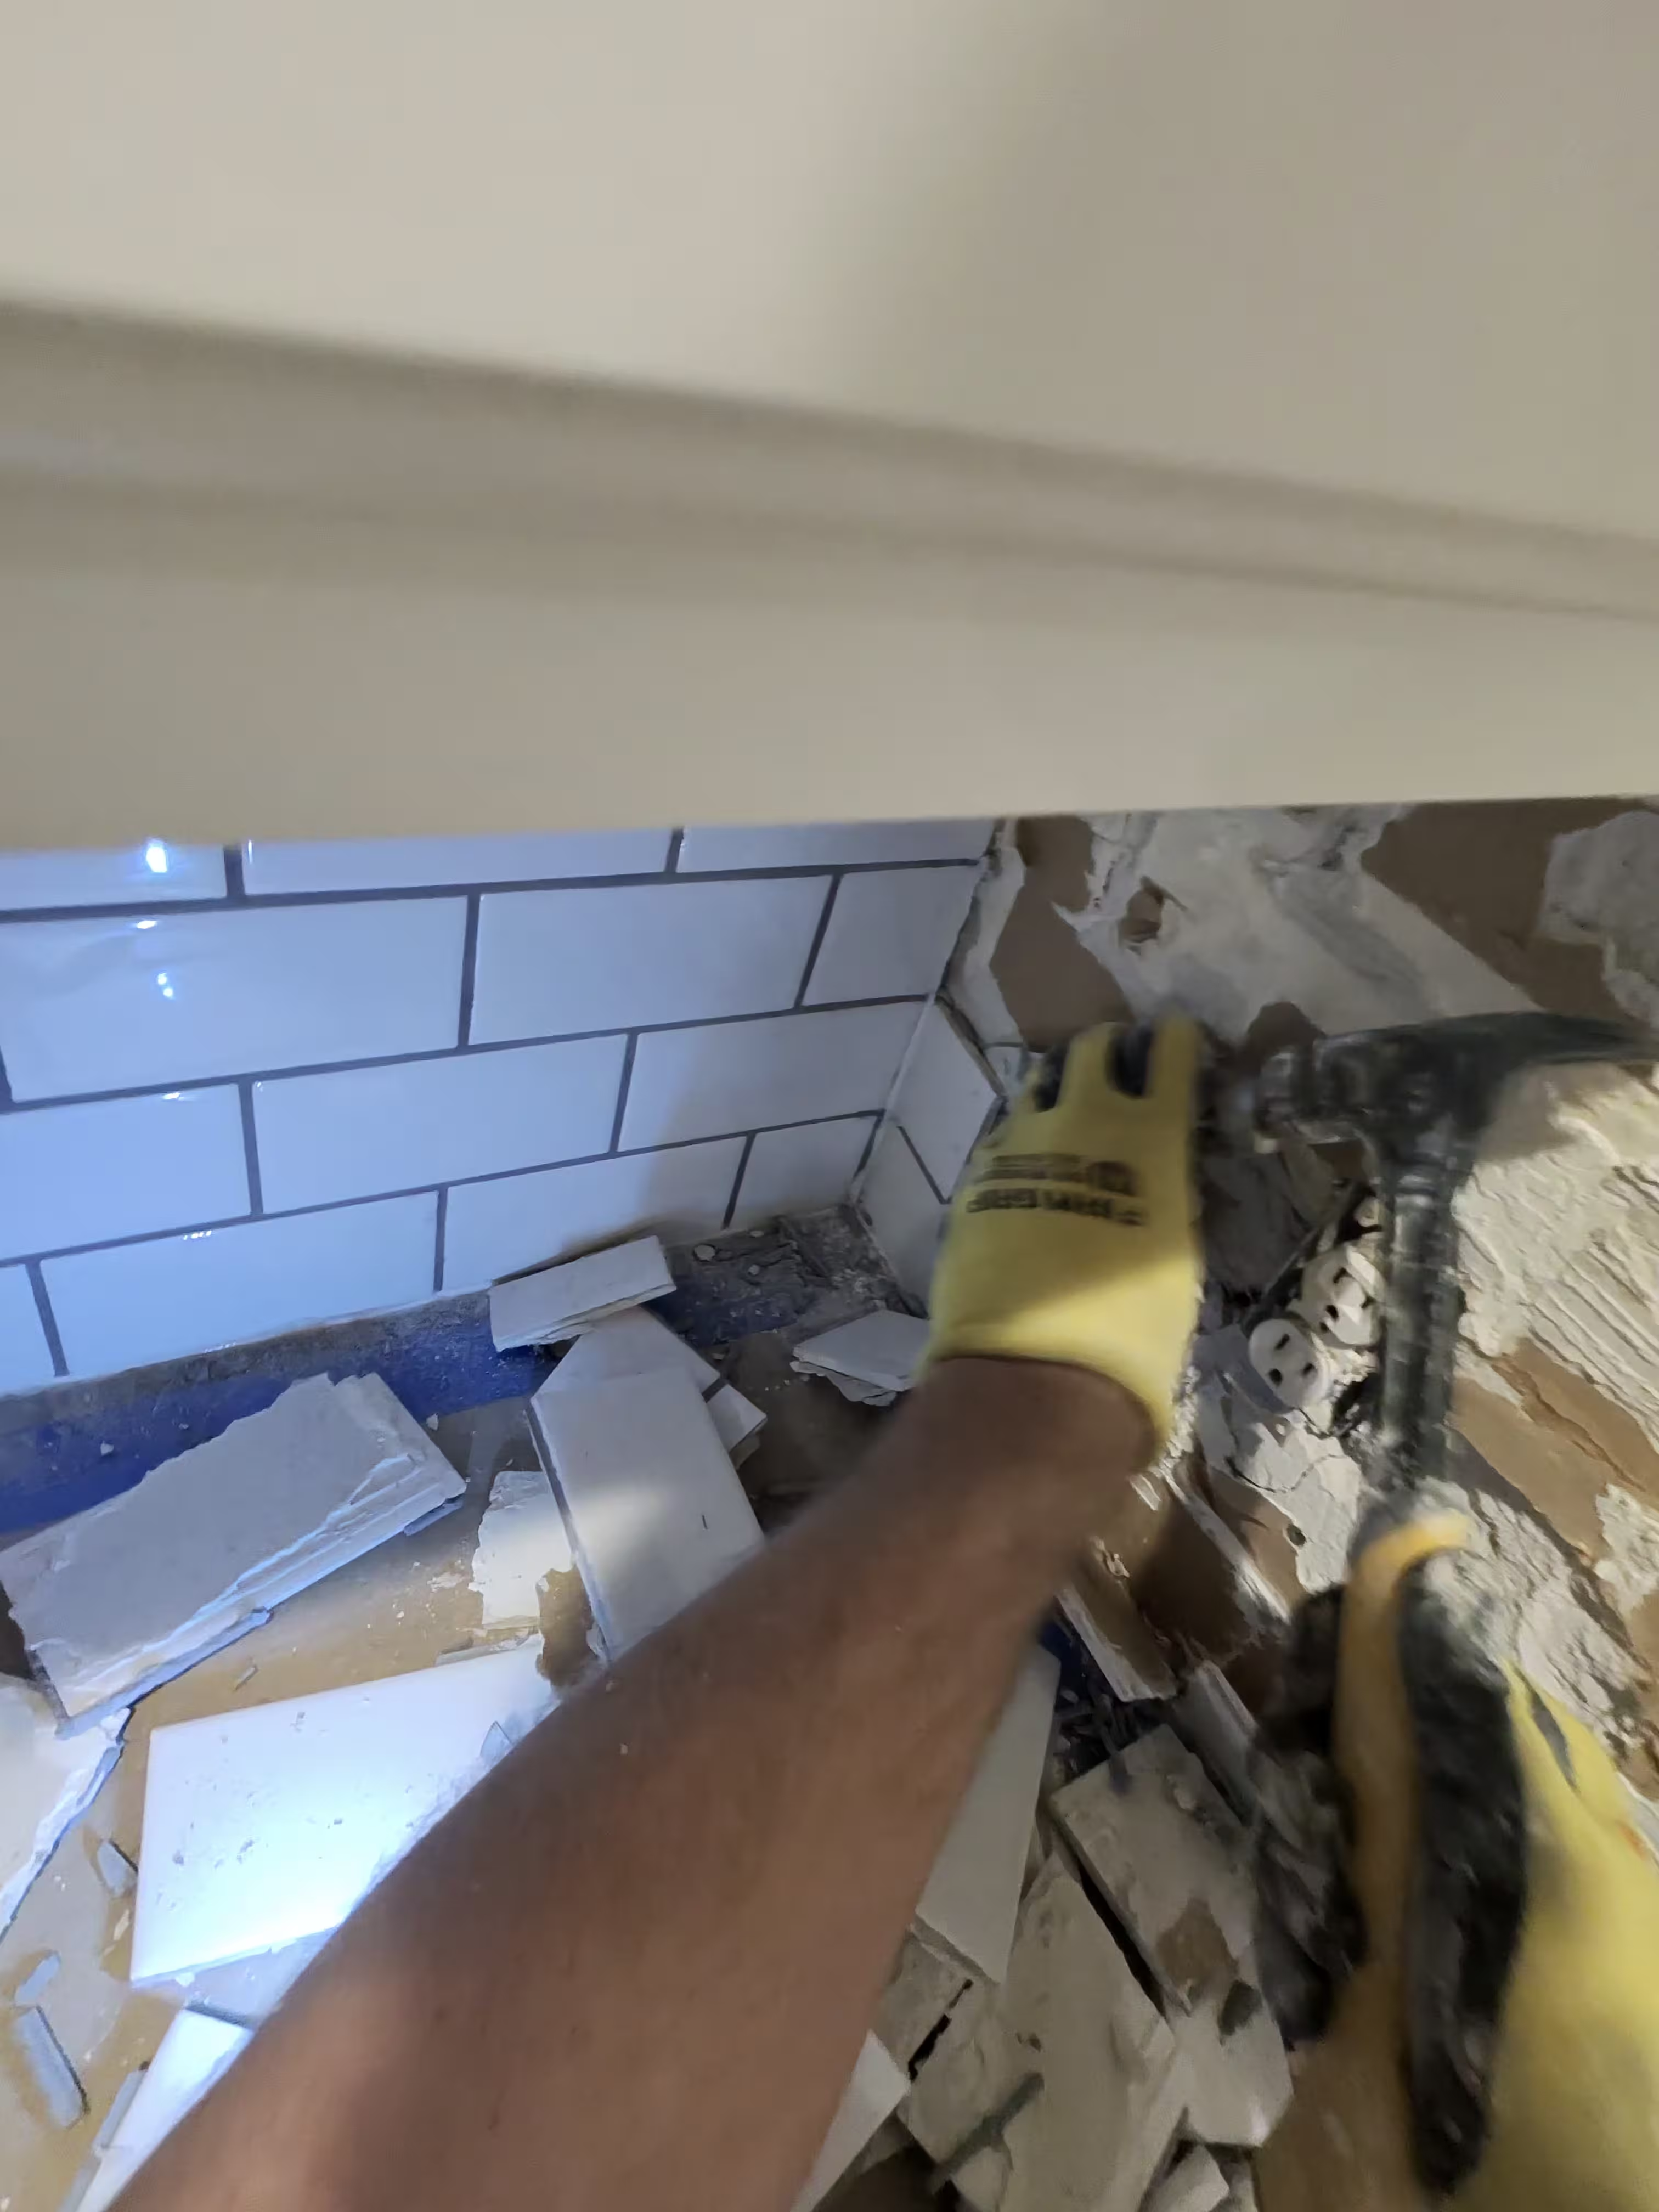
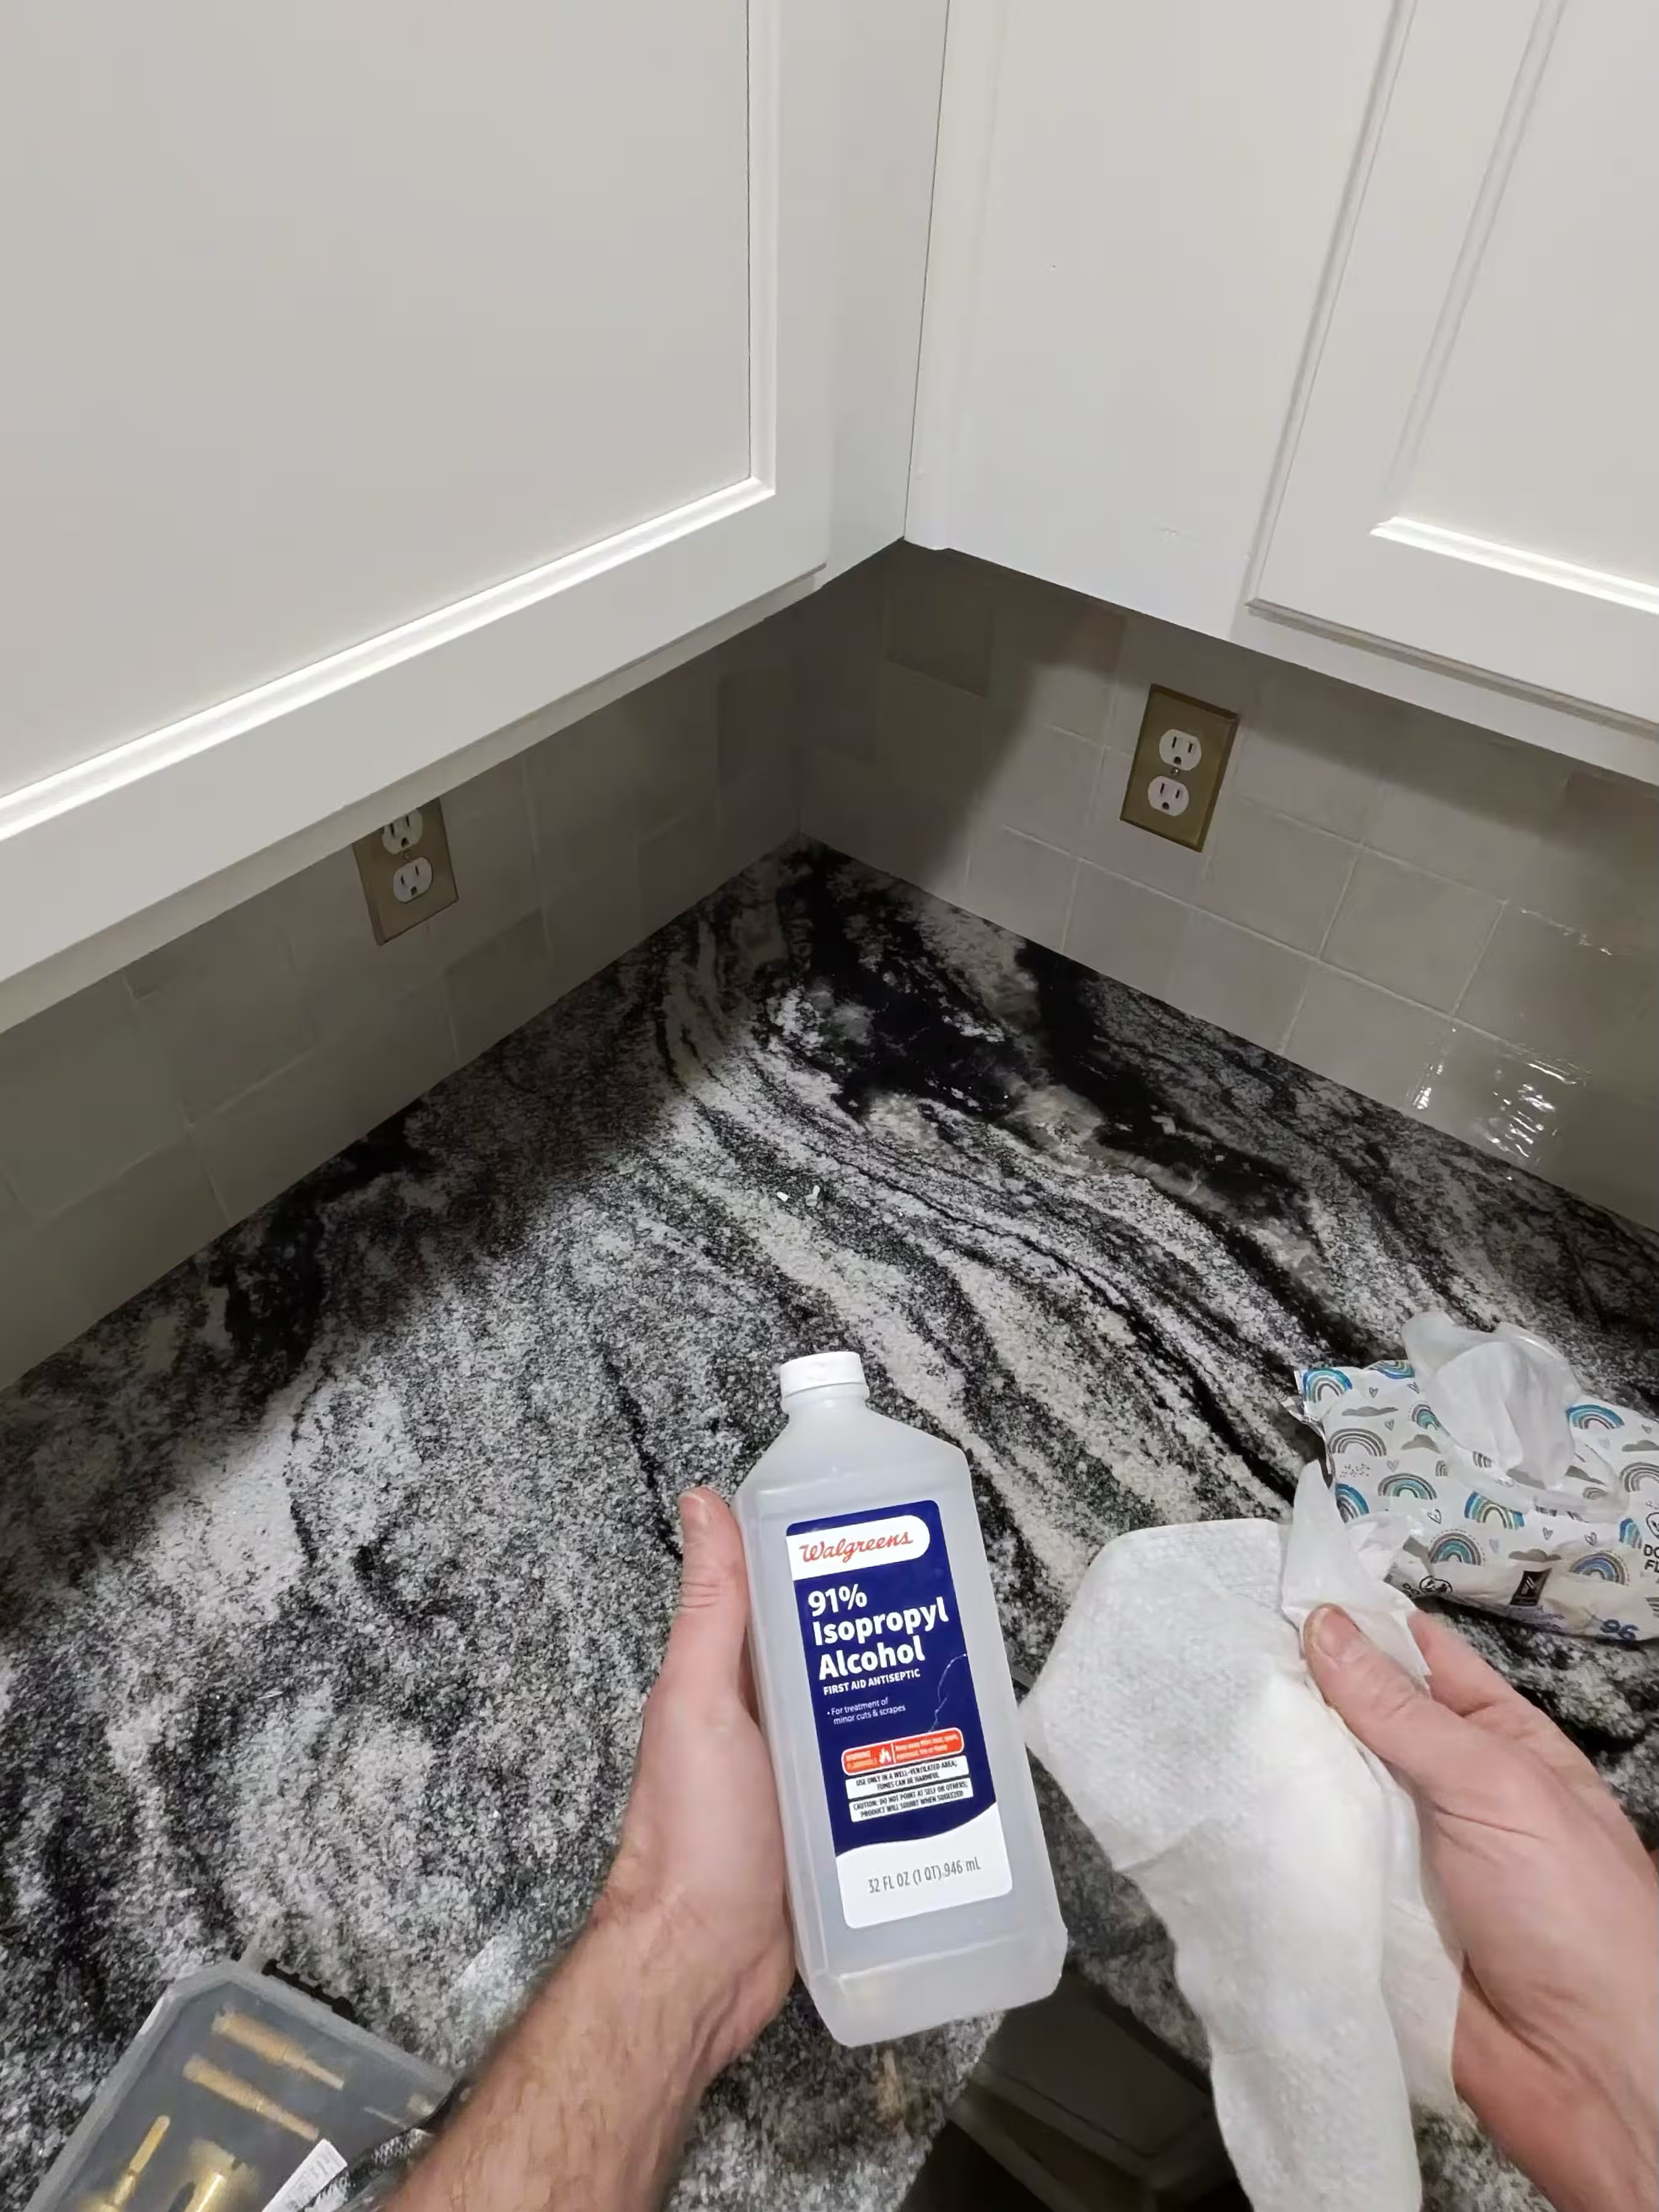
With the counters papered over and the work zones taped off, we chiseled the old subway tile out of the nook and worked the tan tile off the range wall section by section. Around every outlet, the tile was cut free with an oscillating tool instead of being pried, which protects the electrical boxes and keeps the demolition edges predictable.
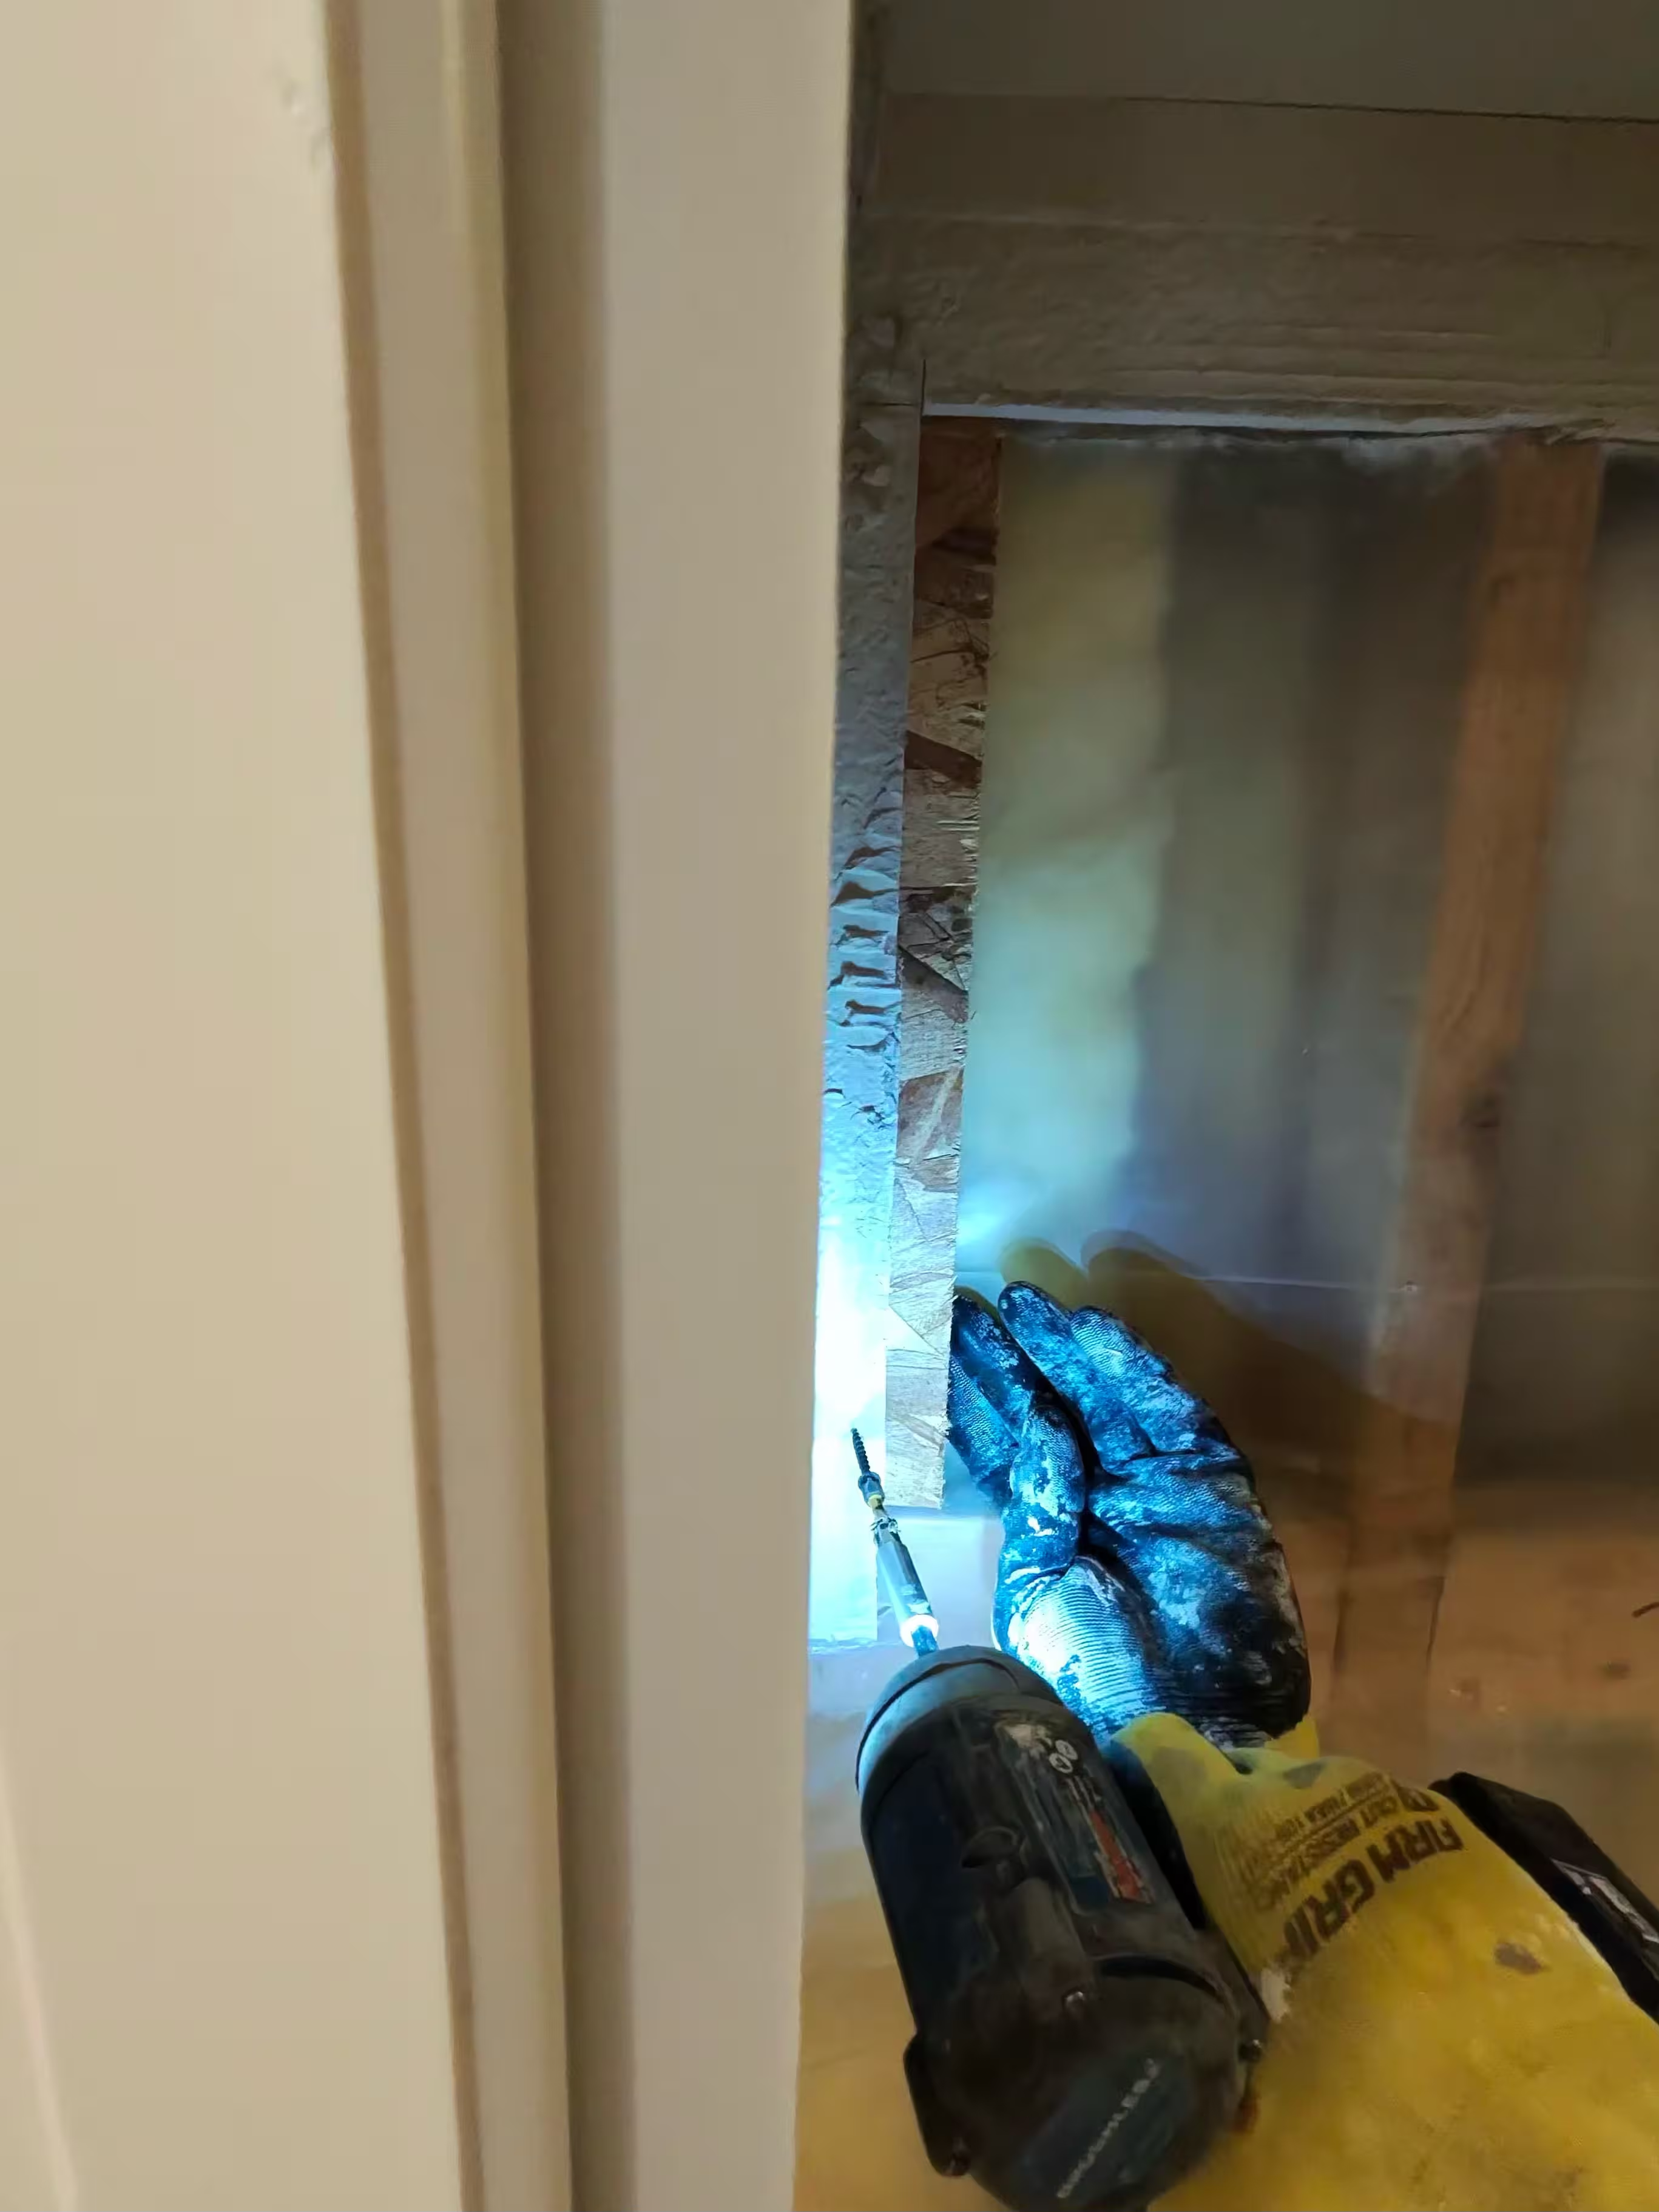
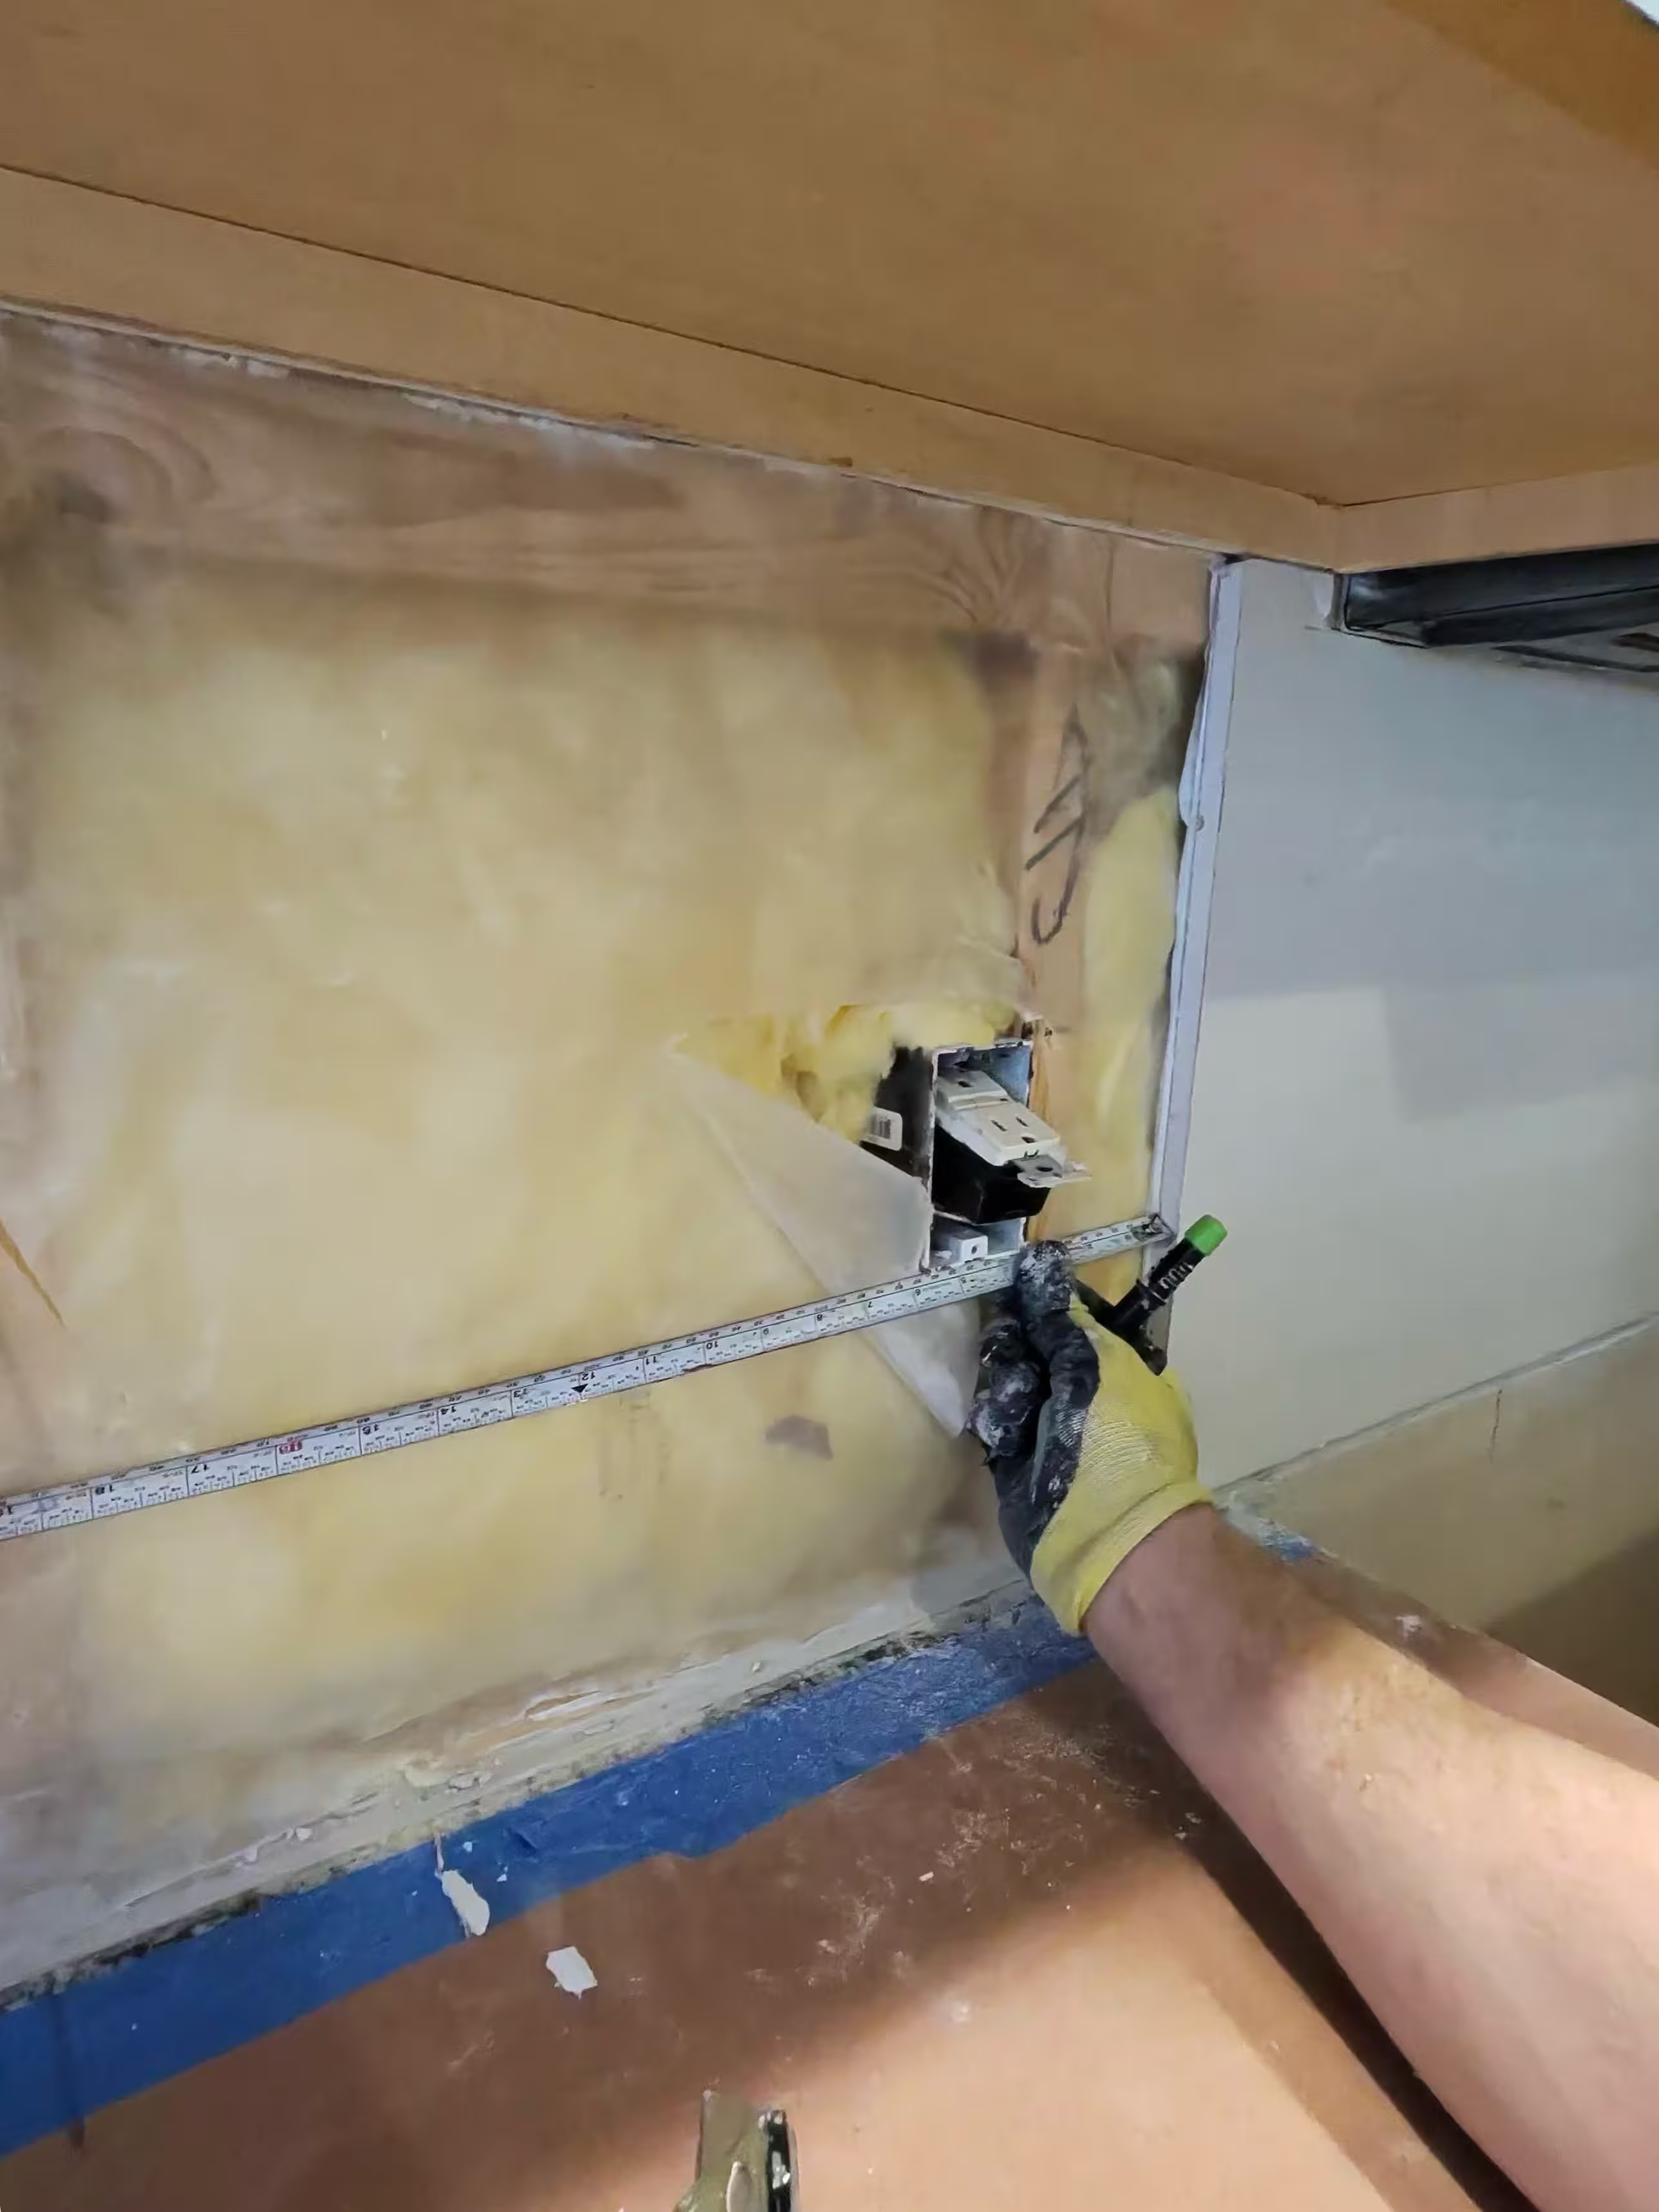
As expected, the bond pulled parts of the drywall face away with the tile, exposing insulation and studs in several bays. Rather than patching over weak spots, we stripped those sections to sound framing so the new substrate could start from a clean, solid base.
Wall Rebuild & Laser-Level Layout
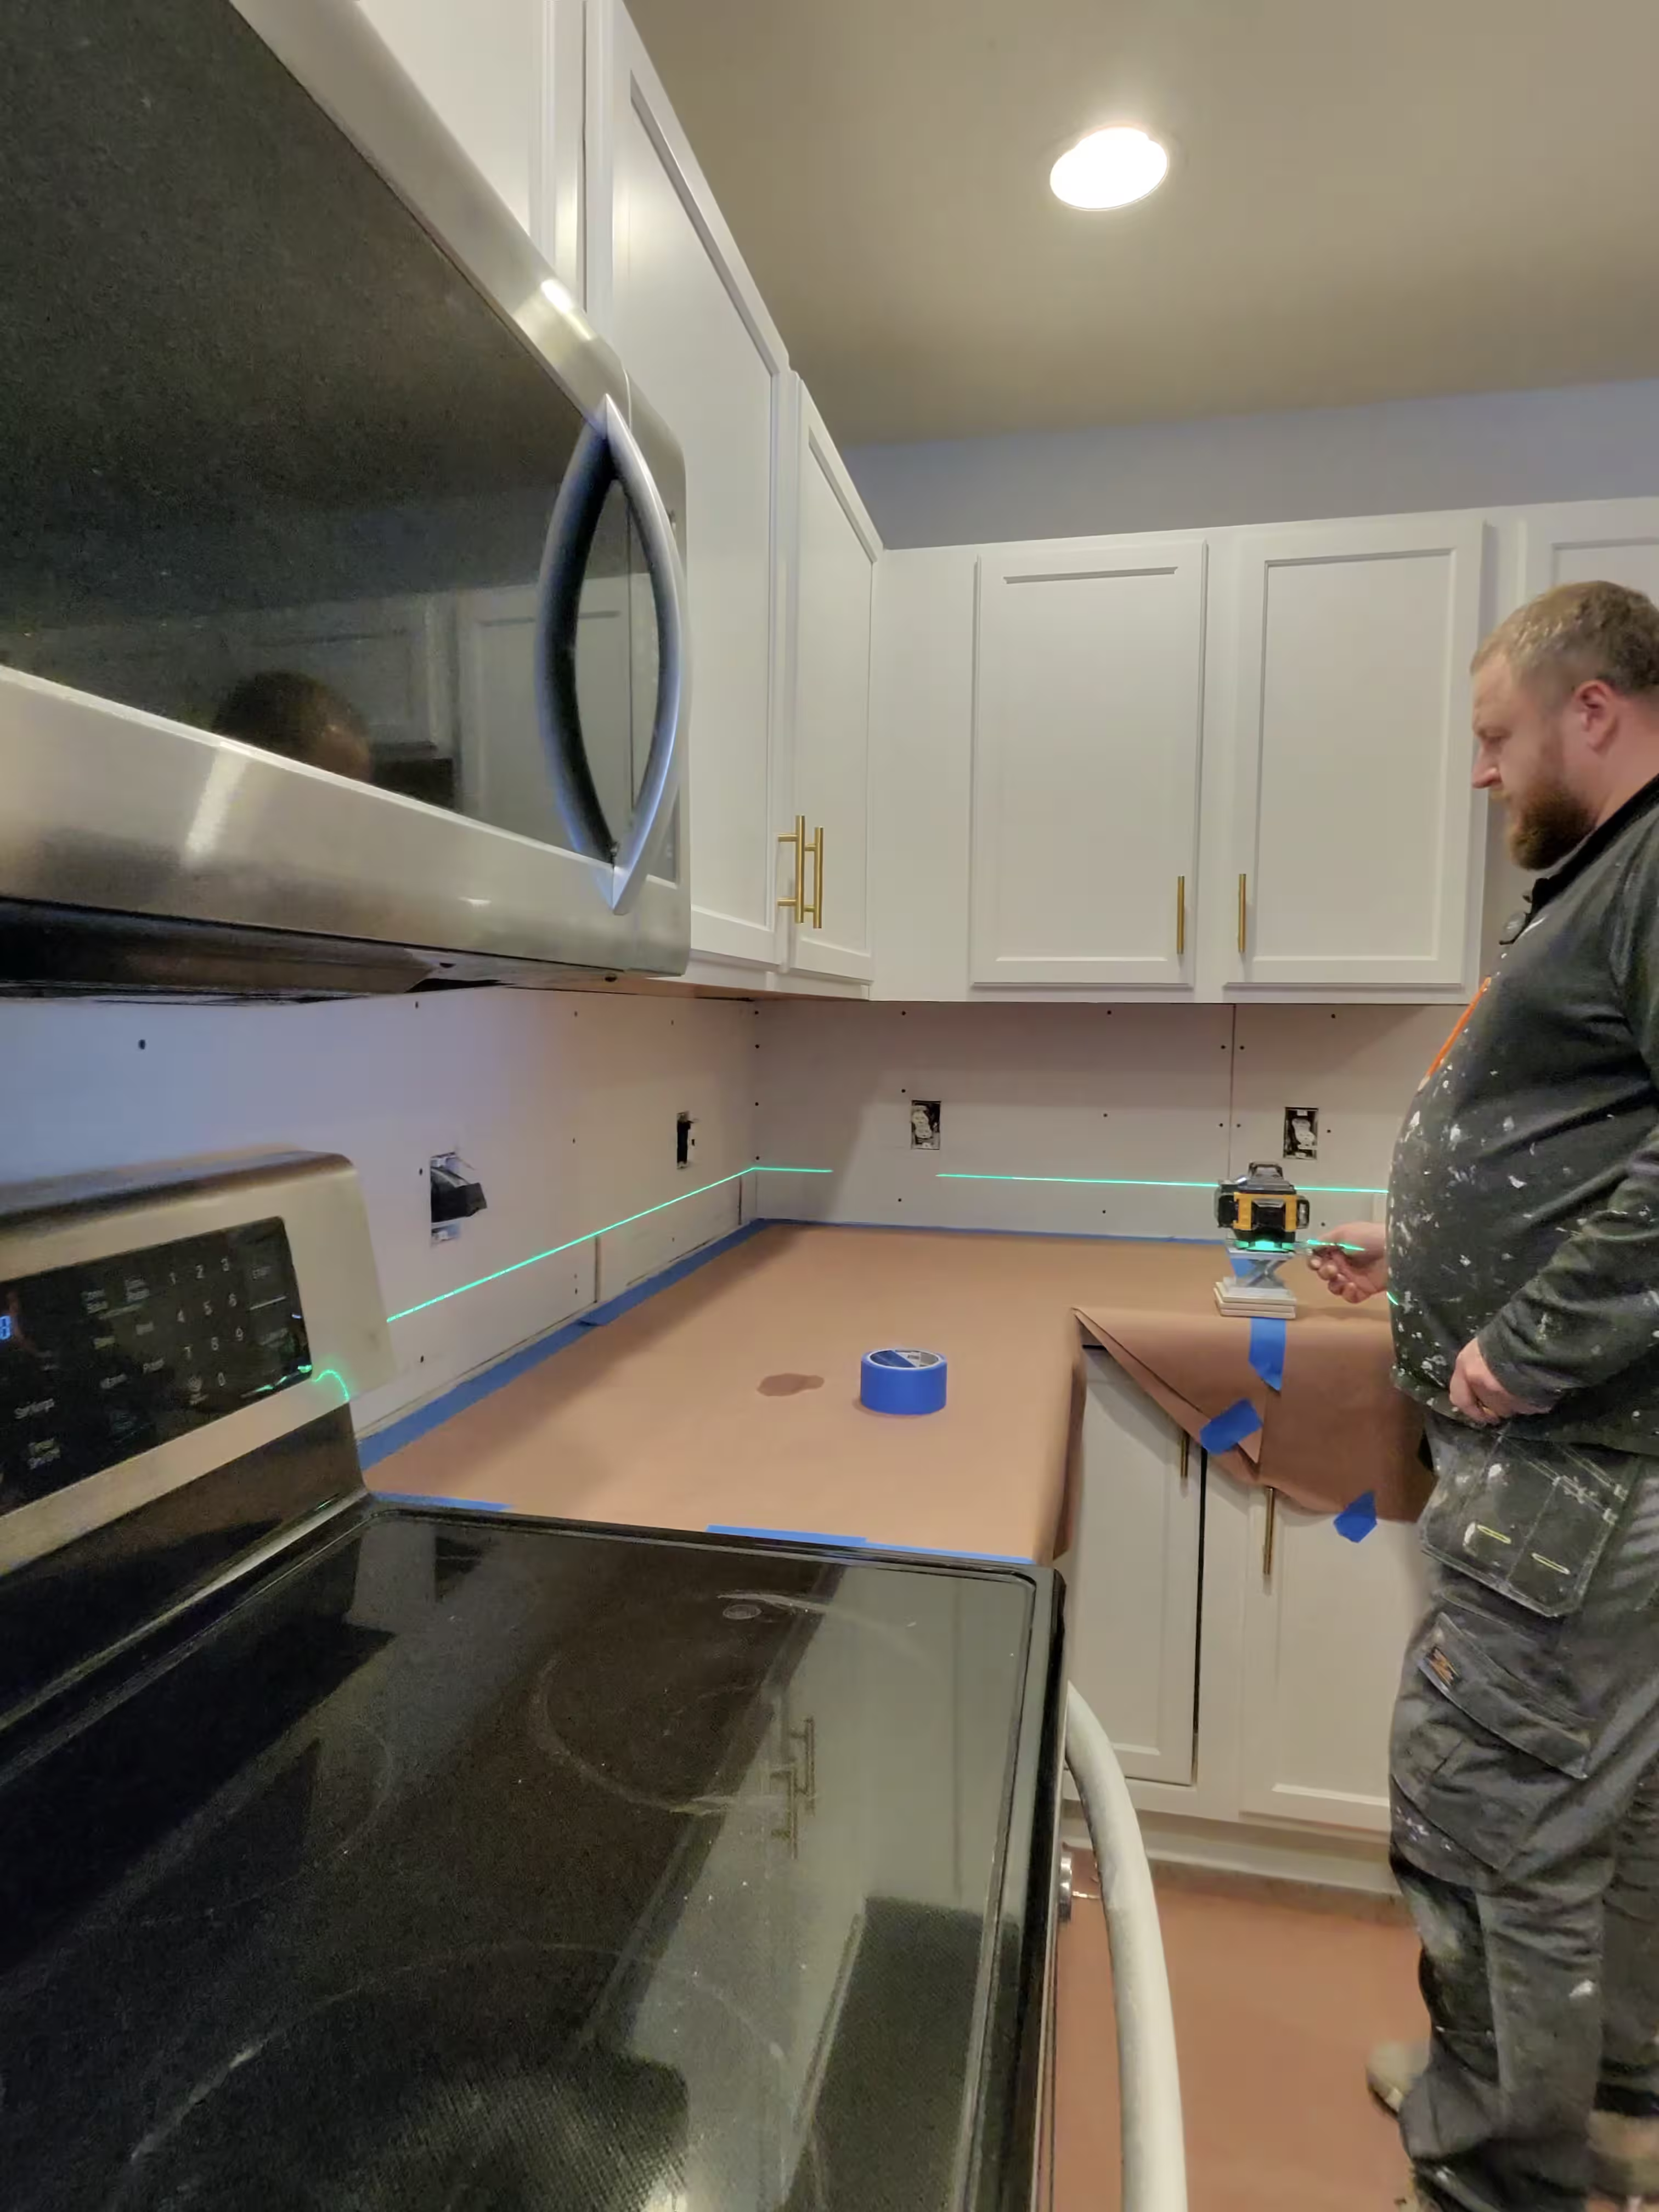
New cement backer board was cut to size in the driveway, fastened into the open stud bays, and trimmed cleanly along cabinet edges and inside corners until both walls sat flat and true — the substrate condition ANSI A108.01 expects before any tile goes up. While the framing was still visible, we measured and marked every outlet box so its position was locked into the plan.
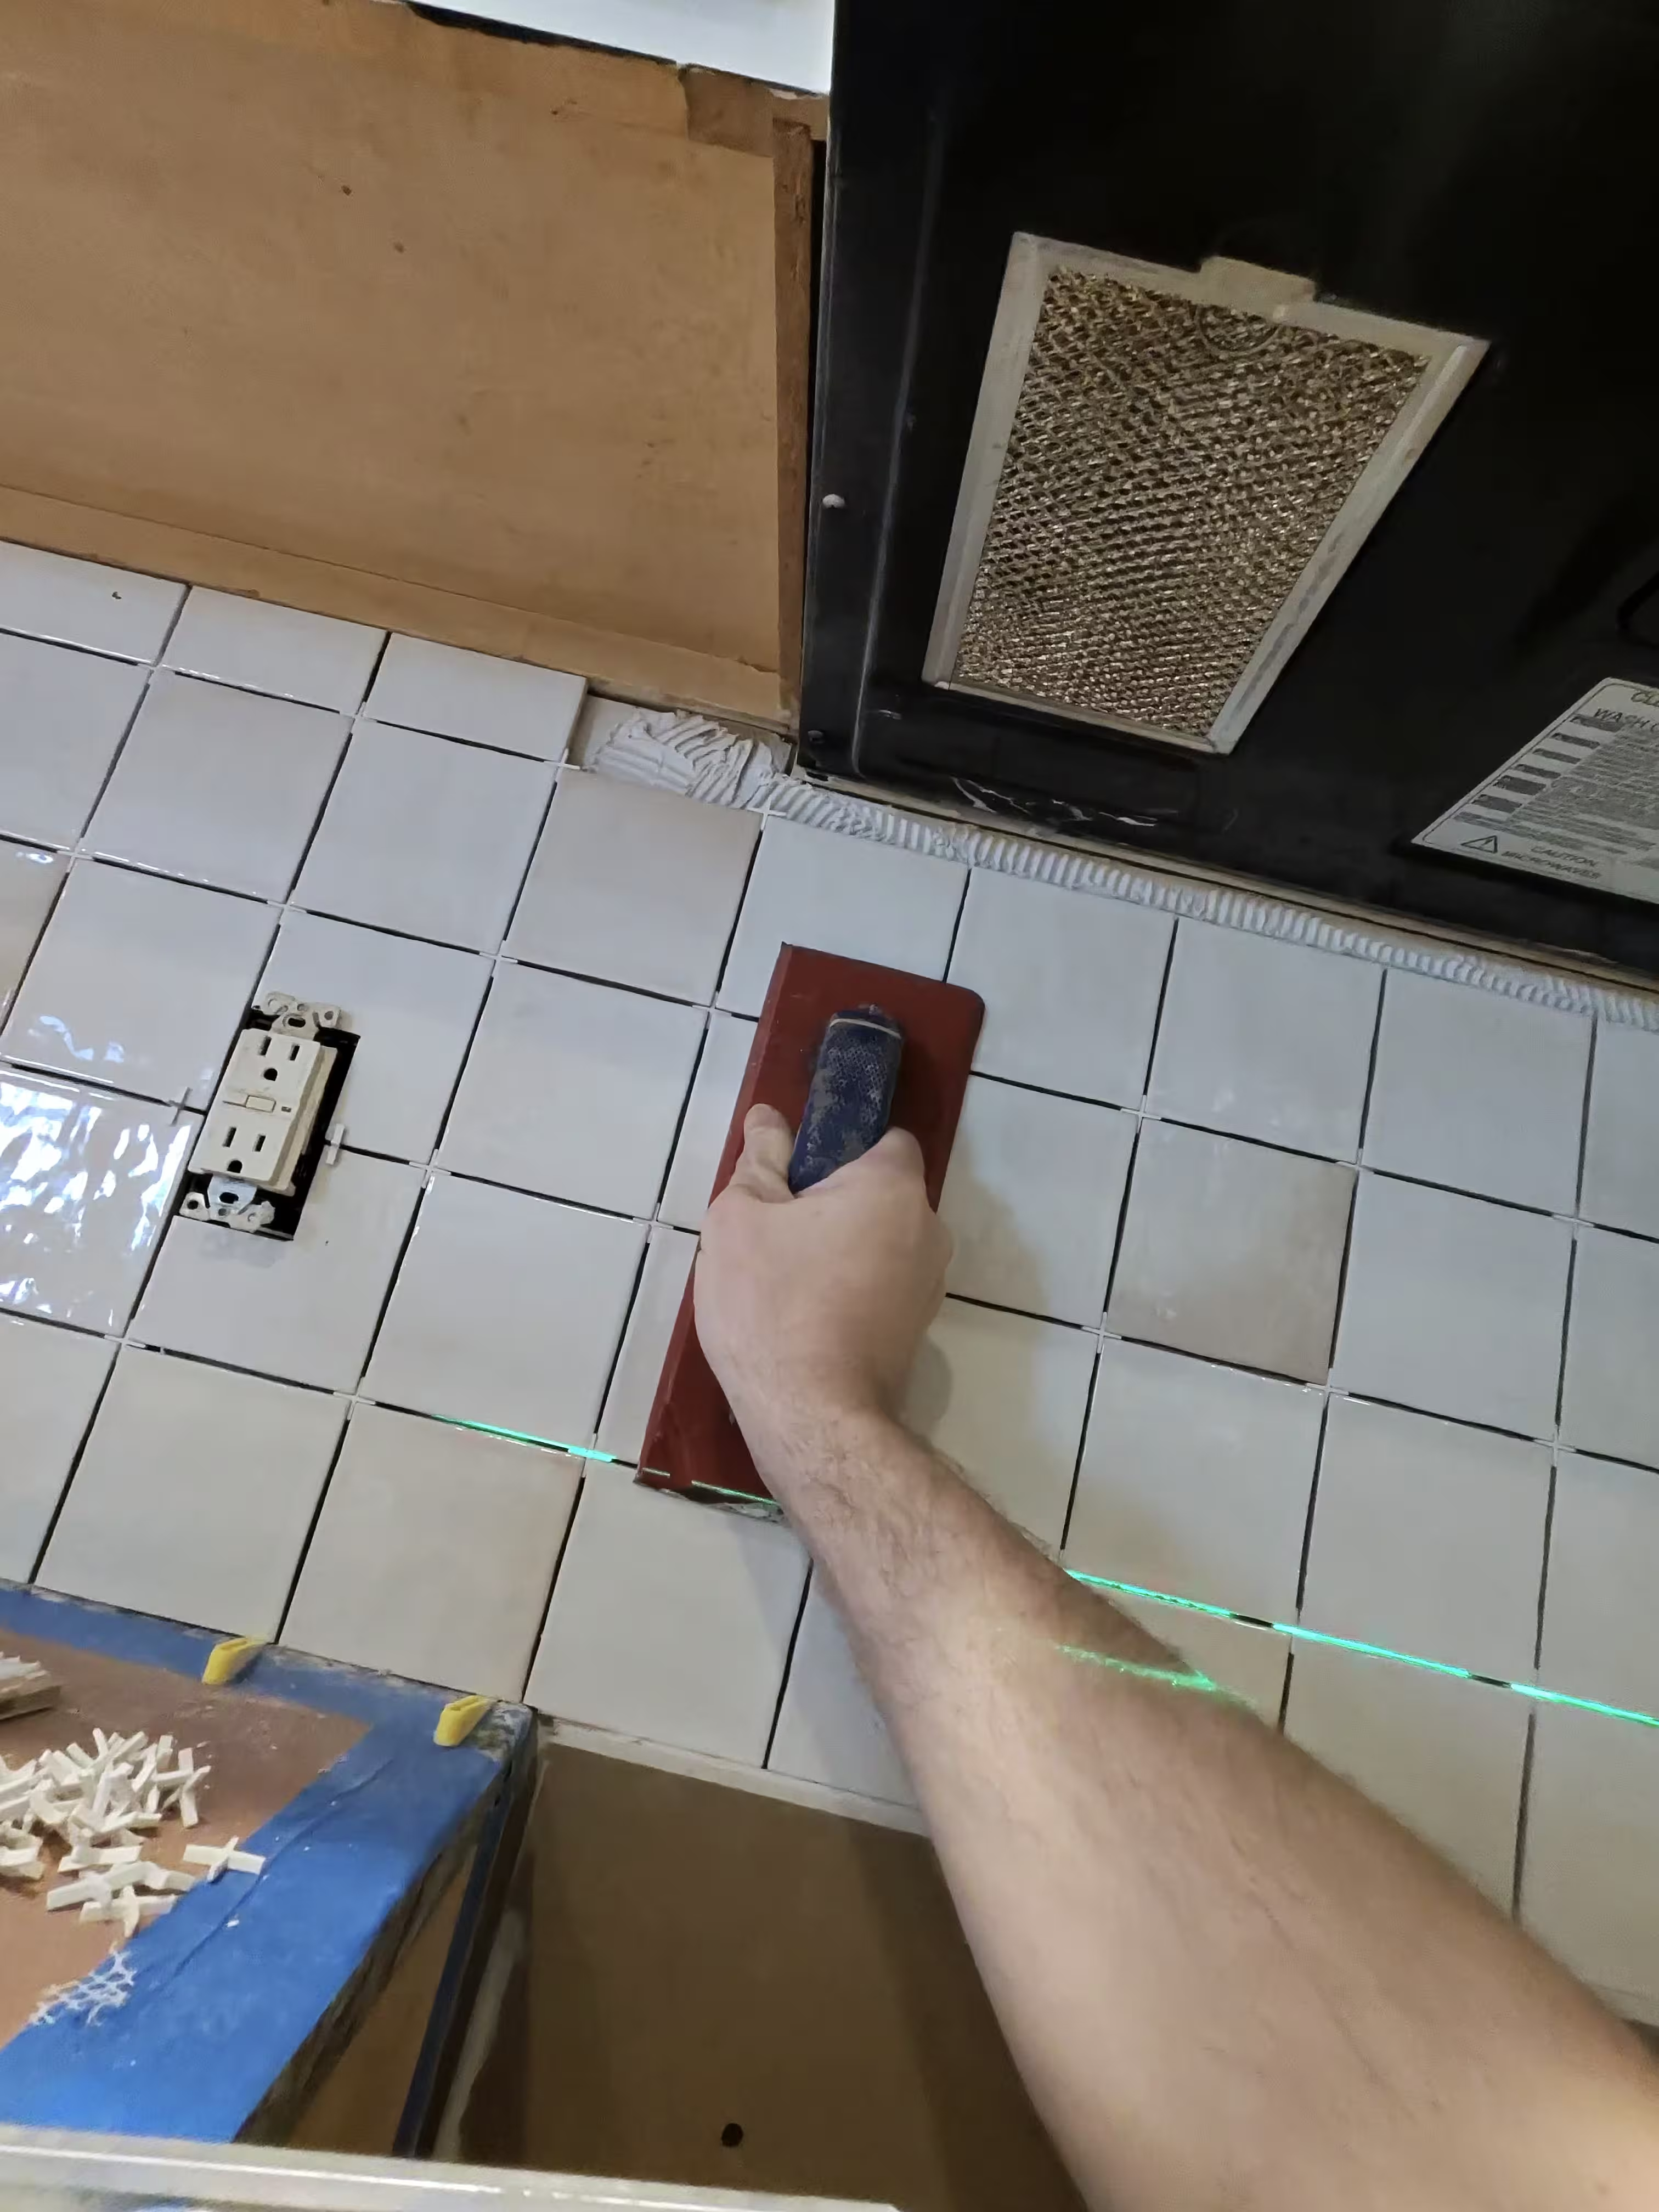
Then came the most important discipline on a straight-set grid: layout. We projected laser level lines across the fresh backer board and mapped every course, so cuts would land evenly at the counter, the window, the range hood, and the upper cabinets — no slivers, no drifting joints, and a grid that carries at the same height from the range wall into the nook.
Setting, Grouting & Caulking the Grid
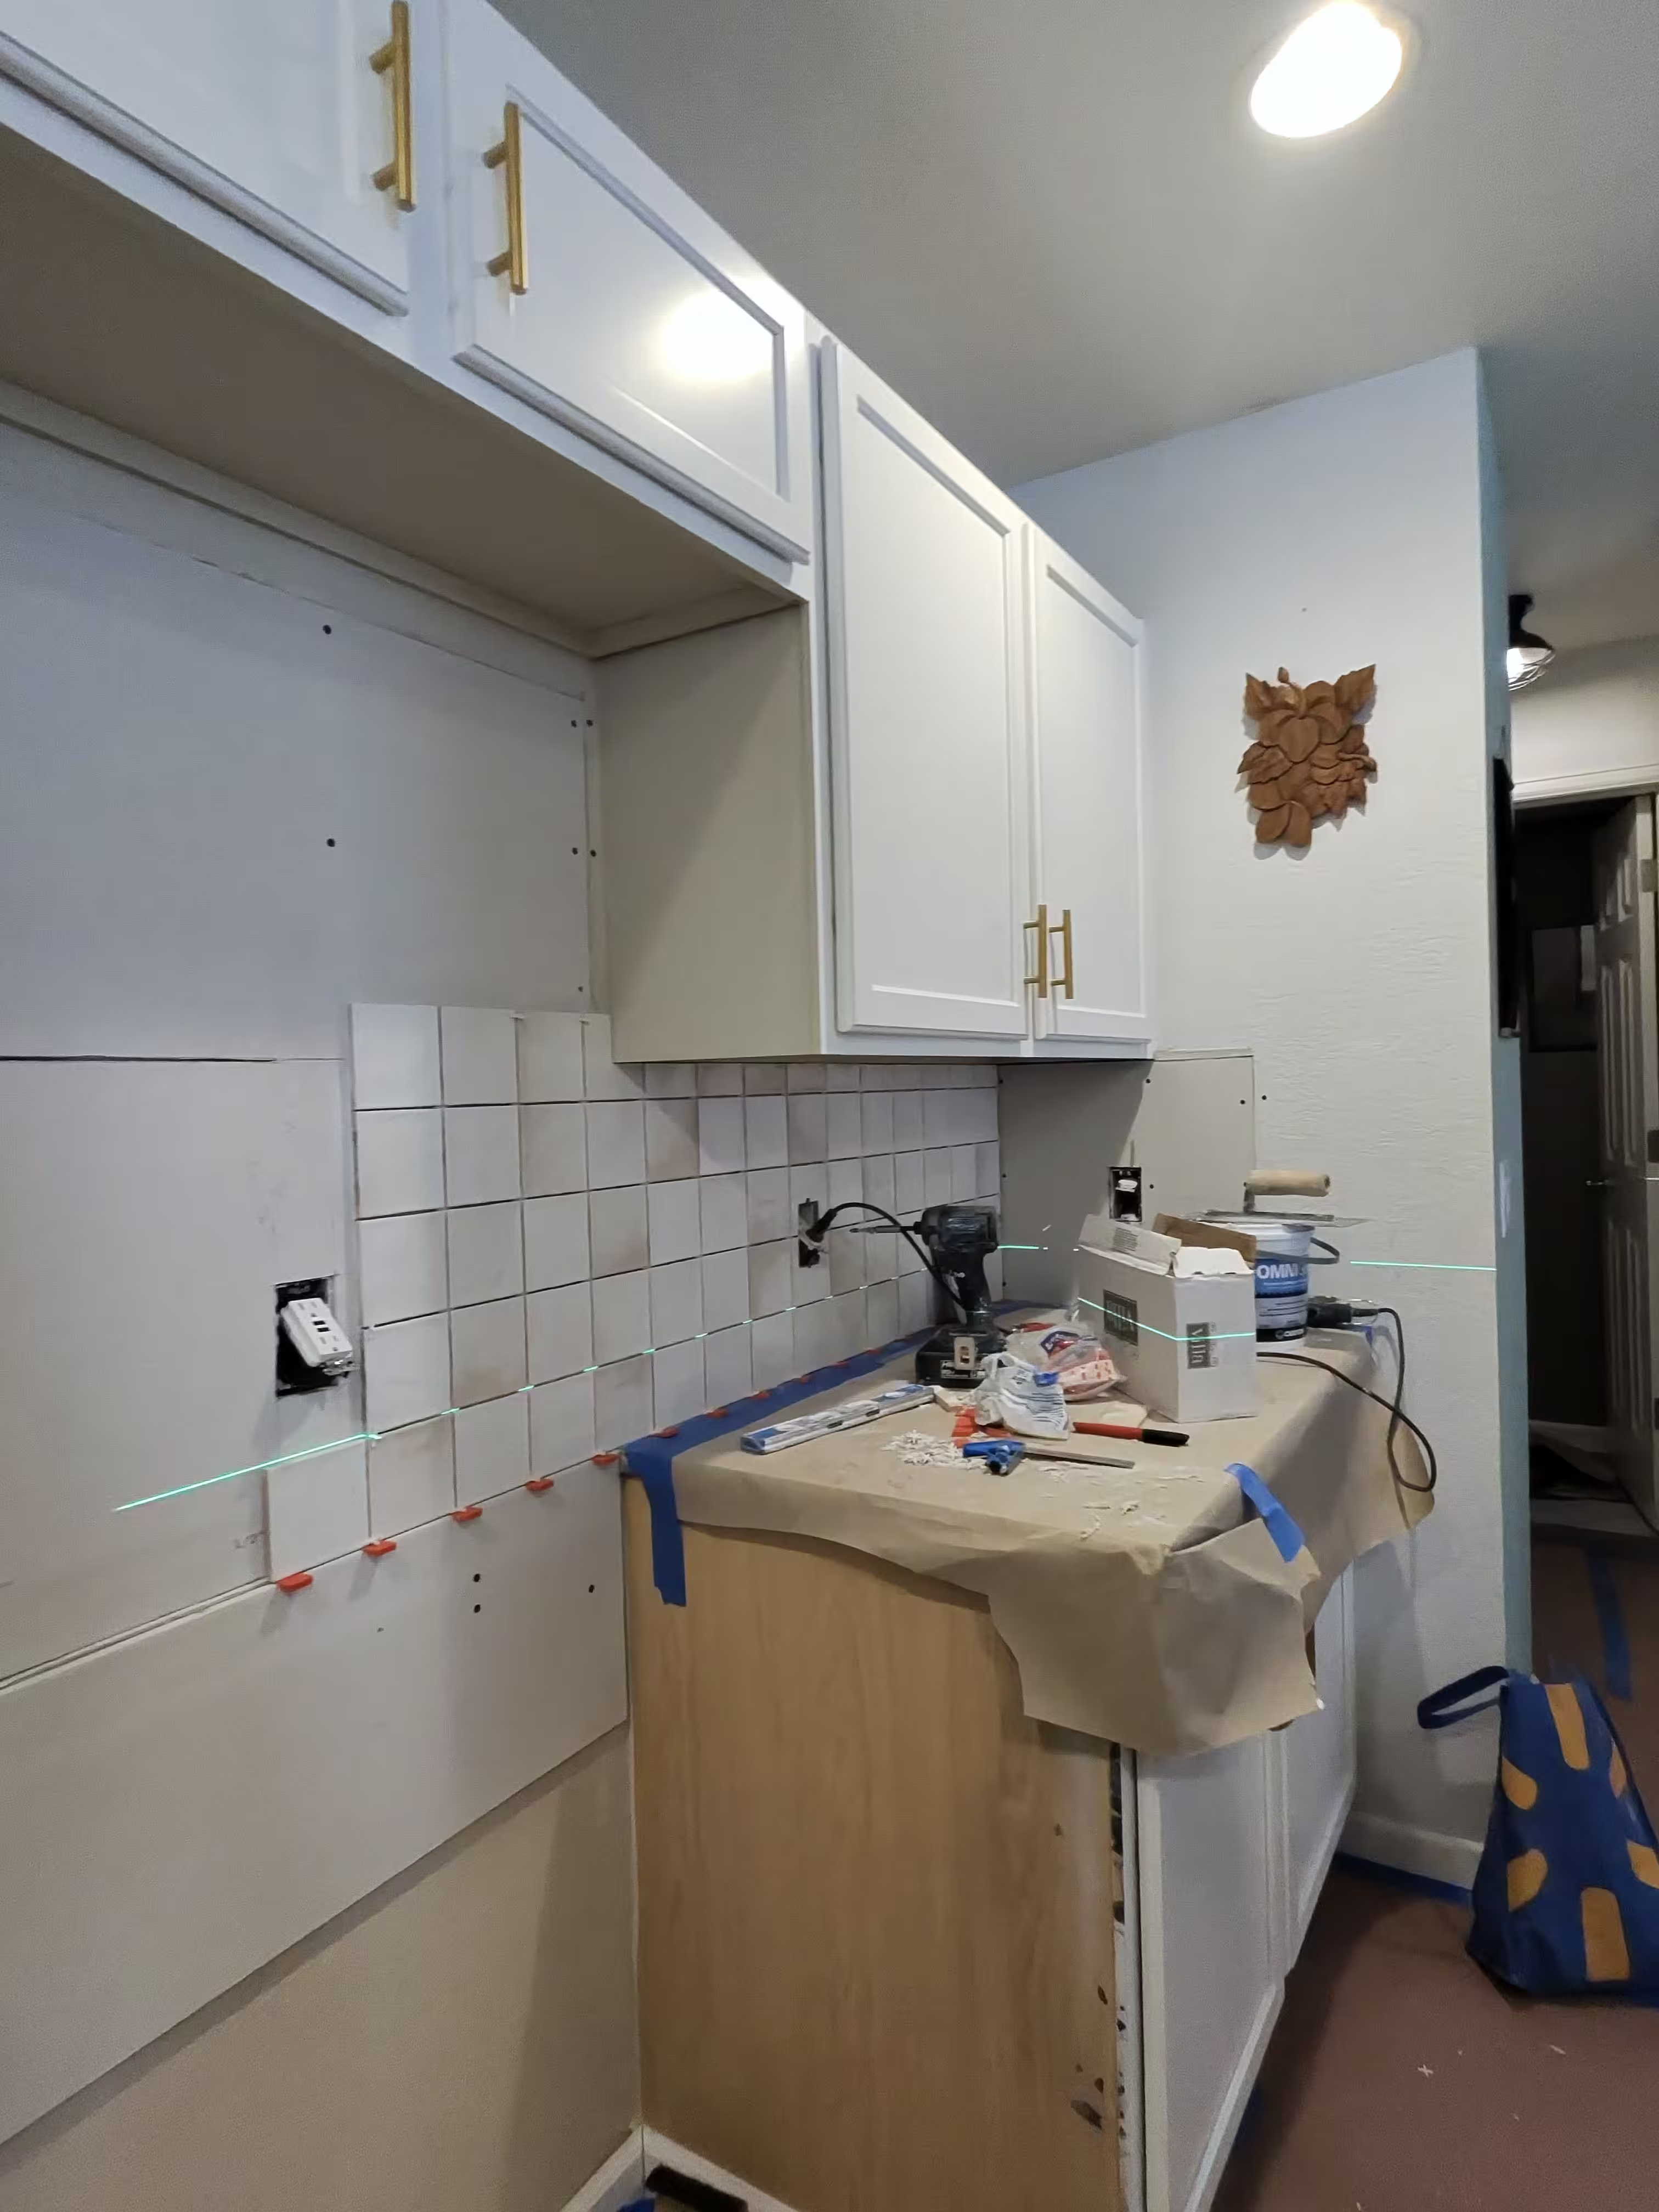
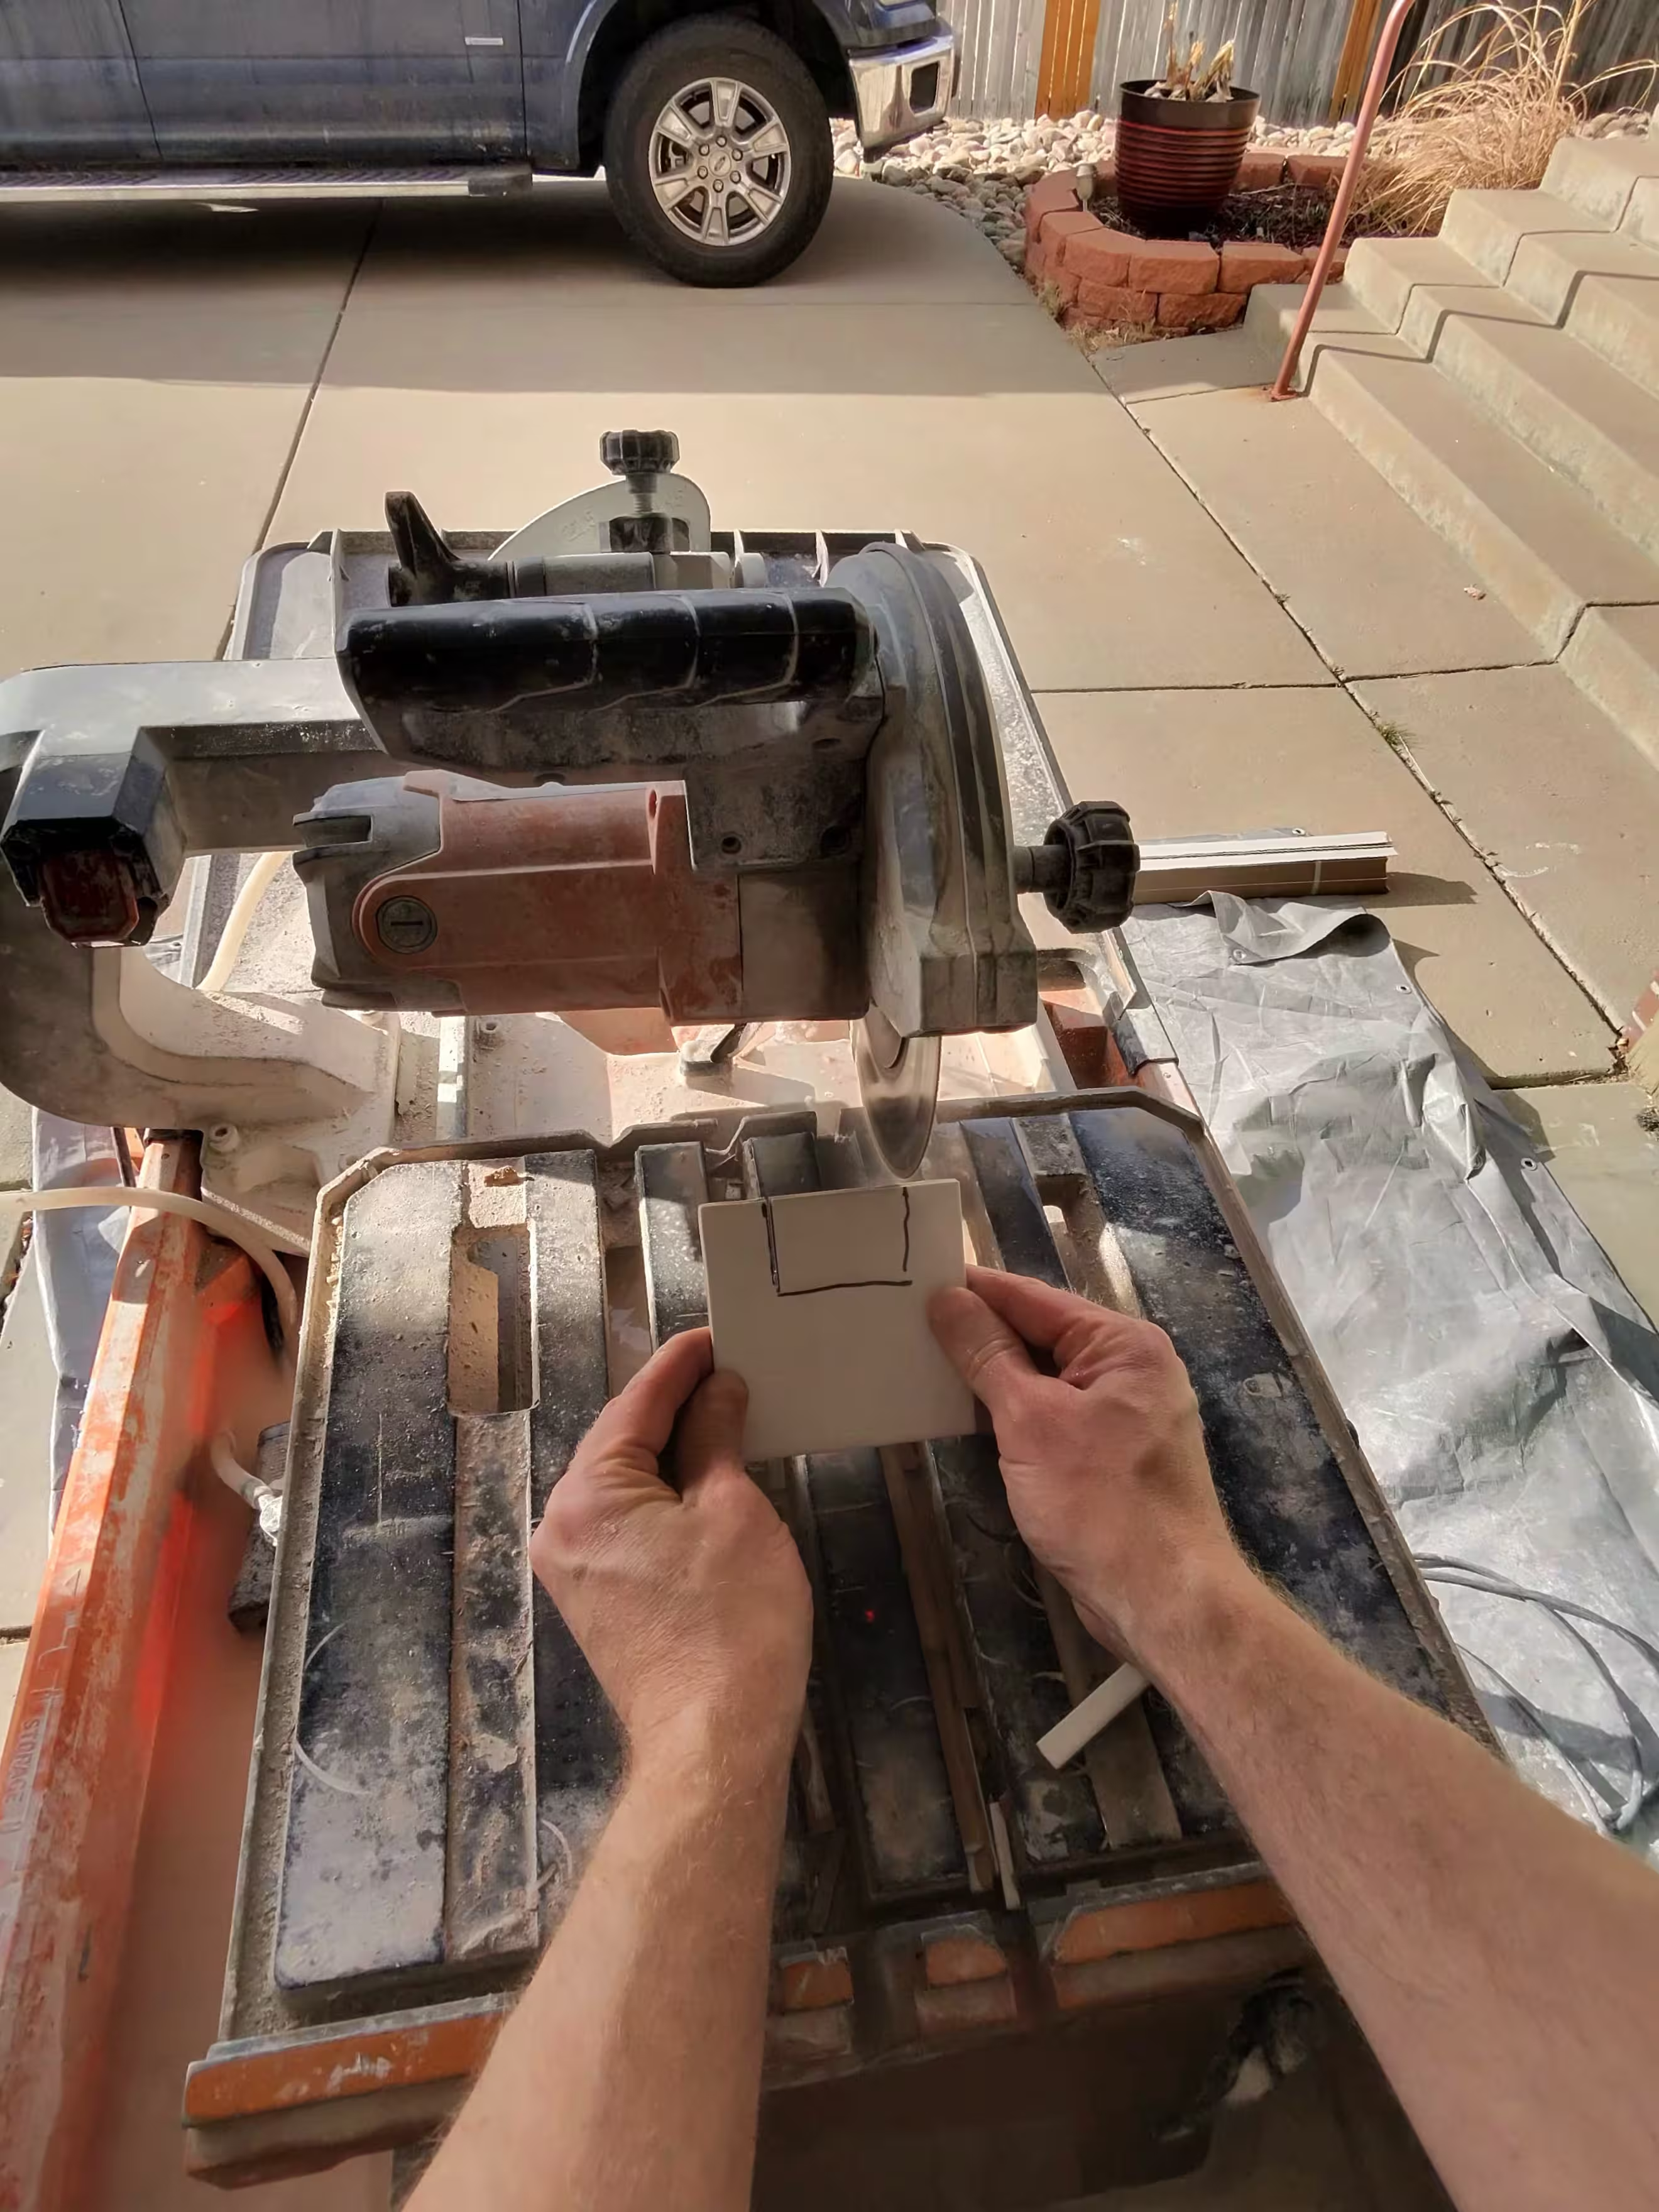
The glossy white square tile went up course by course with spacers holding every joint consistent. Tiles meeting outlets were notched individually on the wet saw so each cutout hides completely behind its cover plate — including the brass covers the owners kept. Once the thinset cured, we floated a light grout diagonally across the field, packed every joint full, and wiped the haze until the gloss came back.
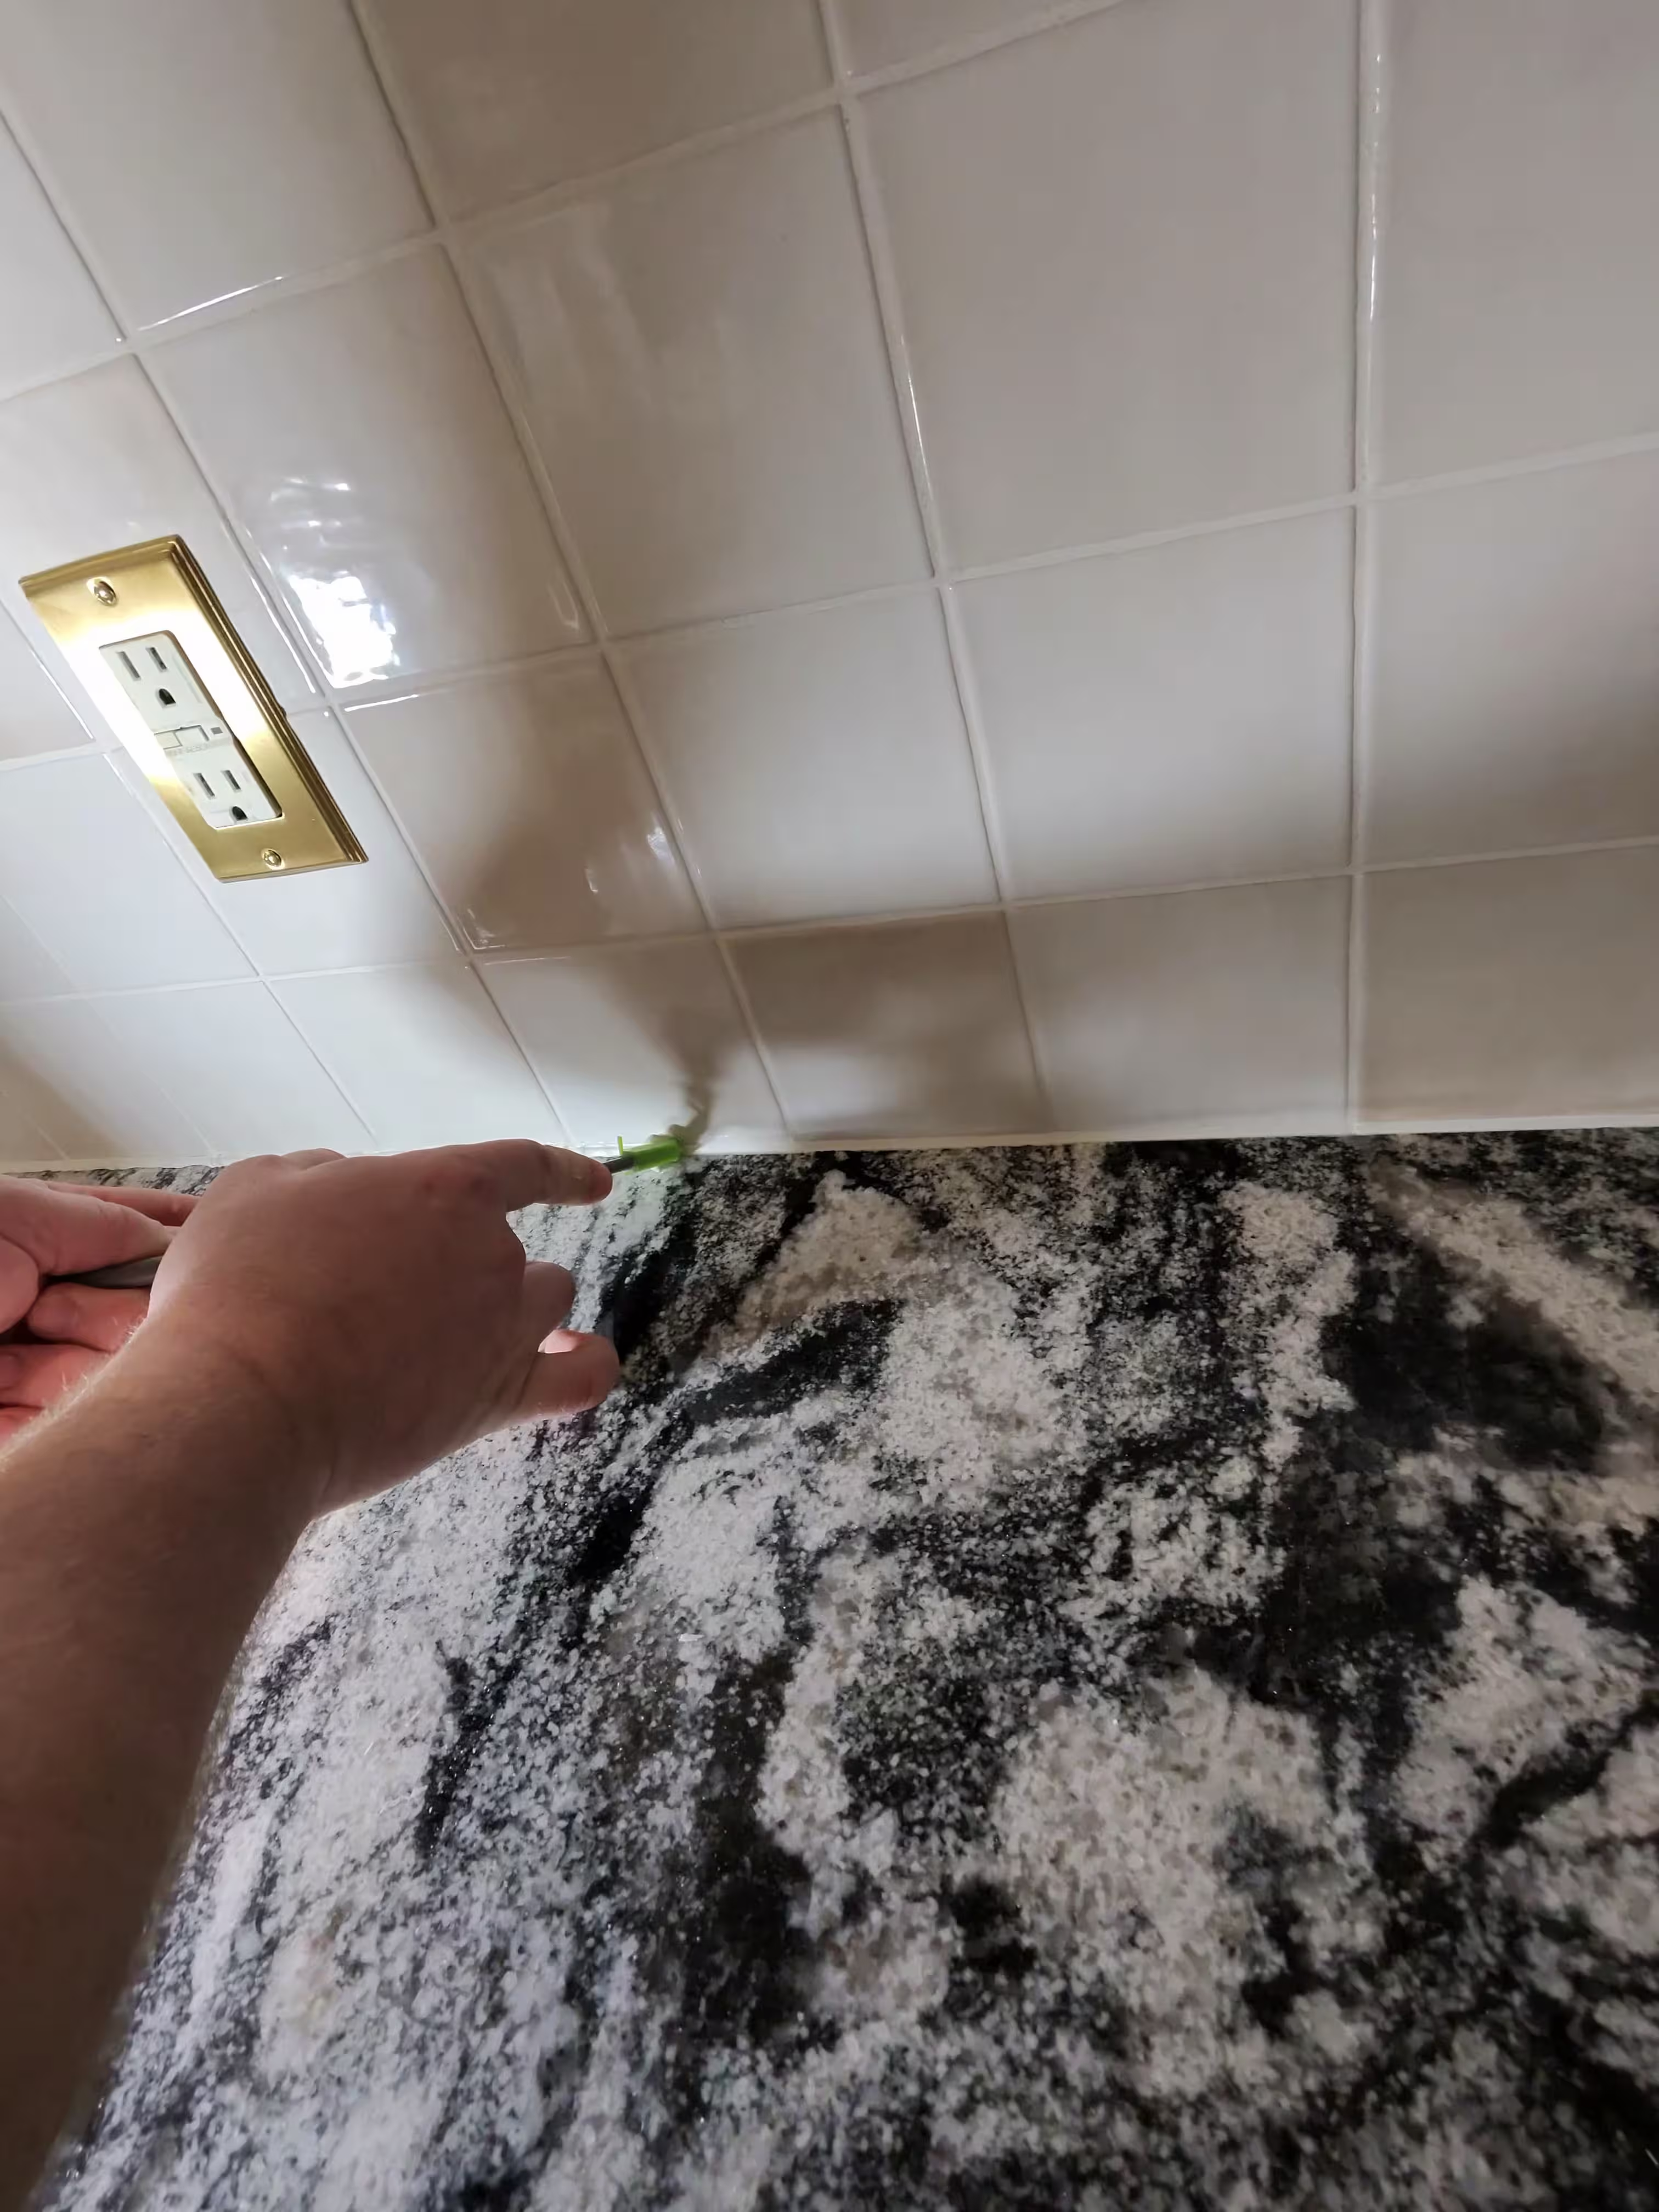
The last step is the one most people never notice until it fails: the counter joint. Where tile meets granite, the two surfaces move independently, so that seam gets flexible silicone meeting ASTM C920 instead of grout — tooled smooth and treated with a finishing spray for a clean, streak-free line that stays sealed.
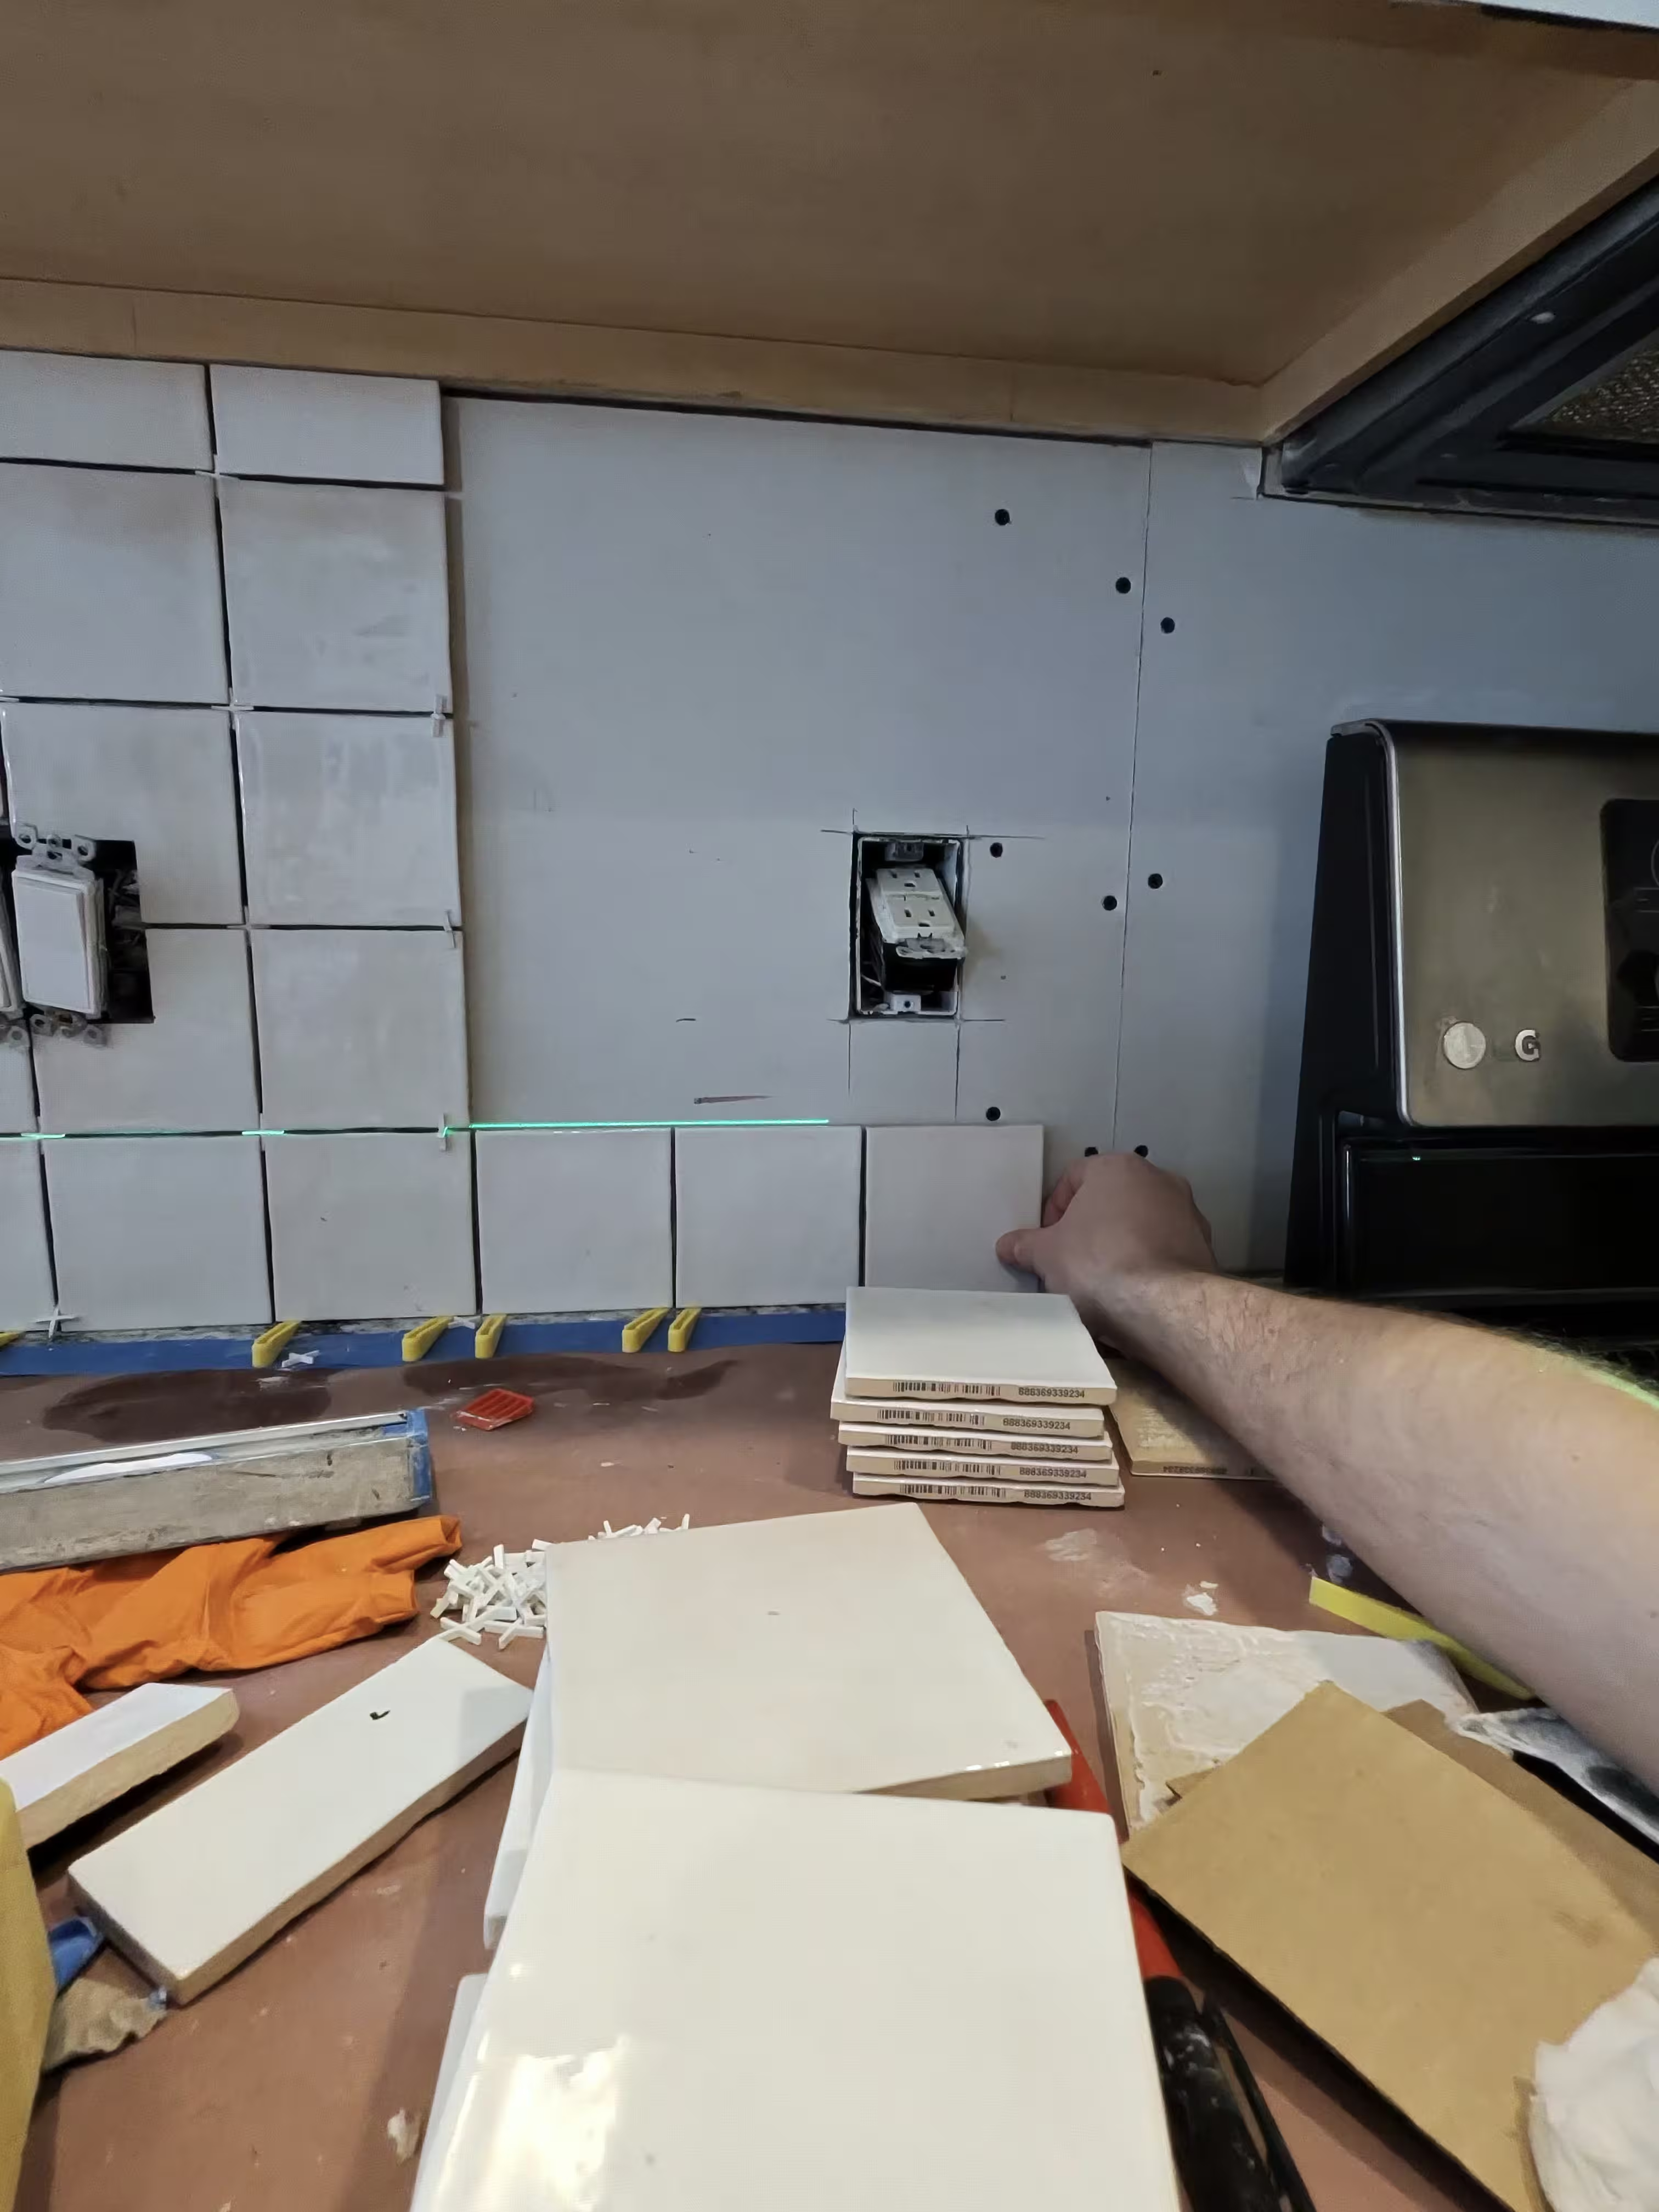
Project Gallery
The full arc — two old backsplashes out, one glossy white grid in
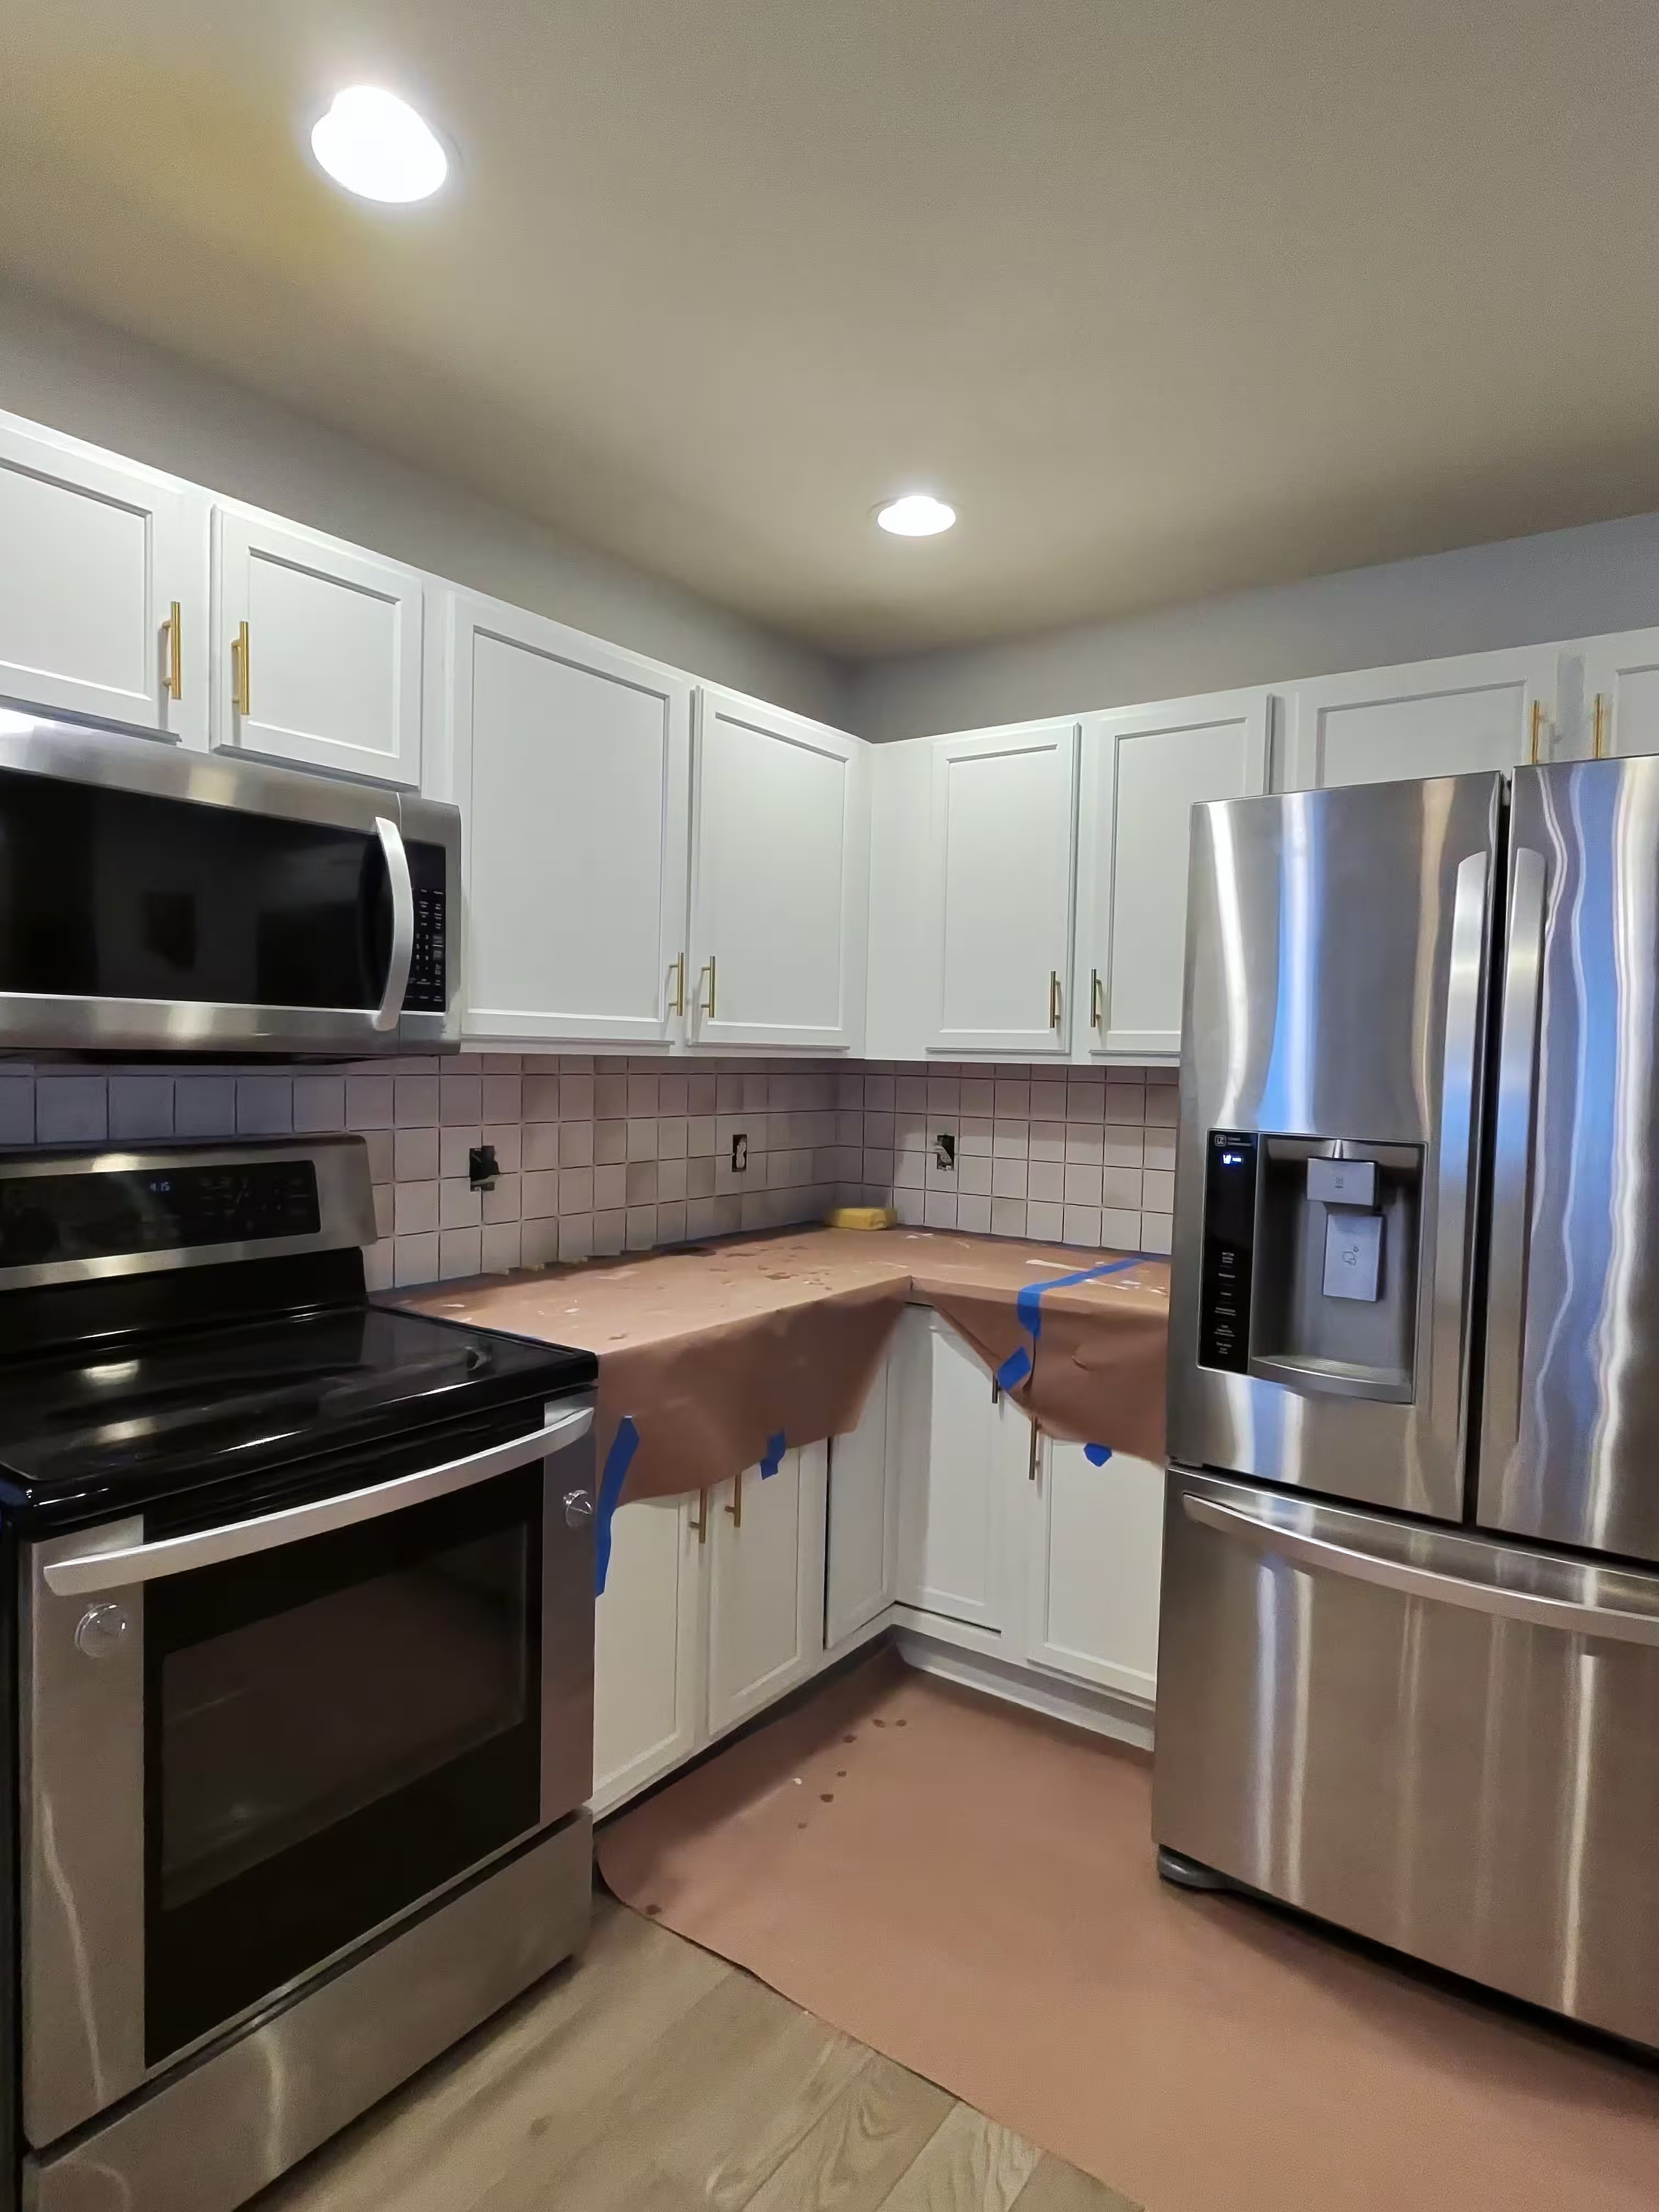
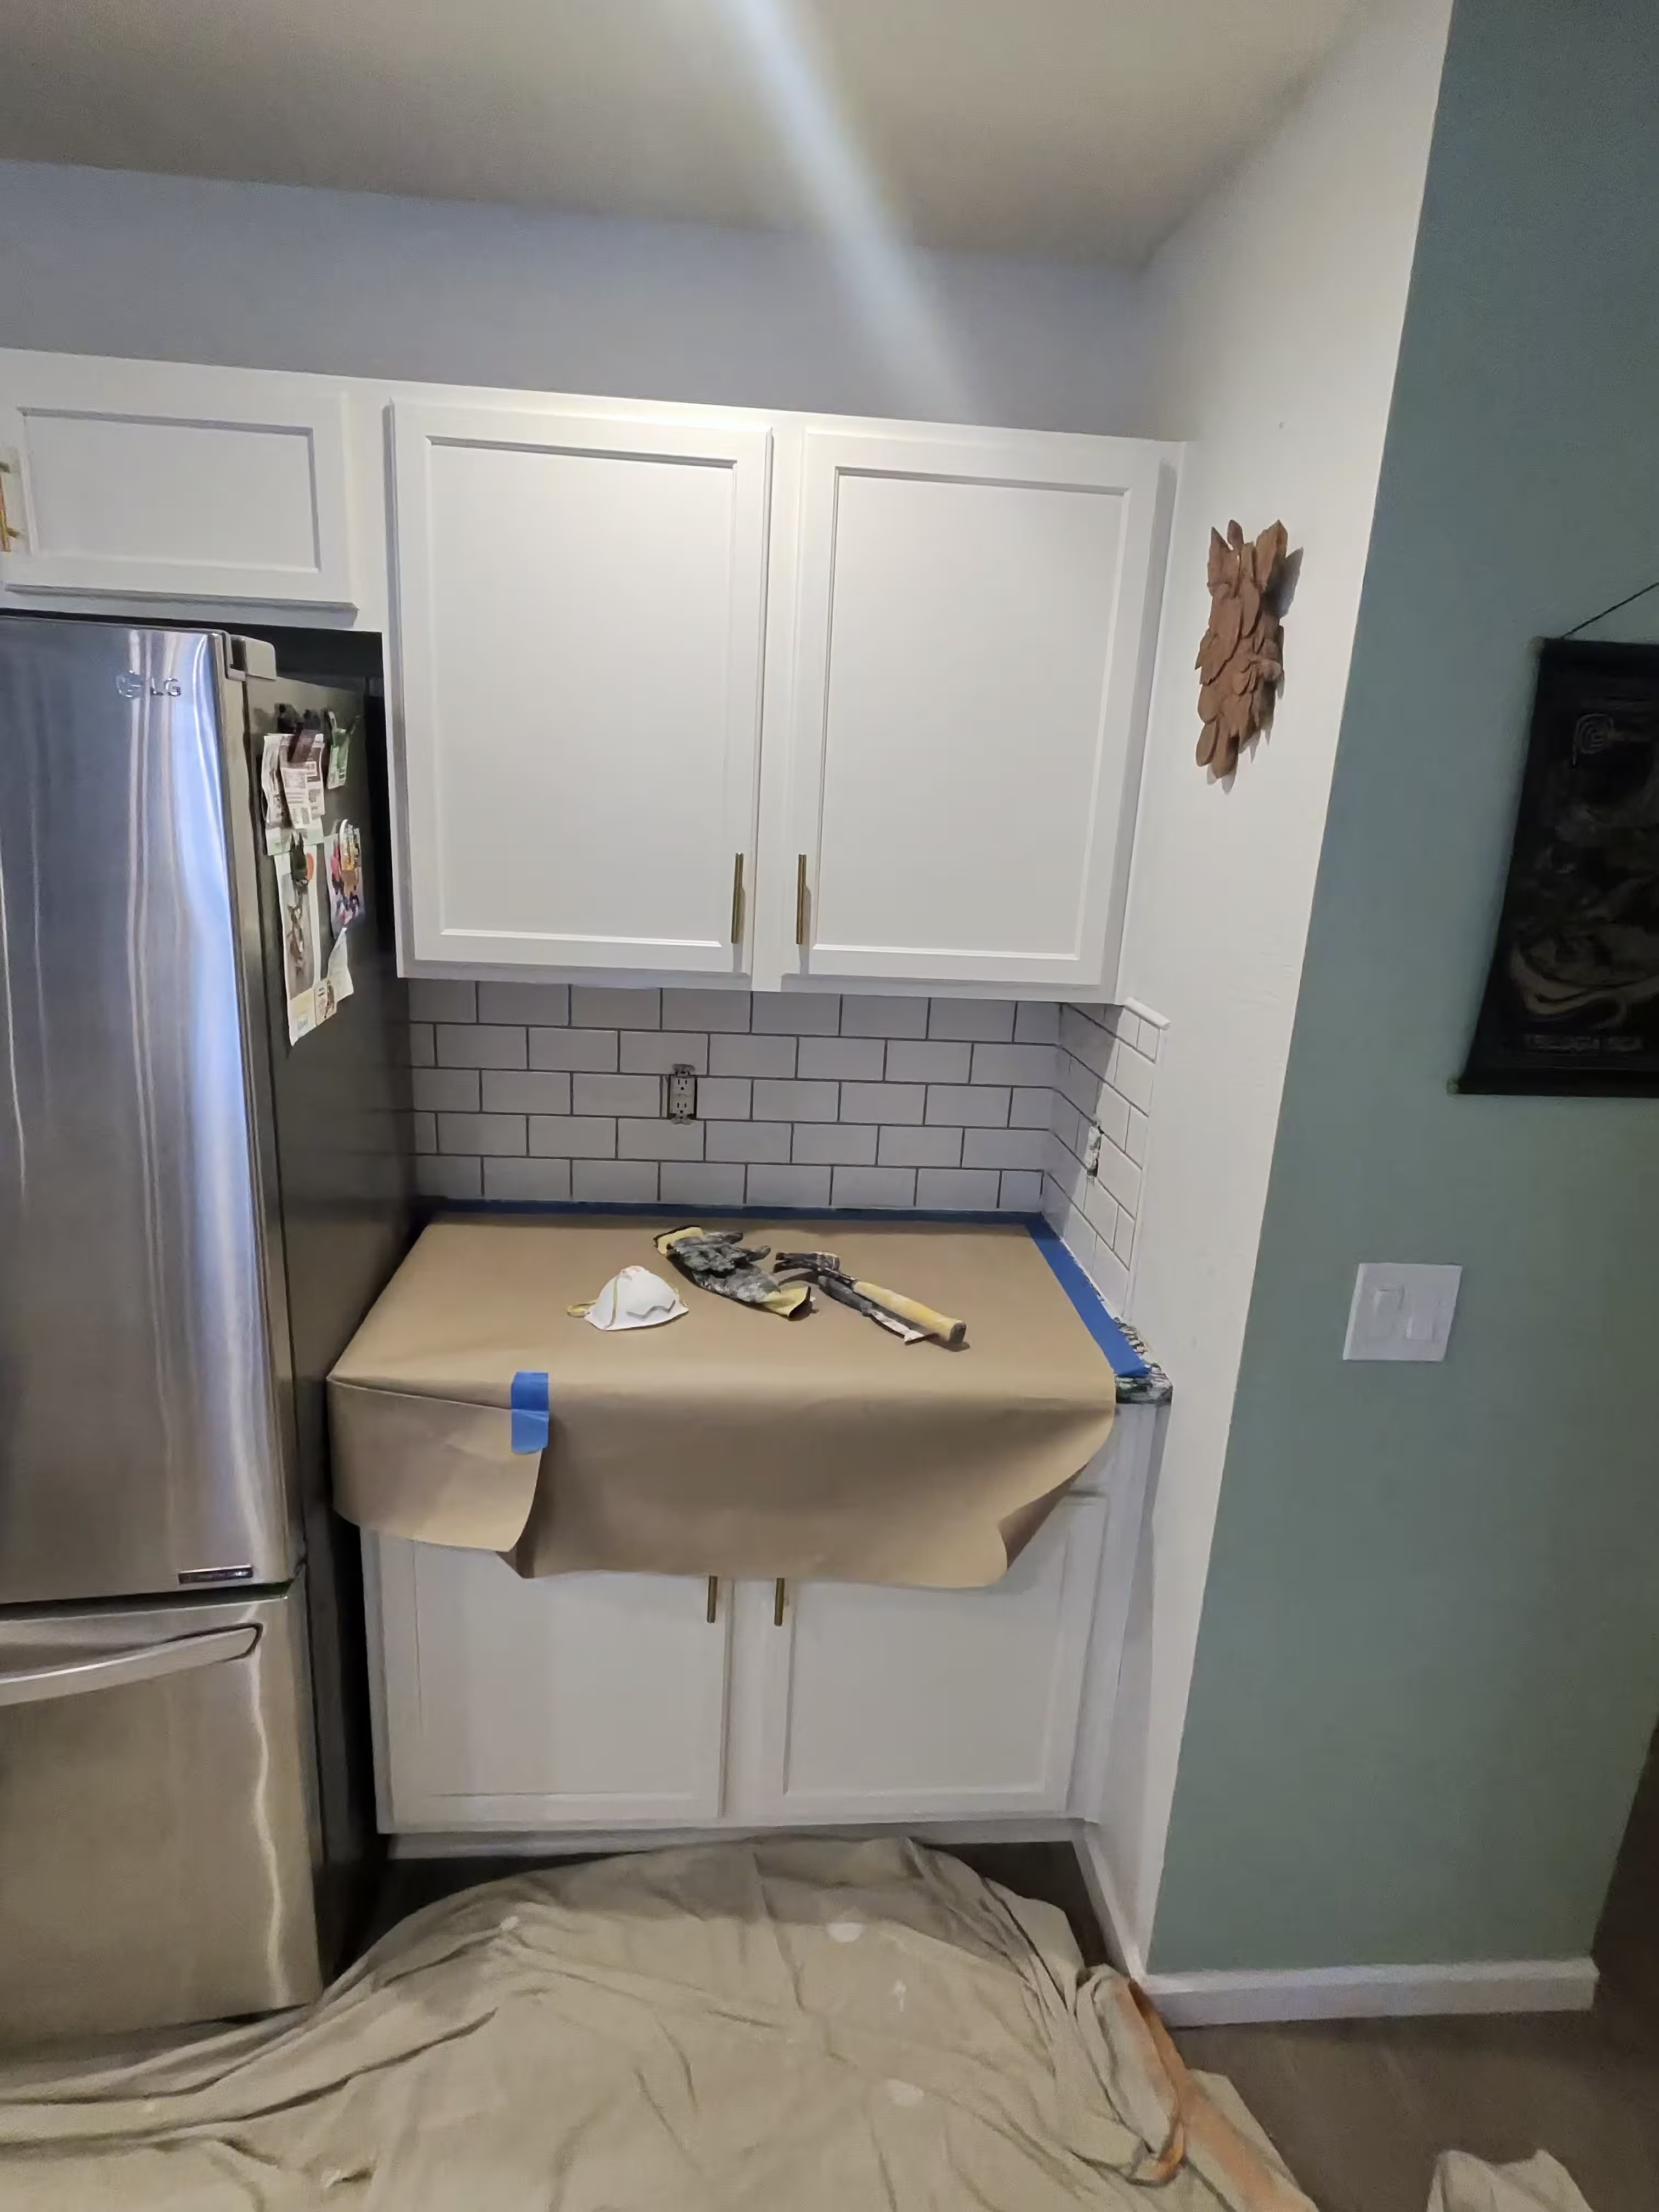
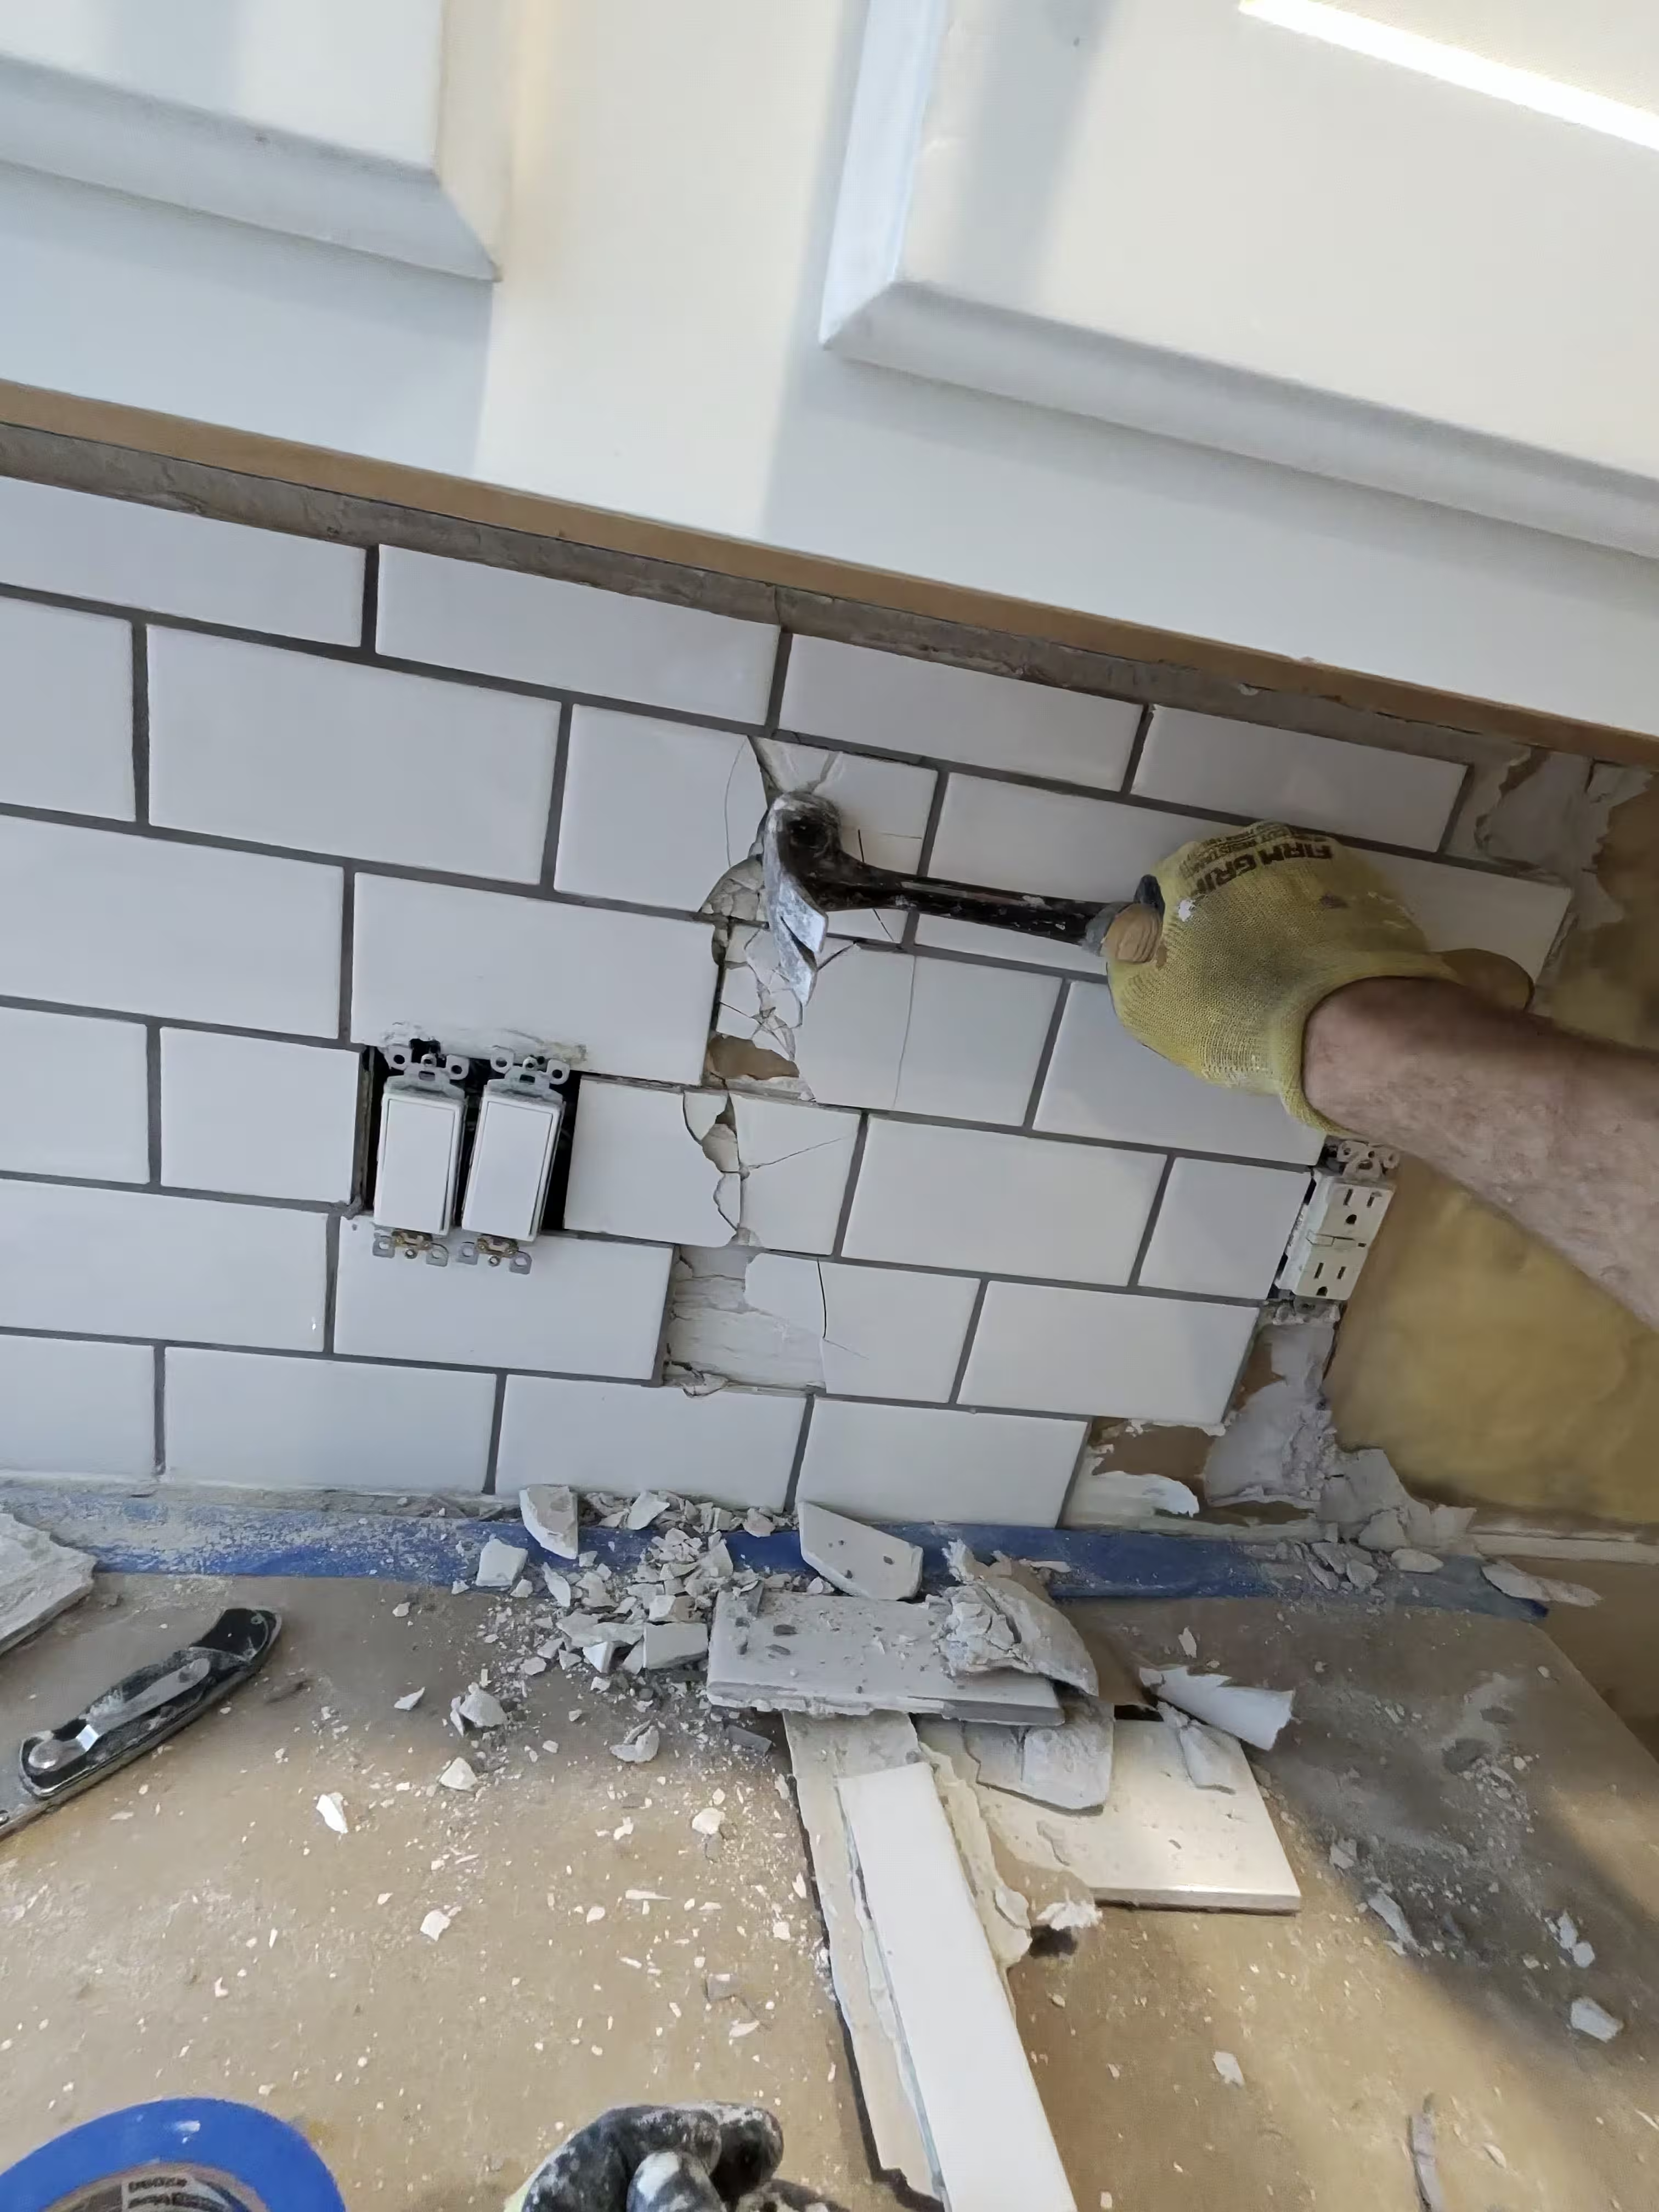
Technical Standards
A backsplash is a small installation held to the same standards as a full remodel
- ANSI A108.01 substrate preparation & general requirements
- ANSI A108.02 installation & workmanship standards
- TCNA movement joint accommodation in every tile installation
- ASTM C920 elastomeric sealant at changes of plane
- Caulk (not grout) at the countertop-to-tile joint
- Glossy white square tile — straight-set grid pattern
- Cement backer board over rebuilt wall framing
- Light grout for crisp, low-contrast joints
- Silicone sealant at the granite counter seam, tooled & finished
- Precision wet-saw cutouts at outlets — brass covers reinstalled
- Kraft-paper counter protection through demo & install
The Results
The kitchen no longer has a “main” backsplash and an “other” backsplash — it has one. The same glossy white square tile now wraps the range wall from end to end and continues into the nook beside the refrigerator, so the two areas that used to clash finally speak the same language. The straight-set grid gives the room order, and the glossy surface pushes light back into a part of the kitchen that used to absorb it.
The details carry the result. Grout joints run crisp and even through every course, outlet cutouts disappear behind their brass covers, and the silicone line along the granite is smooth and continuous. Because the walls were rebuilt rather than patched, the reflective tile sits on a flat plane with no waves — the kind of foundation work a photo can hint at but only time proves.
What Aurora Clients Say
Marina S.
Aurora
“Our kitchen had two backsplashes that never matched — tan tile behind the stove and different tile by the fridge. They tore both out, fixed the walls, and now the whole kitchen has one clean white tile design. The counters were protected the entire time and the crew left everything spotless.”
Doug H.
Aurora
“What impressed me most was the layout work. Every outlet lines up inside the tile grid, the lines are dead straight, and the caulk line along the granite is perfect. The glossy tile bounces so much more light around the kitchen than the old backsplash did. Straightforward, professional job.”
Frequently Asked Questions
Common questions about kitchen backsplash demo, prep, and installation
A straightforward kitchen backsplash is typically a one-to-two-day project: demolition and wall prep first, tile setting the same day or the next, then grouting once the thinset has cured, and caulking last. Projects like this one run slightly longer when two old backsplashes have to come out and sections of the wall need to be rebuilt before any tile goes up.
Yes — that is exactly what this project was. The kitchen had a tan square tile along the range wall and an older white subway-tile section in the counter nook, installed at different times. We demolished both, rebuilt the wall surfaces to one consistent plane, and installed a single glossy white square-tile design across every counter run so the kitchen finally reads as one space.
Old tile rarely comes off cleanly — the bond is often stronger than the drywall face behind it, so sections of wall usually come out with the tile. On this Aurora kitchen we stripped damaged areas back to the studs, fastened new cement backer board into the framing, and squared everything up so the substrate met ANSI A108.01 requirements: flat, sound, and ready for tile.
A straight-set grid is one of the most timeless backsplash layouts. The vertical and horizontal joints align into a calm, orderly pattern that suits classic kitchens, complements granite counters, and never fights the cabinets for attention. It is also honest — a grid shows every layout decision, which is why we snap laser lines and plan each course before the first tile is set.
It starts before the tile — we measure outlet heights and mark every box location while the wall is still open, then plan the courses so cuts land evenly instead of leaving slivers. Each tile that meets an outlet is notched individually on the wet saw, and the cover plates conceal the cut edges. The result is a grid that flows around obstacles without visible patching.
The countertop and the wall move independently, and TCNA guidance calls for a flexible sealant rather than grout wherever tile meets a change of plane. Grout in that joint would crack. We seal the counter-to-tile seam with an elastomeric sealant meeting ASTM C920, tool it smooth, and finish it so the line stays clean, flexible, and water-resistant.
Yes. TCNA states that movement accommodation is needed in every tile installation, because tile is a rigid surface layer over materials that expand, contract, and flex. On a backsplash, the perimeter joints do that job: the caulked seams at the countertop, at inside corners, and where tile meets cabinets or walls absorb movement so the field stays crack-free.
A light grout keeps the wall reading as one bright, continuous surface, which is what this Aurora kitchen called for — the glossy tile does the work of reflecting light while the joints stay quiet. A darker grout would emphasize the grid instead, which can also look sharp but changes the character of the kitchen. We sample colors against the actual tile before committing.
Related Services & Resources
Kitchen Backsplashes
Backsplash materials, patterns & installation across south Denver
Kitchen Tile Installation Denver
Kitchen floors, walls & tile work in the Denver metro
Tile Installation Aurora
Professional tile installation throughout Aurora
Where to Browse Tile
Shopping for backsplash tile, trim, or grout colors? Browse these retailers:
Get a Free Quote for Your Kitchen Backsplash
Tell us about your kitchen and we'll provide a detailed estimate — most backsplash projects are done in one to two days
Request a Free Quote
Ready to Replace Your Kitchen Backsplash in Aurora?
Whether it's one dated backsplash or two that never matched, we handle the full job — demolition, wall rebuild, layout, tile setting, grout, and caulk — throughout Aurora and the Denver metro area.