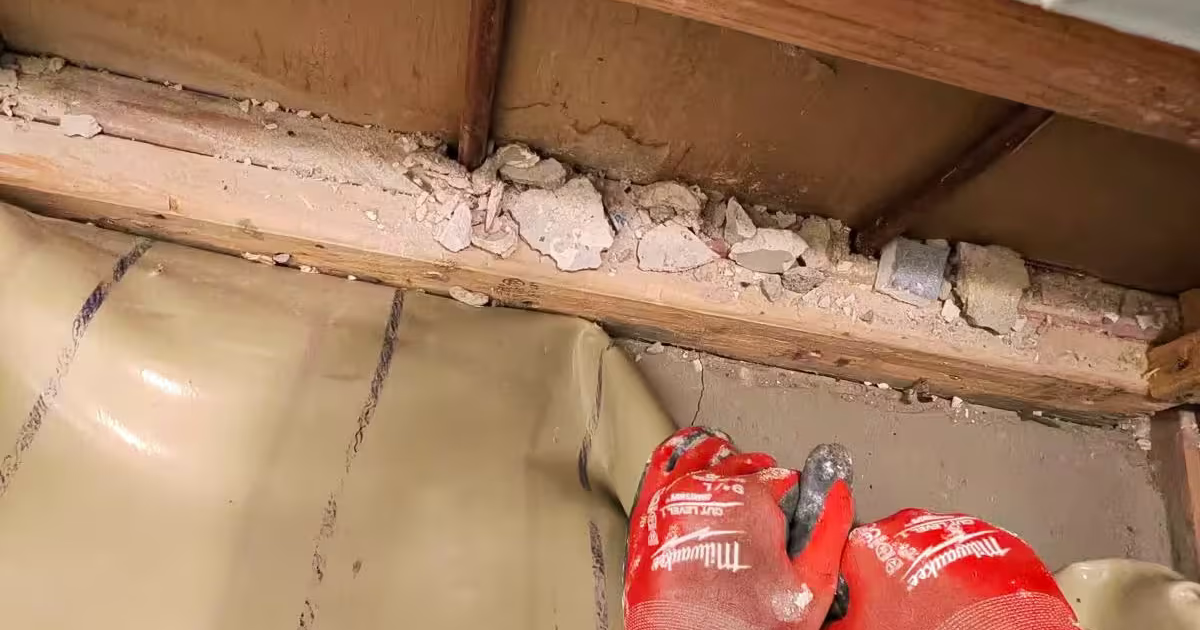
A curbless shower only works if the shower floor sits lower than the bathroom floor around it. On a concrete slab that is a saw and a trench. On a wood-framed floor it is a structural question, and the first thing most homeowners hear is "we will have to cut the joists." Often you do not. Here is where the depth comes from, what the code lets you do to a joist, and the four ways we get a curbless entry on a framed floor.
Why the shower floor has to sit lower
Three things take up height under the tile of a curbless shower, and all three have to fit below the level of the bathroom floor at the entry.
- Slope. The IRC requires the finished shower floor to slope toward the drain at not less than 1/4 inch per foot and not more than 1/2 inch per foot (P2709.1). In a curbed shower the slope starts at the curb, which sits above the floor. In a curbless shower the high point of the slope is the bathroom floor itself, so every foot between the entry and the drain costs at least a quarter inch of depth. More on the slope rules in Shower Floor Slope Requirements.
- The base. A traditional mortar bed with a clamping-ring drain needs 1-1/4 to 2 inches of mortar at the drain before any slope is added. Preformed foam trays with bonding-flange or linear drains are thinner; that is the main reason they exist. The trade-offs between the two are in Mud Shower Pan vs. Foam Shower Tray.
- The drain body. A point drain or linear channel has a body below the tray that needs cavity space, plus the trap and the pipe run to it.
The TileLetter planning article puts it plainly: the recess must be deep enough for "the combined thickness of all the materials below the tile," and the size of the shower and the placement of the drain are what set that number. A 3-foot shower with a linear drain at the entry and a 6-foot shower with a point drain in the far corner are different structural problems.
| Base assembly | Manufacturer-stated height at the perimeter | Notes |
|---|---|---|
| Mortar bed, clamping-ring drain | 1-1/4 to 2 in. at the drain, plus slope (TileLetter) | Deepest option; needs the most recess |
| Schluter KERDI-SHOWER-TT | 29/32 to 1-1/32 in. (Schluter) | The tray Schluter recommends with its recess brackets |
| Schluter KERDI-SHOWER-T | 1-3/32 to 1-1/4 in. (Schluter) | Standard point-drain tray |
| Schluter KERDI-SHOWER-LT/-LTS | "Reduced perimeter heights"; number is in the product table | For KERDI-LINE; single-plane slope |
| wedi Fundo Riolito neo | Most sizes 50 mm (about 2 in.) thick on wedi's European page | 4-way, 2-way or single slope; confirm the U.S. sheet for your size |
| LATICRETE HYDRO BAN Linear pan | Not published on the product page | EPS, A118.10 waterproofing; ships with a preformed curb |
Those are manufacturer figures and they change by size and model, so the number that matters is the one on the data sheet for the exact tray you are buying. Add your floor tile and thinset on both sides of the entry, and you have the depth budget the framing has to absorb.
What the code lets you do to a joist
The instinct is to drop the subfloor by notching the tops of the joists under the shower. The model code is specific about that. For sawn lumber, IRC R502.8.1 limits notches to one-sixth of the joist depth, prohibits any notch in the middle third of the span, and allows end notches up to one-fourth of the depth. Holes may not exceed one-third of the depth and must stay 2 inches from the top and bottom edges. Those are prescriptive limits: inside them you need no engineer; outside them the code sends you to engineered design under R301.1.3.
| Joist | Actual depth | Max notch outside the middle third (1/6) | Max end notch (1/4) |
|---|---|---|---|
| 2x8 | 7-1/4 in. | about 1-3/16 in. | about 1-13/16 in. |
| 2x10 | 9-1/4 in. | about 1-1/2 in. | about 2-5/16 in. |
| 2x12 | 11-1/4 in. | about 1-7/8 in. | about 2-13/16 in. |
| I-joist (TJI) | 9-1/2 to 16 in. | No flange cuts or notches (manufacturer) | No flange cuts or notches (manufacturer) |
The fractions are the code's; the inch figures are our arithmetic from standard lumber sizes. A shower is wherever the bathroom puts it, and that is usually somewhere in the middle of a joist span, where the prescriptive code allows no notch at all. Even where a notch is allowed, a 2x10 gives you about 1-1/2 inches, which is not enough for a mortar bed with slope. So a top-of-joist recess is, in nearly every case, an engineered structural alteration, not a carpentry detail.
I-joists are stricter. R502.8.2 prohibits cutting, notching or boring I-joists, structural composite lumber and trusses except where the manufacturer allows it or a registered design professional has designed it. Weyerhaeuser's TJI installation guide says it in capitals: "DO NOT cut or notch flange," and web holes must leave at least 1/8 inch of web at the top and bottom. The flange is exactly the part you would have to cut to recess a subfloor.

Option 1: recess the framing, with an engineer
The traditional way to get a curbless shower on a framed floor is to lower the structure under it. Jake Bruton describes it in Fine Homebuilding as removing up to 3 inches from the joists and then reinforcing them. In practice that means one of two things: headering off the joists under the shower and hanging shorter joists lower between the headers, or sistering new members alongside the existing ones so the top of the cut joist is no longer carrying the load alone. Either way it changes the load path, so it is an engineered design under R301.1.3, it needs a permit in most jurisdictions, and the engineer's drawings are what the inspector checks against.
This is the right option when you want a full mortar bed, when the drain has to be far from the entry, or when the shower is large. It is easiest when the framing can be reached from below, through an unfinished basement ceiling, and hardest on a second floor over a finished room. The DIY Tile Guy puts the warning bluntly: modifying joists without an engineer is how people ruin a home.
Company practice: we do not design framing changes ourselves. When a curbless layout needs the structure lowered, we involve a structural engineer, build to the stamped detail, and schedule the framing inspection before anything is closed in.
Option 2: a shallow recess with brackets and a thin tray
For most preformed trays the recess needed is small. The DIY Tile Guy's rule of thumb is that lowering the subfloor about 3/4 inch covers most preformed pans, while a mortar bed needs 2 to 4 inches. If the subfloor only has to drop by the thickness of the subfloor itself, the joists do not have to change: the sheathing between them is cut out and a new panel is set lower, flush with the tops of the joists, on supports fastened to the sides of the joists.
Schluter productized that detail in 2026. Its KERDI-SHOWER-FRS is a set of galvanized steel brackets that fasten to the joists and to the surrounding subfloor and carry a recessed 3/4 inch plywood insert. The published limits are specific: the recess is 11/16 inch (17.5 mm); joist spacing may not exceed 19.2 inches on center; the inserts must be a single piece of 3/4 inch plywood, not OSB; 5/8 inch subfloors need the shim kit; and the system cannot be used on masonry construction. The press release states it works with dimensional lumber and I-joists "without cutting or modifying structural floor joists," which is the whole point for an I-joist floor. Schluter recommends pairing it with its thinnest tray, KERDI-SHOWER-TT, and the planning checklist asks you to confirm that the floor cavity still clears all the plumbing once the panel sits 11/16 inch lower.
wedi's Fundo Riolito neo trays take a similar approach from the tray side: single-slope and 2-way versions keep the perimeter height even so the tray can be recessed without a low corner, and the U.S. data sheet requires that the drain cutout in the subfloor "must not add deflection to subfloor" and that the floor meet L/360. That deflection limit is the IRC's own floor limit in Table R301.7, and it applies no matter which tray you choose.
Option 3: raise the bathroom floor instead
If the joists cannot be touched and the recess is not enough, go the other way. Leave the structure alone, set the tray on the existing subfloor, and build the rest of the bathroom floor up to meet the tray edge. Schluter's guidance is a 5/8 or 3/4 inch plywood or OSB layer over the wood subfloor with an uncoupling membrane on top; on concrete, a bonded mortar bed of whatever thickness lands level. Bruton's Fine Homebuilding project did exactly this with a 1/2 inch underlayment and an uncoupling membrane over the bathroom field, after checking the existing floor against L/360 so the tray could sit directly on it.
The cost of this option is at the bathroom door. The floor is now an inch or so higher than the hallway, so you need a transition: a beveled threshold, a ramped reducer, or, if you are remodeling the whole room, a plan for the door swing and the adjacent flooring. Schluter's page does not address the threshold; we draw it before quoting, because a step at the door undoes some of the reason people want a curbless shower in the first place. The curbless vs. low-curb comparison covers when a low curb is the better compromise.

Option 4: put a linear drain at the entry
Drain placement changes the geometry more than any product does. With a point drain in the center, the floor slopes toward it from every side, and the entry edge, the high point, has to be at bathroom floor level. With a linear drain along the back wall, the whole floor is one plane dropping away from the entry, and the drain end sits a quarter inch per foot lower than the door. Put the linear drain at the entry instead and the floor slopes up toward the back wall: the low point is the door, the channel is the only thing below floor level, and the slope costs no recess at all.
That is why Bruton's build-up project used a linear drain at the entrance, and why Schluter's KERDI-LINE page specifically allows placement at the shower entrance, with its LT/LTS trays built for a single-plane slope. The trade-off is that water now runs toward the bathroom. Schluter suggests secondary drainage in the drying area, TileLetter notes a secondary drain "may be required" in open showers, and the waterproofing has to extend past the shower, at least a foot by Schluter's guideline. If you are going this way, read Wet Room Waterproofing: What Homeowners Should Know first.
Concrete slabs: basements in Aurora and Parker
Most of the basement bathrooms we convert sit on a slab, and the joist question disappears. The depth question does not; it just moves to the concrete. Recessing means saw-cutting the slab under the shower and breaking it out, then pouring or packing a new sloped base at the lower level. Relocating the drain, which curbless layouts usually require, means a trench from the old drain location to the new one and a new trap and pipe run with the right fall. wedi's sheet, for example, calls for the 2 inch drain pipe to be cut 1-1/4 inch below the top of the subfloor. Everything below the slab is plumbing work: it changes the drain system, which R105.1 puts squarely inside the permit requirement, and it is inspected before the trench is closed.
Our Aurora basement tub-to-shower conversion is the shape of that job: the homeowner wanted the drain moved to the left side of the shower, so the new line was run there, a custom mortar bed was sloped in one direction to a linear drain, and the walls were tiled in marble with a blue subway accent. That shower has a low tiled curb rather than a flush entry, which was the right call for that room, but the plumbing and base work is the same work a curbless slab shower needs.

One slab-specific caution: Schluter's bracket system cannot be used on masonry, so Option 2 is off the table. On concrete you recess by cutting, or you raise the floor with a bonded mortar bed.
Engineer, permit, inspection: who signs off on what
It helps to separate the layers, because they come from different places:
- Building code sets the notch and hole limits (R502.8), the floor deflection limit (L/360), the shower slope (P2709) and the liner test (P2503.6). Denver adopted the 2025 Denver Building and Fire Code, based on the 2024 I-Codes; Aurora, Parker and the counties adopt their own editions and amendments. Check with your jurisdiction.
- Manufacturer instructions govern the tray, the brackets and the I-joists. Weyerhaeuser's flange rule and Schluter's 19.2 inch spacing limit are not in the code; they are conditions of using the product, and an inspector will usually ask for the installation sheet.
- Engineered design is required the moment the framing leaves the prescriptive limits. The engineer's stamped detail becomes part of the permit set.
- Permits. Under IRC R105.2, tiling itself is exempt, but altering a plumbing system is not, and "repairs" do not include cutting away any part of a wall or partition. Structural changes and relocated drains normally mean a permit and inspections; the Aurora Building Permit Center (303-739-7420) answers scope questions before you apply.
- Company practice. Every shower we build gets a code-listed membrane, a sloped base and a flood test before tile. On a curbless pan there is no curb to hold the water, so we build the temporary threshold the code describes in P2503.6 and hold 2 inches at the entry.
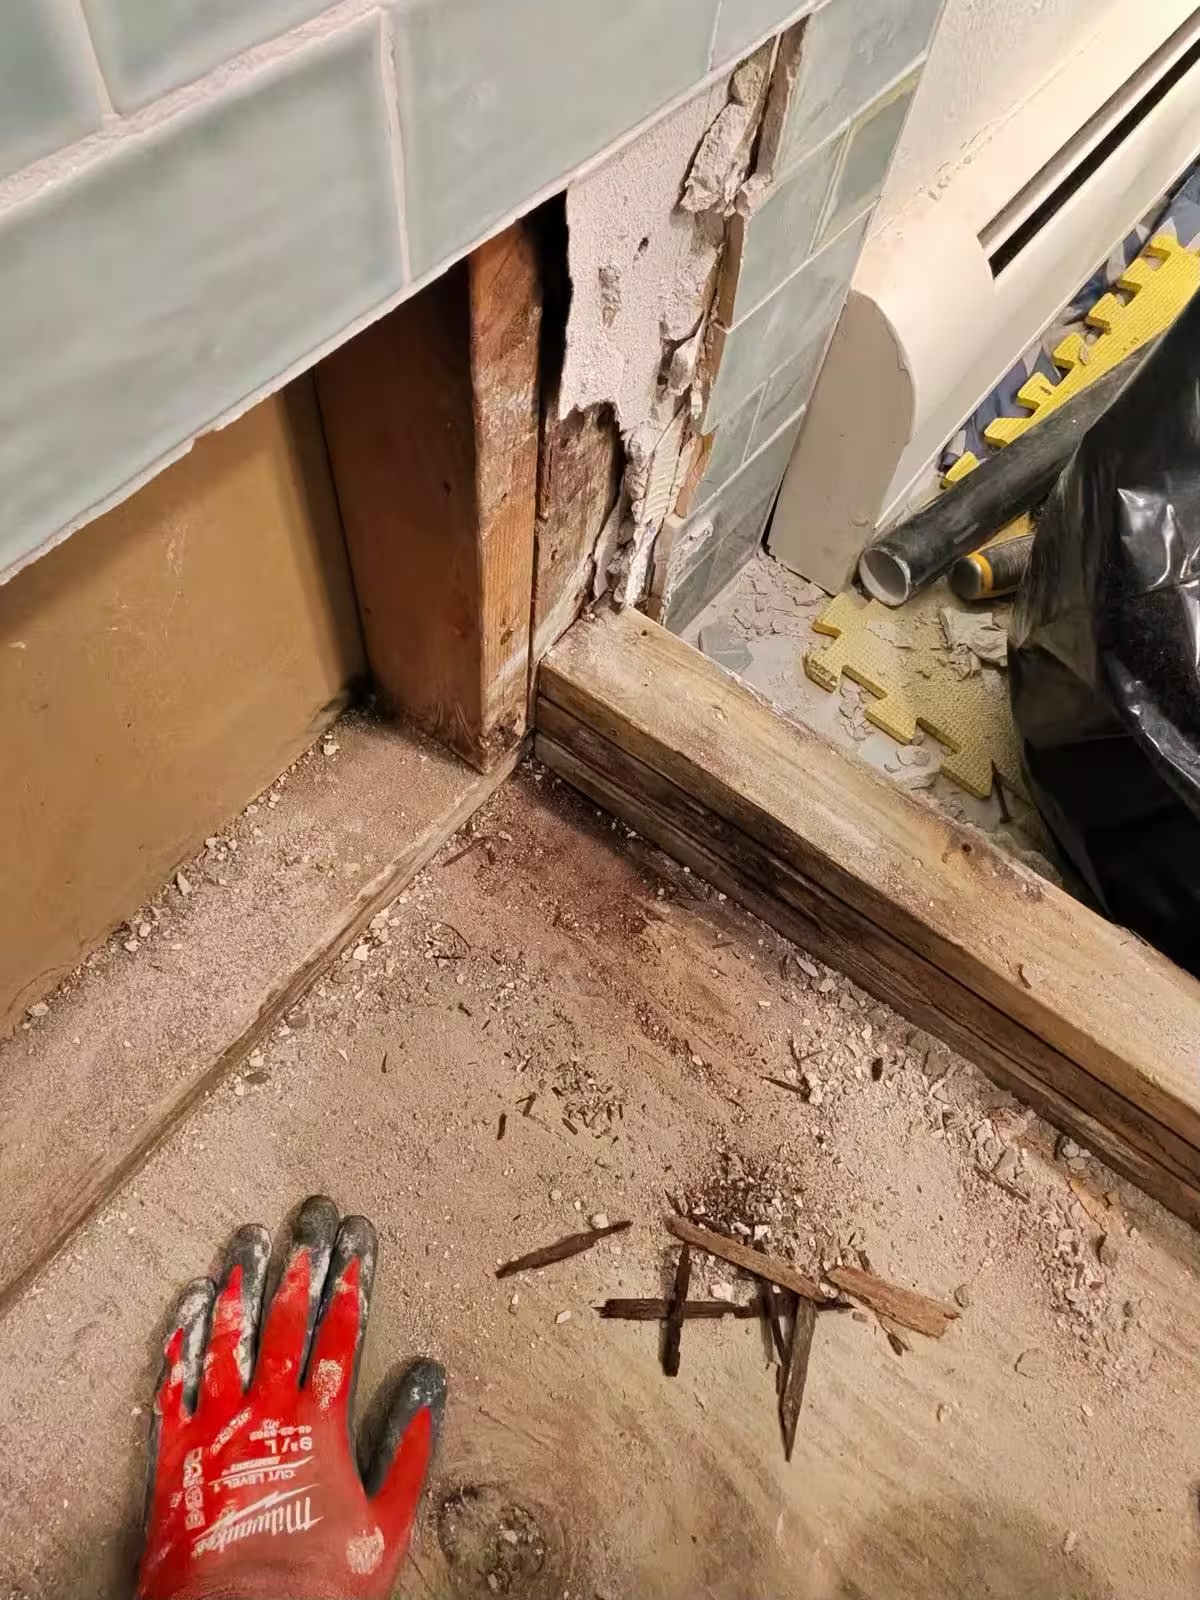
So, can you? The honest answer by situation
| Your floor | Likely answer | What it takes |
|---|---|---|
| Sawn 2x10 or 2x12 joists at 16 in. o.c., 3/4 in. plywood subfloor, shower 3 to 4 ft deep | Usually yes, no joist cuts | Thin tray plus bracket recess, or a linear drain at the entry; engineer only if the deflection check fails |
| I-joists, any spacing up to 19.2 in. | Often yes, no joist cuts | Bracket recess or build-up; the flange is never cut. Outside the bracket limits, engineer |
| Joists at 24 in. o.c., or OSB subfloor | Maybe | Bracket system is out; build the bathroom floor up, or engineer a framed recess |
| Large shower with a point drain far from the entry, or a mortar bed wanted | Not without structural work | Engineered recess (headers or sisters), permit, framing inspection |
| Joists already undersized, sagging or rot-damaged | No, fix the structure first | Engineer, repair, then choose an option |
| Concrete slab | Yes | Saw-cut recess or bonded mortar build-up; plumbing permit for the drain move |
The table is a starting point, not a quote. Joist direction, existing plumbing, the ceiling below, the door location and the tile you choose can each move a bathroom from one row to another, and your jurisdiction decides what gets inspected. The order does not change: open the floor, identify the framing, pick the base and drain, then decide whether an engineer is in the job.
Want a curbless shower and not sure what your floor allows? We look at the framing first, tell you which of the four routes fits, bring in a structural engineer when the framing has to change, and flood test every pan before a tile goes down.
Frequently asked questions
Can a contractor just notch the tops of the joists an inch?
Not under the prescriptive code if the shower is in the middle third of the span, which it usually is, and never on an I-joist flange. Anyone proposing it should be able to show you either the code section that permits it for your joists or an engineer's detail. Ask for one or the other.
Does a curbless shower need a permit?
The tile does not. The structural recess, the relocated drain and any new plumbing typically do, and the engineer's drawing becomes part of the permit when framing changes. Requirements differ between Denver, Aurora, Parker and the unincorporated counties, so we confirm per address before work starts.
Is a linear drain required for curbless?
No. A point drain works if there is enough depth. A linear drain at the entry needs the least depth, and a linear drain at the back wall lets you use large-format floor tile on a single plane. The drain choice is a geometry decision first and a style decision second.
How do you flood test a shower that has no curb?
The same way the code describes for the inspection: a temporary dam at the entry so the pan holds 2 inches of water for at least 15 minutes. We hold ours longer and check from below where we can. A curbless pan that was never tested is the leak you will find on the hallway floor.
Sources and notes
- 2021 International Residential Code, Section R502.8 Cutting, Drilling and Notching (UpCodes) — sawn lumber: notches no deeper than one-sixth of the depth, none in the middle third of the span, end notches one-fourth; holes no larger than one-third of the depth and 2 inches from edges. R502.8.2: I-joists and other engineered products may not be cut, notched or bored except per the manufacturer or a registered design professional.
- 2021 IRC, Section R301.1.3 Engineered Design and Table R301.7 Allowable Deflection (UpCodes) — elements outside the prescriptive limits must be designed per accepted engineering practice; floor deflection limit L/360.
- 2021 IRC, Section P2709 Shower Receptors (UpCodes) — finished floor slope not less than 1/4 in 12 and not more than 1/2 in 12; curb rules apply only where a receptor has a finished curb threshold.
- 2021 IRC, Section P2503.6 Shower Liner Test (UpCodes) — 2 inches of water at the threshold for 15 minutes; where no 2-inch threshold exists, a temporary one is built for the test.
- 2021 IRC, Sections R105.1 Permits Required and R105.2 Work Exempt From Permit (UpCodes) — tiling is exempt; altering or relocating plumbing is not; ordinary repairs do not include cutting away any wall or partition.
- Weyerhaeuser, TJI Joist Installation Guide TJ-9001 (copy hosted by the Florida Building Commission) — "DO NOT cut or notch flange"; web holes must leave at least 1/8 inch of web at the top and bottom; hole-location tables by joist depth and series.
- Schluter-Systems: Recessing the Shower Floor (KERDI-SHOWER-FRS) — 11/16 inch (17.5 mm) recess; joist spacing not over 19.2 inches on center; inserts are a single piece of 3/4 inch plywood, no OSB; not for masonry construction; KERDI-SHOWER-TT trays recommended.
- Schluter-Systems: KERDI-SHOWER-FRS Installation Instructions and Planning Checklist — confirm the floor cavity still clears all plumbing after the recess; shims required for 5/8 inch subfloors.
- Schluter-Systems press release: KERDI-SHOWER-FRS floor recessing system — September 1, 2026; galvanized steel brackets for dimensional lumber and I-joists, "without cutting or modifying structural floor joists."
- Schluter-Systems: Raising the Bathroom Floor — build-up with a 5/8 or 3/4 inch plywood/OSB layer plus an uncoupling membrane on wood; a bonded mortar bed on concrete; KERDI-SHOWER-TT perimeter 29/32 to 1-1/32 inch, KERDI-SHOWER-T 1-3/32 to 1-1/4 inch.
- Schluter-Systems: KERDI-SHOWER-LT/-LTS trays for KERDI-LINE — reduced perimeter heights for curbless construction; floor sloped on a single plane to the linear drain; perimeter heights are in the product table, not on the page.
- Schluter-Systems: KERDI-LINE linear drain — can be placed at the shower entrance; secondary drainage suggested in the drying area.
- Schluter-Systems: Curbless Shower Systems and Solutions — three approaches: recess the floor, ramp with a tray, or raise the bathroom floor; waterproof at least 1 foot beyond the shower area.
- wedi, Fundo Riolito neo USA technical data sheet (copy hosted by The Home Depot) — 4-way, 2-way and single-slope designs; the 2 inch drain pipe is cut 1-1/4 inch below the top of the subfloor; the drain recess "must not add deflection to subfloor"; subfloor must meet L/360 and IRC, wood or concrete.
- wedi, Fundo Riolito neo product page (European site) — most sizes 50 mm thick; 15 mm of surface slope. Metric product; confirm the U.S. sheet for the size you buy.
- LATICRETE, HYDRO BAN Linear Pre-Sloped Shower Pan — EPS foam, factory waterproofing to ANSI A118.10, sold with a preformed curb; perimeter height not published on the page.
- Jake Bruton, Fine Homebuilding: Curbless Shower: Build Up, Not Down — the traditional method removes up to 3 inches from the joists and reinforces them; his alternative builds the bathroom floor up with 1/2 inch underlayment and an uncoupling membrane, with a linear drain at the entry and an L/360 check.
- TileLetter (NTCA): Critical Planning for Curbless Shower Success — the recess must accommodate everything below the tile; shower size and drain placement set the depth; a clamping-ring drain needs a 1-1/4 to 2 inch mortar bed; bonding-flange and linear drains reduce base thickness.
- DIY Tile Guy: How to Recess a Wood Subfloor for a Curbless Shower — trade blog; about 3/4 inch of recess covers most preformed pans, a mortar bed needs 2 to 4 inches; cutting joists requires an engineer and often a permit.
- City and County of Denver: Building and Fire Codes — 2025 Denver Building and Fire Code, based on the 2024 I-Codes, effective December 31, 2025.
- City of Aurora Building Division: Permits — Building Permit Center 303-739-7420 for permit, plan review and code questions.
- South Denver Tile Experts: Aurora basement tub-to-shower conversion (project record)
Code references are to the model International Residential Code (IRC). Denver, Aurora, Parker and other metro jurisdictions adopt different editions with local amendments, so confirm requirements with your building division before relying on them. Last reviewed October 26, 2026.