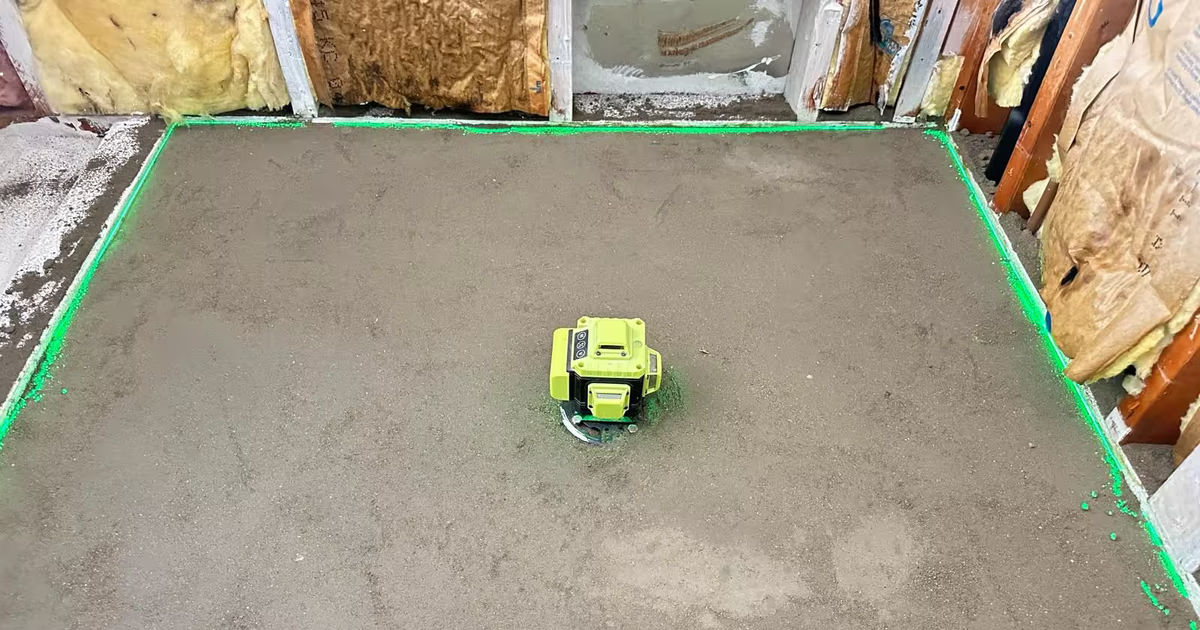
A tiled shower floor can be built two ways: a hand-packed mortar bed over a PVC or CPE liner, or a preformed sloped foam tray with a bonded membrane on top. Both can last for decades. Both can fail in the first year. The difference is where the waterproofing sits, how water gets to the drain, and what each one asks of the installer. Here is how we build each, and how we decide which one a Denver shower gets.
Two ways to build the same floor
Whatever is on top, tile and grout are not the waterproofing (we explain why in Tile and Grout Are Not Waterproofing). The model residential code requires a lining under every site-built shower receptor, and IRC P2709.2 lists what that lining can be: sheet lead or copper, a PVC or CPE plastic liner, hot-mopped felt, or a sheet-applied or liquid-applied bonded membrane that meets ANSI A118.10. The two common residential builds in the Denver metro come from the two ends of that list.
| Mud pan with liner | Foam tray with bonded membrane | |
|---|---|---|
| What the waterproofing is | PVC (ASTM D4551) or CPE (ASTM D4068) sheet liner | Sheet or liquid membrane to ANSI A118.10 (Schluter KERDI, LATICRETE HYDRO BAN, wedi, Noble) |
| Where it sits | Under the mortar bed, over a sloped pre-slope | On top of the foam tray, directly under the tile |
| What is under the tile | 1-1/2 inches or more of packed deck mud | Thin-set and the membrane, then foam |
| Drain type | Two-part clamping drain with weep holes | Bonding-flange drain the membrane is glued to |
| Where leaked water goes | Through the bed to the liner, then out the weep holes | Nowhere: it never gets past the membrane |
| Shape and drain location | Any shape, any drain location | Fixed sizes and drain positions; can be cut or extended |
| Weight | Heavy (mortar) | Light (EPS or XPS foam) |
| Cure before the flood test | Pre-slope cures, then the liner goes on | 24 hours after the membrane, per Schluter and LATICRETE |
There is also a third path the TCNA Handbook shows as method B422: a sloped mortar bed with a bonded membrane on top and a bonding-flange drain. It behaves like the tray system (water stays on top) but is built like a mud pan (any shape, any drain). What you should not do is mix and match. The NTCA's technical team is blunt about it: pairing liner-style walls with a bonded-membrane pan is a hybrid outside the TCNA methods, and then only the manufacturer's written instructions can back you up.
How a mud pan is built
The traditional pan is a "water in, water out" system, and the order of the layers is the whole point. Schluter's own handbook describes the assembly fairly: the mortar bed is sloped to the weep holes, the liner goes over that slope, and because tile cannot be bonded to a liner, a second mortar bed goes on top to carry the tile. Water that gets through the grout percolates through the bed to the liner and exits through the weep holes. Our sequence on a new build:
- Pre-slope. Deck mud (roughly 1 part portland cement to 3 or 4 parts sand, just damp enough to hold a ball) is packed over the subfloor and pitched to the drain. The code wants the lining to fall 1/4 inch per foot to the weep holes, so the bed under it has to fall at least that much. Tom Meehan's Fine Homebuilding method lets it dry overnight before the liner goes on. Skipping this layer is the single most common mud-pan mistake; Tyler Grace's rule is that a sloped bed goes under the liner no matter what the inspector says.
- Liner. The PVC or CPE sheet is laid over the pre-slope, folded (never cut) at the inside corners, and run up the walls. P2709 requires it at least 2 inches above the finished threshold and says it shall not be nailed or perforated anywhere less than 1 inch above that threshold. Fasteners go high on the wall only.
- Clamping drain. The liner is cut at the drain, bedded in sealant on the lower flange, and the clamping ring is bolted down. The weep holes in that ring are the only exit for water that reaches the liner, so we pack pea gravel or tile spacers around them before the top bed goes in; gravel around the weep holes is the standard detail so mortar cannot plug them.
- Flood test. Drain plugged, pan filled, held, checked from below. More on this below.
- Top bed. A second layer of deck mud, packed and screeded to the drain. Industry guidance puts it at 1-1/2 inches minimum, with wire reinforcement only when the pan exceeds 65 square feet. We let it cure before setting tile.


How a foam tray is built
A preformed tray replaces both mortar beds. Schluter's KERDI-SHOWER trays are expanded polystyrene; wedi's Fundo elements have an XPS core; LATICRETE's HYDRO BAN pan and Noble's ProBase II are EPS. All of them arrive with the slope already molded in. The membrane is the waterproofing and it goes on top, so the tray itself only has to be flat, supported and sloped. The sequence, using a Schluter tray as the example:
- Drain and subfloor. The subfloor has to be clean, even and load-bearing, and any leveling happens before the tray, not under it. The bonding-flange drain is connected to the waste line (solvent-welded, like any drain).
- Set the tray. Thin-set is combed onto the subfloor with a 1/4 x 3/8 or 3/8 x 3/8 notched trowel and the tray is pressed in until it is solidly embedded. The handbook is specific that this mortar is "to bed and support the tray only"; voids under a foam tray are where it cracks later. LATICRETE's instructions for its pan add a skim coat on the underside and bags of thin-set as weight for 30 minutes.
- Membrane. The sheet membrane is bonded over the tray and onto the drain flange with thin-set, then the wall-to-floor joints and inside corners get band and preformed corners, with seams overlapped 2 inches. This is the step that makes or breaks the system: every seam is a glued joint, and the water test exists to prove each one.
- Wait, then flood test. Schluter calls the water test "strongly recommended" and says to wait a minimum of 24 hours after the membrane is complete so the thin-set has set at the seams. LATICRETE's data sheet says the same: a minimum of 24 hours before flood testing.
- Tile. Tile is set directly on the membrane with the thin-set the membrane maker specifies. For KERDI that is unmodified thin-set or one of Schluter's own mortars. The wrong mortar on a membrane is a warranty problem and sometimes a bond problem.
The payoff is what happens on day 400. Because nothing gets past the membrane, there is no bed below to saturate. The assembly, as Pro Builder put it in comparing the two systems, dries completely between uses. That is also why a steam shower gets a bonded membrane on every surface: in our Denver steam shower the HYDRO BAN membrane runs unbroken over the walls, the sloped ceiling, the bench and the niche, because vapor finds gaps that water forgives.
Tile size, custom shapes and drain location
This is where the two systems separate in practice. A mud pan is shaped on site. Any footprint, a drain wherever the plumber can put it, a bench that lands mid-slope, a pebble floor that needs a thicker mortar bed to grab each stone. In our Irving Street shower remodel in Denver we moved the drain to the center, built the pan the traditional way with a rubber liner, and set a natural-stone pebble mosaic on it. With a stock tray, the tray's molded drain position would have dictated where that drain ended up.
Trays are molded to a size list. Schluter's center-drain trays run from 38 x 60 up to 72 x 72 inches, with a 38 x 60 off-center version aimed at tub replacements and thinner trays from 36 x 36 to 48 x 48 inches. Noble lists eight standard sizes plus custom shapes to order. Any of them can be trimmed; Schluter's advice is to cut equal amounts off all four sides so the first course of wall tile stays level, and to extend a short tray with dry-pack mortar that is then waterproofed with the same membrane. wedi allows cutting too but says the geometry of the element must be maintained. In plain terms: you can make a tray smaller and squarer, but you cannot make it L-shaped or move its drain, and once you are extending it with mud on two sides you are building a mud pan with extra steps.
Which tile goes on which base
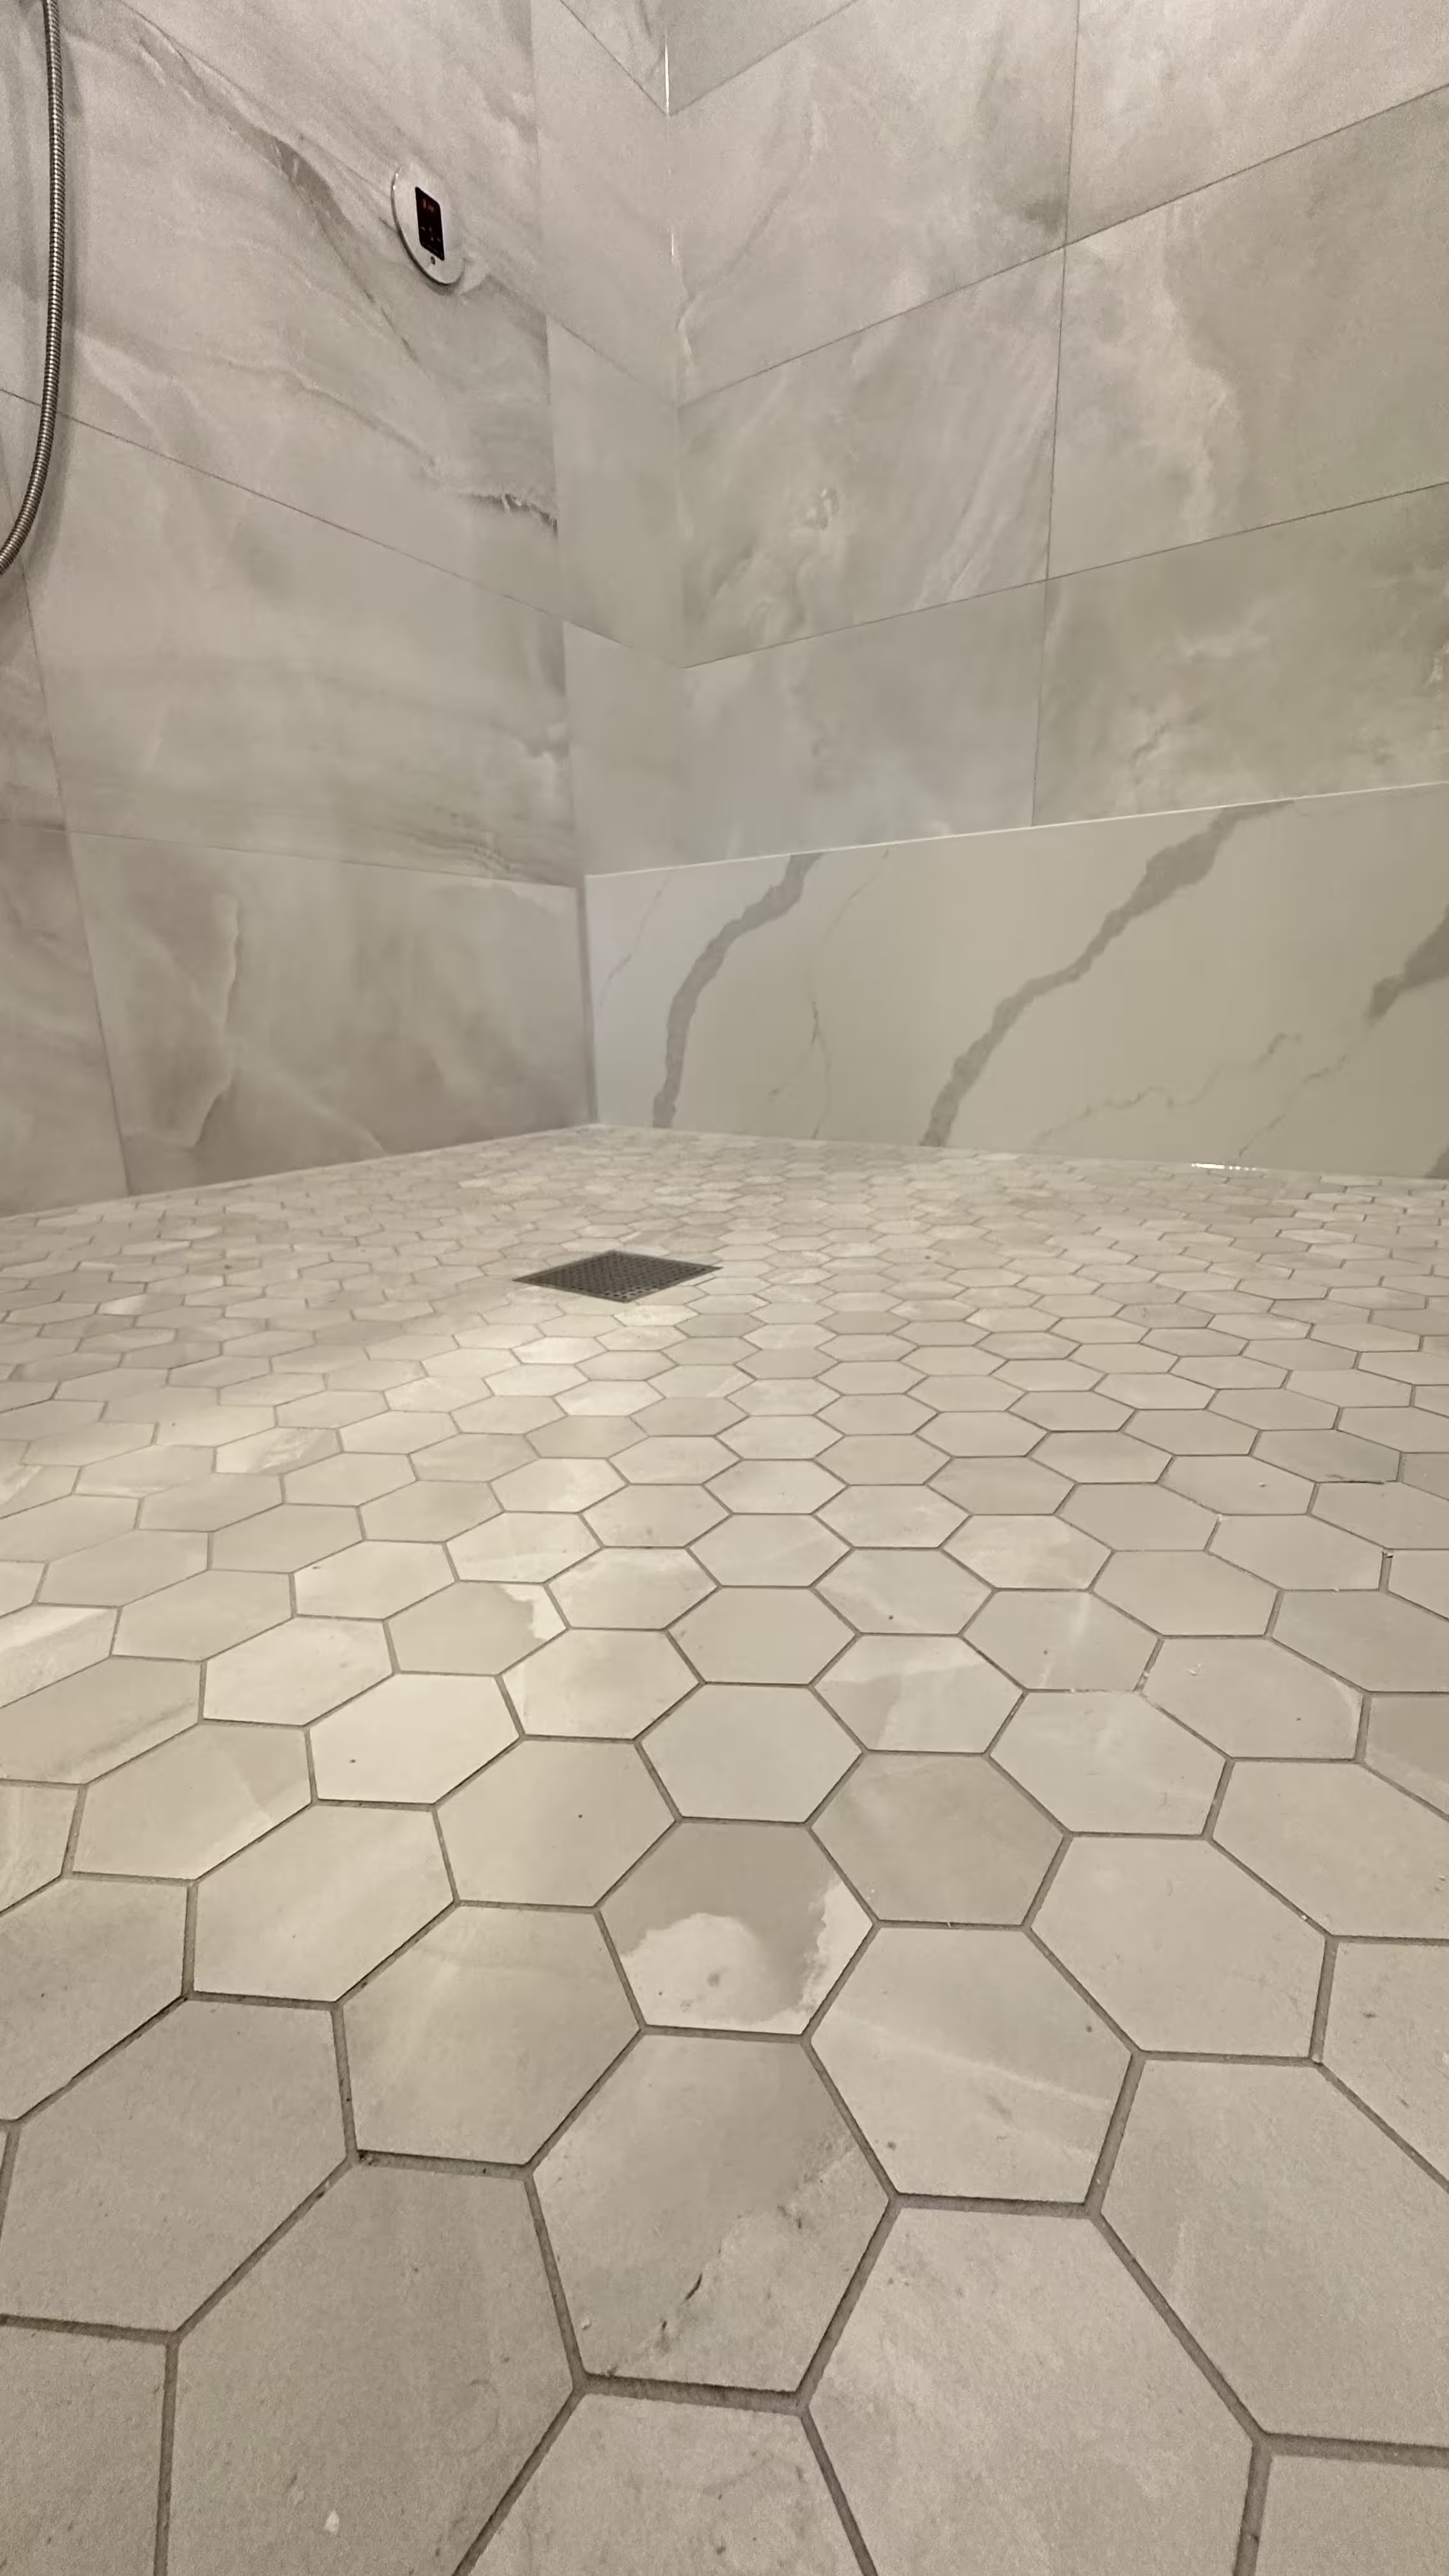
- Mosaics and pebbles. Small tile follows a slope naturally, which is why most shower floors use 2-inch or smaller pieces regardless of base; the hexagon floor in the steam shower above is the usual answer. On a foam tray, check the manufacturer's floor: wedi rates its elements for wheelchair loads only with tile 50 x 50 mm (about 2 inches) and larger, and allows glass mosaic from 20 x 20 mm at 3 mm thick. Loose pebble sheets with little contact area are where we lean toward a mortar bed, as on Irving Street.
- Large-format tile. A single-plane slope to a linear drain is the only way to put 12 x 24 or larger tile on a shower floor without a four-way break. Schluter's linear drains and its linear-drain trays are made for this; on a mud pan we screed the same single plane by hand. Either works. The tray is faster; the mud bed is adjustable to the eighth of an inch.
- Natural stone and glass. Schluter's handbook flags that certain glass tiles may not be compatible with bonded membranes, and that moisture-sensitive stones such as green marble or resin-backed tiles may need special setting materials. LATICRETE's data sheet asks for a white thin-set under light marbles. Check the tile against the membrane maker's list before the tray is ordered.

Weight, height and the second floor
Deck mud is sand and cement. The NTCA's rule of thumb is that every 1/4 inch of mud adds about 3 pounds per square foot, and TCNA's floor mortar-bed method (F103B) lists 1-1/4 to 2 inches, with anything thicker needing the designer's sign-off. A mud pan has two beds plus a liner, so by that rule of thumb a 4 x 5 shower floor with a combined 3 inches of mortar carries on the order of 700 pounds before tile (our arithmetic, not a published figure). A normally framed floor is designed for that kind of load, but it is not nothing. On a second floor with long joist spans, a bouncy subfloor, or a framed opening already cut for plumbing, it is a reason to look harder at the framing before choosing the heavier system. LATICRETE's data sheet sets the usual ceiling: deflection of no more than L/360 for ceramic tile and L/480 for stone, and Schluter's handbook says the structure has to meet the local code and may need a design professional. Those are manufacturer rules, not code sections, but every warranty leans on them.
Height is the other number. A standard wedi element is 40 mm (about 1-9/16 inches) thick; a mud pan with a pre-slope, a liner and a 1-1/2-inch top bed is usually taller. For a curbless entry, where the shower floor has to finish level with the bathroom floor, the thinner tray or a recessed subfloor is often what makes the design possible. We cover that layout question on the shower remodeling page. If you are adding heat under the tile elsewhere in the room, see Heated Bathroom Floors Under Tile for how the stack-up outside the shower has to match.
The flood test is the same for both
Neither system is finished until it has held water. The model code test, IRC P2503.6, applies to any receptor made watertight with a P2709.2 lining, which covers the plastic liner and the bonded membrane alike: plug the drain, fill to at least 2 inches measured at the threshold (build a temporary dam if there is no curb yet), and hold it for not less than 15 minutes with no evidence of leakage. Where a permit is pulled, this is the inspector's test. What changes between the two systems is the timing:
- Mud pan: the test happens after the liner and clamping drain are in and before the top bed covers them. Meehan's practice is 2 to 3 inches of water left overnight. Ours is similar: we fill it, mark the level, and come back the next morning. A liner that has passed is then protected while the top bed is packed, because a trowel edge or a dropped tool can undo the result.
- Foam tray: the test happens after the membrane, band and corners are bonded and have had their 24 hours, and before any tile. It is the only chance to prove every seam, which is why Schluter writes the 24-hour wait into the handbook and LATICRETE into the data sheet: test too early and a seam that has not set can read as a leak, or worse, pass and open later.
Our own practice is the same on every shower we build, tray or mud: a code-listed membrane, a sloped base, and a flood test before tile, with the test documented for the homeowner. If a contractor cannot show you that the pan was tested, ask why.
What fails on each, and when we choose which
Both systems fail at the hands, not the materials. The patterns we see when we open failed showers:
| Mud pan failures | Foam tray failures |
|---|---|
| No pre-slope: liner flat, water pools on it and the bed stays wet | Voids under the tray from a dry or thin thin-set bed; the foam flexes and tile cracks |
| Weep holes packed with mortar; the bed cannot drain | Membrane seams with less than 2 inches of overlap, or band left off a corner |
| Screws or nails through the liner below the flood line, usually at the curb | Membrane punctured by a screw, a tool or a sharp tile edge before tile covered it |
| Inside corners cut instead of folded | Wrong mortar for the membrane; tile debonds from the sheet |
| Liner stopped at the floor instead of 2 inches above the curb | Tray cut unevenly, so the first course of wall tile runs out of level |
| Lath or mesh laid directly on the liner and punctured | Drain flange not fully supported by thin-set; the membrane bond to the flange fails |
Given all that, our decision usually comes down to the shower itself, and it is a professional judgment rather than a rule:
- Foam tray when the footprint matches a stock size or needs only a trim, when the shower is on a second floor and the framing is ordinary, when a curbless or low-threshold entry needs the height, when it is a steam shower and the whole enclosure is being bonded anyway, and when schedule matters: no bed to cure means tile can start right after the water test.
- Mud pan when the shower is an odd shape, when the drain cannot be where a tray wants it and moving it is not an option, when the floor is pebble or thick stone, when the finish height has to meet an existing floor to the eighth of an inch, and when the walls are being built the traditional way, because mixing a liner pan with bonded-membrane walls, or the reverse, is a hybrid no handbook stands behind.
- Mud bed with a bonded membrane on top (B422) when we want a custom shape and the dry-between-uses behavior at the same time. It takes longer: the bed cures, then the membrane goes on, then the 24-hour wait, then the test.
Site conditions, product compatibility and the local jurisdiction change the right answer. Denver, Aurora, Parker and the other metro building divisions adopt different code editions and amendments, and LATICRETE's own data sheet tells the installer to get the local building authority's approval before using a foam pan as the shower receptor. We confirm that for the address before we order. And if the question is really whether an existing pan can be saved, that is a different article: Shower Repair vs. Complete Rebuild.
Planning a new shower and not sure which base it should have? We build both, we will tell you which one your footprint, framing and tile call for, and every pan we build gets a flood test before a single tile goes down.
Frequently asked questions
Is a foam shower tray as strong as a mortar bed?
Set correctly, yes for a residential shower. The trays are made to be embedded in thin-set, tiled and walked on; wedi even publishes a wheelchair rating, conditioned on tile 50 x 50 mm or larger. The strength problem we see is never the foam, it is a tray set over a hump or a hollow, or over a subfloor that was never leveled. A mud bed is more tolerant of an imperfect subfloor because it is screeded to the drain regardless of what is underneath.
Does code require one system or the other?
No. The model IRC lists both a plastic liner and an ANSI A118.10 bonded membrane as acceptable linings, and the liner test applies to both. What differs is the paperwork: a tray system depends on the manufacturer's listing (Schluter cites an ICC-ES listing for its trays, and LATICRETE an IAPMO approval for its membrane), and some inspectors want to see it. Confirm with the building division for your address before the pan goes in, not after.
Can I put large-format tile on the shower floor with either base?
Only with a single-plane slope to a linear drain. A point drain in the middle of the floor needs four sloped planes, and large tile cannot bend across them without lippage. Both a tray and a hand-screeded bed can be built as a single plane. The tile itself has to be rated for floors and wet areas; see our porcelain, ceramic and stone comparison for the material side.
How long does each take to build?
We quote a schedule per job rather than a standard number, because drying, inspections and tile delivery move it more than the pan does. The difference in the sequence is this: a mud pan has two curing steps (pre-slope, then top bed) with the flood test between them; a tray has one 24-hour wait after the membrane and then the flood test. That advantage shrinks the moment the tray has to be extended with mud anyway.
Sources and notes
- 2021 International Residential Code, Section P2709 Shower Receptors (UpCodes) — lining materials (PVC to ASTM D4551, CPE to ASTM D4068, sheet-applied bonded membranes to ANSI A118.10, liquid-applied to ANSI A118.10); lining sloped 1/4 in 12 to the weep holes and not nailed or perforated within 1 inch above the finished threshold; lining at least 2 inches above the threshold; flanged drain with clamping ring and weep holes; finished floor slope 2 to 4 percent; curb 2 to 9 inches above the drain.
- 2021 International Residential Code, Section P2503.6 Shower Liner Test (UpCodes) — drain plugged, water at least 2 inches deep at the threshold, held at least 15 minutes with no evidence of leakage.
- Schluter-Systems, Shower System Installation Handbook, 04/2025 edition (PDF) — traditional 'water in/water out' assembly and the saturated-bed problem when the pre-slope is skipped or the weep holes clog; trays set in Schluter SET, ALL-SET, FAST-SET or unmodified thin-set with a 1/4 x 3/8 or 3/8 x 3/8 notched trowel, 'to bed and support the tray only'; trays may be cut or extended with dry-pack mortar; KERDI seams overlap 2 inches; water test strongly recommended, wait 24 hours minimum after the membrane; the structure must meet the building code and may need a design professional; some glass tiles, moisture-sensitive stones and resin-backed tiles may not be suitable.
- Schluter-Systems, KERDI-SHOWER-T/-TS/-TT product page — expanded polystyrene trays; standard center-drain sizes 38 x 60 to 72 x 72 inches; 38 x 60 off-center tray for tub replacements; thin-perimeter TT trays 36 x 36 to 48 x 48 inches; ICC-ES PMG-1204 listing.
- Schluter-Systems FAQ: Can I modify the KERDI-SHOWER tray to fit my shower? — cut equal amounts on all four sides so the first course of wall tile stays level; extend the base with dry-pack mortar and waterproof the extension with KERDI.
- wedi, Fundo Primo shower element technical properties — XPS core; 18 mm surface slope from edge to drain opening; standard elements 40 mm thick; wheelchair load-bearing from 50 x 50 mm tile; glass mosaic from 3 mm thick and 20 x 20 mm; can be cut to size but the geometry must be kept; only with wedi Fundo drains.
- LATICRETE, HYDRO BAN Shower Pan data sheet DS-36588 (PDF) — high-density EPS pan with HYDRO BAN sheet membrane; cut with a circular saw or utility knife; set in polymer-fortified mortar with a 1/4 x 3/8 trowel and skim-coated underside, weighted for 30 minutes; wait a minimum of 24 hours before flood testing; floor deflection not over L/360 for ceramic tile or L/480 for stone; obtain approval from the local building code authority before use in shower pans.
- LATICRETE, HYDRO BAN Shower Pan product page — membrane exceeds ANSI A118.10 and is IAPMO approved; page lists this pan as discontinued as of April 2026.
- Noble Company, ProBase II pre-sloped shower base — honeycomb EPS composite sloped 1/4 inch per foot; versions for bonding-flange and clamping-ring drains; 8 standard sizes plus custom shapes; installed with modified thin-set or NobleBond EXT.
- Custom Building Products, TCNA B422 shower receptor detail (PDF) — the mortar-bed-plus-bonded-membrane method: solid backing, bonded waterproof membrane to ANSI A118.10, integrated bonding flange drain, mortar bed floor.
- TileLetter (NTCA), Ask the Experts: Can a mortar bed exceed 2 inches? — TCNA F103B-21 lists mortar beds at 1-1/4 inch minimum to 2 inches maximum; each 1/4 inch of mud adds about 3 pounds per square foot; thicker beds can exceed the structure's design load.
- TileLetter (NTCA), Ask the Experts: Repairing a shower pan using TCNA Method TR420 — mixing methods (for example B415 walls with a B422 pan) is a hybrid outside the TCNA methods and must rely on the manufacturer's written instructions.
- Ceramic Tile and Stone Consultants: How thick should the mortar bed for a shower pan floor be? — pre-slope at 1/4 inch per foot; dry-pack bed at least 1-1/2 inches thick over the liner; wire reinforcement when the pan exceeds 65 square feet, per ANSI A108.1A-2017.
- Tom Meehan, Fine Homebuilding: Installing a Leakproof Shower Pan (Issue 141) — pre-slope mix of 1 part portland cement to 3 or 4 parts sand, pitched 1/4 inch per foot and left to dry overnight; felt over the mud; corners folded, not cut; pea stone around the drain to keep the weep holes open; pan flooded 2 to 3 inches deep overnight; top bed at 4:1 packed 2 to 3 inches thick and cured overnight before tile.
- Glenn Mathewson, Fine Homebuilding: Site-Built Shower Pans (Issue 284) — subbase slopes 1/4 inch per foot toward the drain; gravel around the weep holes so the mortar does not clog them; 15-minute, 2-inch liner test.
- Tyler Grace, Fine Homebuilding: The Right Way to Install Shower Pan Liners — a liner not pitched to the weep holes leaves water nowhere to go; a saturated bed weakens; lath over a PVC liner risks puncture.
- Pro Builder: Traditional Tiled Shower Construction vs. Bonded Waterproof Assemblies — bonded assemblies keep moisture out of the mortar bed and dry completely between uses; preformed trays eliminate the mortar bed.
- South Denver Tile Experts: Shower remodeling in Denver (Irving Street project record)
- South Denver Tile Experts: Steam shower in Denver (project record)
Code references are to the model International Residential Code (IRC). Denver, Aurora, Parker and other metro jurisdictions adopt different editions with local amendments, so confirm requirements with your building division before relying on them. Last reviewed October 26, 2026.