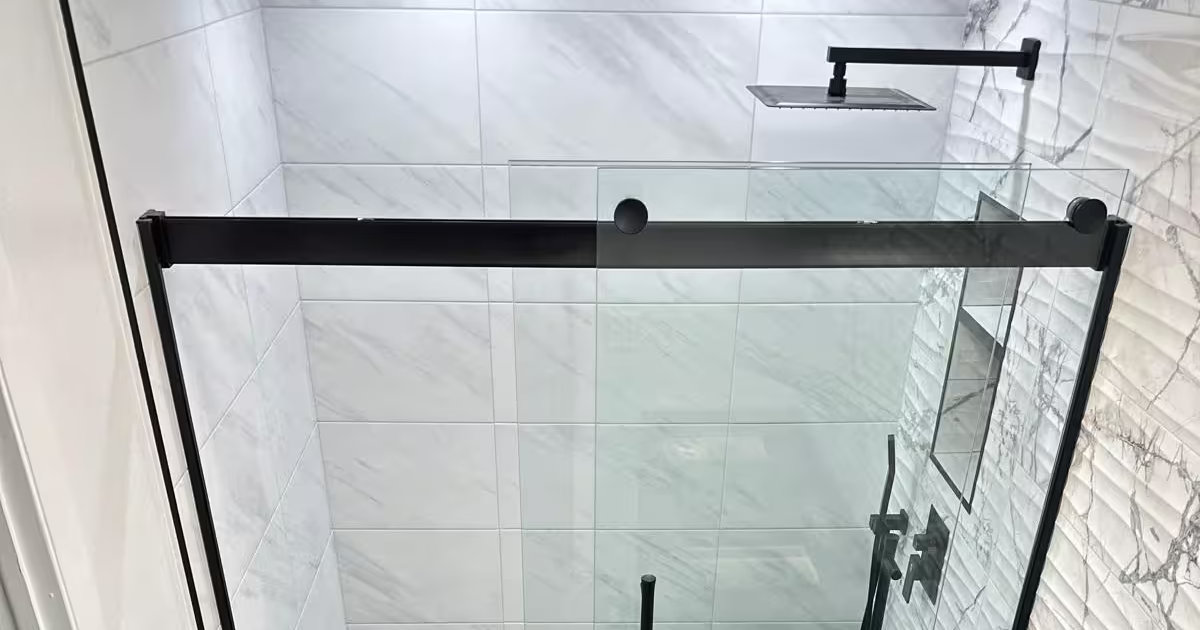
We build tile showers. Most people who call us have also priced the alternative: a molded acrylic or fiberglass surround, or one of the one-day liner systems advertised on the radio. Those products exist because they solve real problems, and there are bathrooms where we would pick one. This is a straight comparison of how each is built, where the water stops, what fits through your door, how each ages, and which one is the right call for a given house in the Denver area.
What “acrylic surround” actually covers
The alternative to tile is not one product. It is a family of molded and panel systems, and the differences between them matter more than the difference between any of them and tile.
- Acrylic. A sheet of acrylic is heated, vacuum-formed into a mold and reinforced on the back with sprayed fiberglass, according to Kohler's own explainer. The color is in the acrylic sheet itself. This is the material in most mid-range and premium units and in the franchise one-day liner systems.
- Fiberglass with a gelcoat finish. Here the finish is a gelcoat sprayed into the mold, backed by fiberglass and resin. It is the lighter, lower-cost option. Kohler's comparison notes that fiberglass "can lose color over time"; acrylic, by contrast, is more expensive to repair when it is damaged.
- Cultured marble and solid-surface panels. Cultured marble is a cast composite, marble dust or another mineral filler in polyester resin under a thin gel coat; the gel coat is the wear surface, and a materials guide we checked warns it scratches easily and cannot be resealed once it is cut through. Solid-surface composites are thicker panels of a uniform material, usually sold as flat wall sets rather than molded units.
- PVC and composite click-together panels. Thin interlocking panels glued to the wall, with sealant in the joints. These are the budget and DIY end of the category, and they rely entirely on the adhesive and the joint sealant.
Cutting across those materials are three formats: a one-piece unit (base and walls molded together), a multi-piece kit (a separate base and two to five wall sections that overlap or lock together), and a liner (a custom-molded acrylic shell installed over the existing tub or surround, which is what the one-day franchises sell). Which format you can get is usually decided by your doorways, not your taste. More on that below.
How each one gets built
The marketing version is "acrylic goes in a day, tile takes weeks." The useful version is what each installer actually has to do, because that is where the quality lives. The acrylic sequence below is drawn from Kohler, Sterling and Aquatic installation guides; the tile sequence is how we build.
Acrylic or fiberglass unit
- Demolish the old shower or tub to the studs (a liner system skips this and goes over the existing surface).
- Frame to the manufacturer's rough-in. Sterling's guide for its 6201/6202 receptors and surrounds wants each stud plumb and square within 1/8 inch, with shims if that tolerance is missed. Kohler's one-piece guide says the floor framing must be "similar to the framing used in a stairwell."
- Set the base on a flat, level, fully supported subfloor. If the floor is out of level, Sterling's guides call for shims or a 1- to 2-inch bed of mortar cement, and specifically say to use mortar, not gypsum cement or drywall compound. Family Handyman's installation guide notes the same thing for larger tubs: "the manufacturer may ask you to set the tub in a wet mortar bed."
- Fasten the nailing flanges to the studs (Aquatic specifies galvanized roofing nails or pan-head screws, 8 inches on center up the side flanges), without fastening through the base flange where it would leak.
- Fit the wall sections and seal every seam, the base-to-wall joint and every fixture hole with 100% silicone. Aquatic allows 24 hours for the silicone to cure before use.
- Cover the framing above and around the unit with water-resistant wall material, furred out so it sits flush with the flange, and seal that joint.
Tile shower
- Demolish to the studs, repair framing and subfloor, and rough in the valve and drain where the new layout wants them.
- Install an approved backer board (the IRC lists the acceptable types: glass-mat gypsum, fiber-reinforced gypsum, fiber-cement or fiber-mat-reinforced cement) or a foam waterproof board.
- Build the pan: a sloped base, a code-listed liner or bonded membrane that runs at least 2 inches above the curb, and a flanged drain. Then flood test it. The code minimum is 2 inches of water held for 15 minutes with no leakage; we hold it longer.
- Waterproof the walls, niche, bench and curb with a membrane that ties into the pan. See Tile and Grout Are Not Waterproofing for why this layer, not the tile, keeps the house dry.
- Set the tile, let the mortar cure, grout, let the grout cure, seal the changes of plane with silicone, install glass and trim.
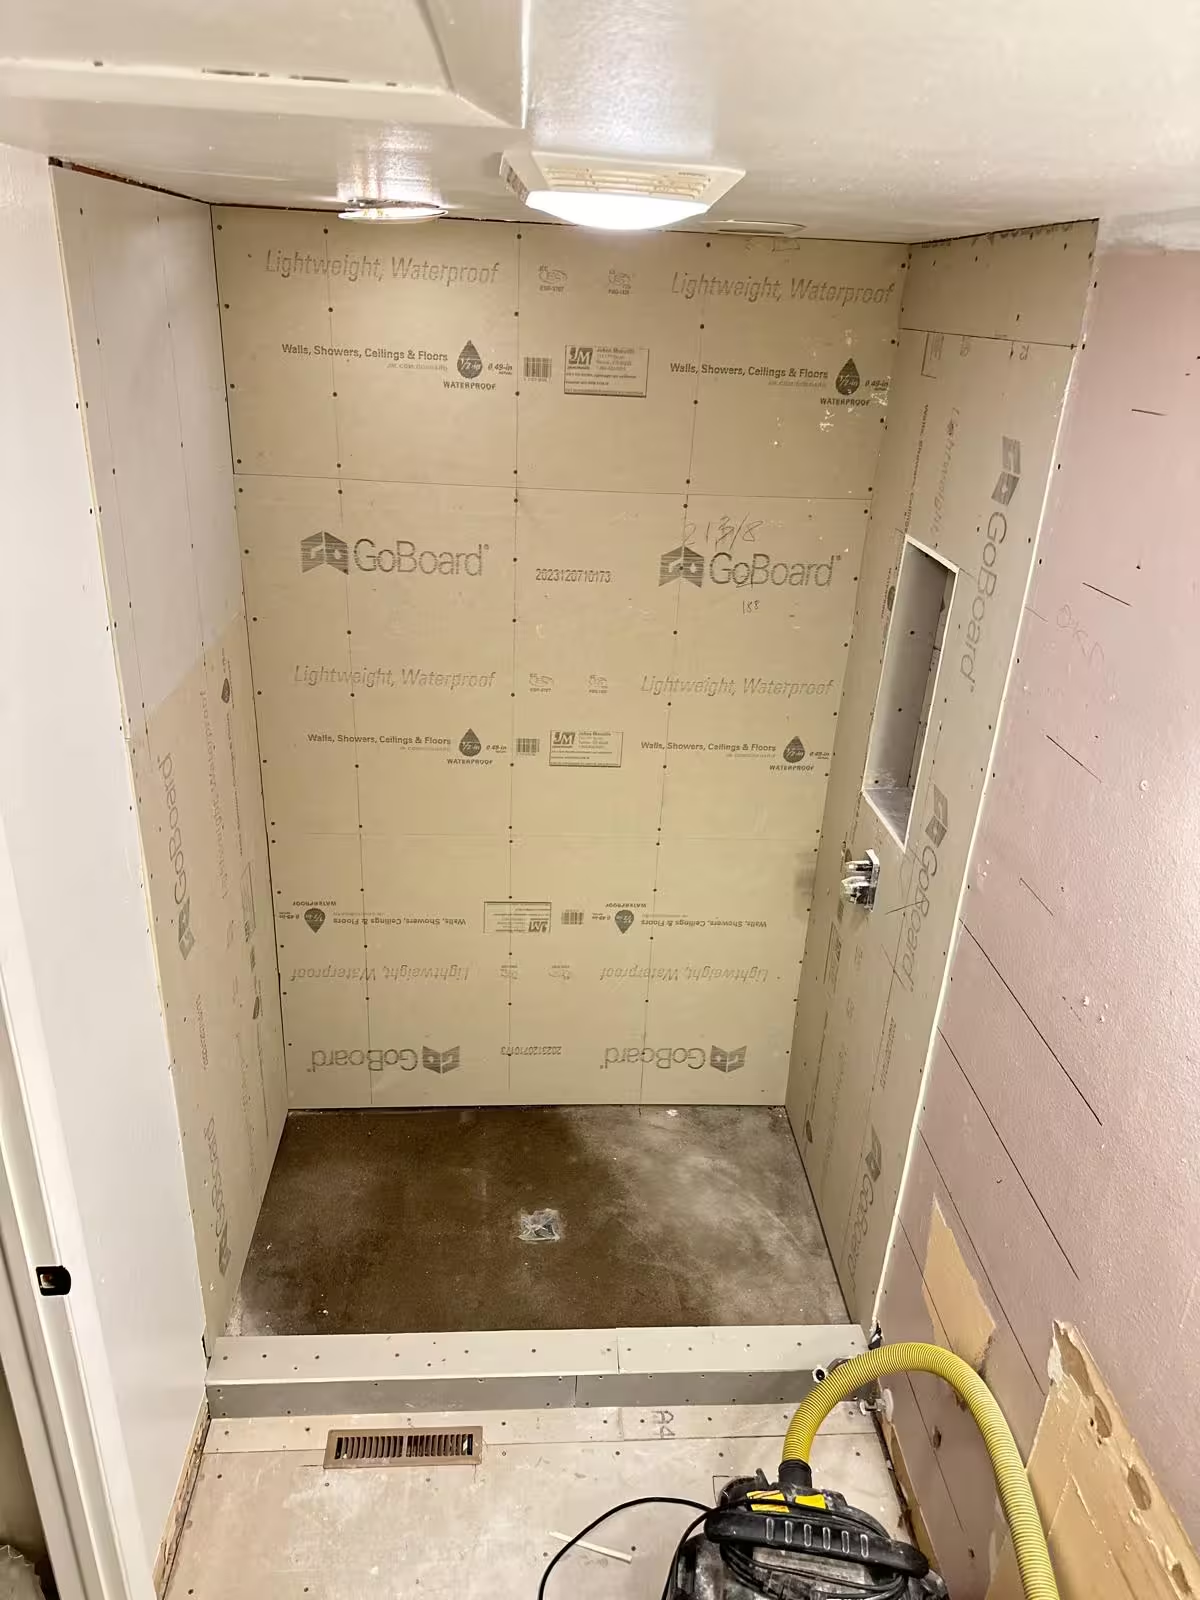
Time follows from those lists. An acrylic kit has fewer steps and almost no curing, so it is faster; Bath Fitter's FAQ claims installation "in as little as 24 hours" for its liner, which we quote as the company's claim, not ours. A tile shower has membrane cure, a flood test, mortar cure and grout cure built into it, and it should never be rushed through those. What a liner system cannot do is also in the manufacturer's own words: Bath Fitter's blog says it is not the right choice if you are "changing the layout or moving plumbing and electrical," and that damage behind the walls has to be repaired first. If your reason for remodeling is a leak, read Shower Repair vs. Complete Rebuild before covering anything.
Where the water stops
This is the most important technical difference, and it is not "tile leaks, acrylic doesn't." Each system has one layer that is doing the waterproofing, and each fails when that layer is compromised.
| System | What keeps water out of the wall | What makes it fail |
|---|---|---|
| One-piece acrylic or fiberglass unit | The molded shell itself. No seams below the top flange. | Cracks from a flexing, unsupported base; holes drilled for fixtures or grab bars that are not sealed; the joint between the flange and the wallboard above. |
| Multi-piece kit (base plus wall sections) | The shell pieces plus 100% silicone at every seam and at the base-to-wall joint. | Silicone that shrinks, molds or is cut out and not replaced. Aquatic's instructions state that silicone upkeep is the homeowner's responsibility and must be inspected and reapplied. |
| Liner over an existing surround | The new acrylic shell and the silicone around its edges and fixtures. | Whatever was already wrong behind the old surround. The manufacturer says to repair that first. |
| Tile shower | The membrane: a pan liner or a bonded sheet or liquid membrane under the tile, tested before tile goes on. | A missing or punctured membrane, no slope under it, drywall behind the tile, or a never-tested pan. The tile and grout are a wear surface, not the waterproofing. |
Two code points apply no matter which you choose. The IRC requires a nonabsorbent surface on shower walls to at least 6 feet above the floor; acrylic, panels and tile all satisfy that, but painted drywall above a short surround does not. And the backer behind both wall tile and "wall panels in shower areas" has to be one of the boards in Table R702.4.2, with water-resistant gypsum board prohibited "where there will be direct exposure to water." Trade press makes the same point from the other direction: cement board is "water-resistant but not waterproof", which is why a tile shower needs the membrane.
Will it fit through the door, and will it fit your bathroom?
Here is the fact that decides most remodels before anyone talks about looks. Kohler's installation guide for its one-piece shower modules says it plainly: "One-piece shower modules are too large to fit through standard door openings. Set the module within the installation area prior to the completion of the framing." The alternative the guide offers is to leave the studs out of one wall until the unit is inside. Family Handyman's remodel guide says the same from the DIY side: one-piece stalls are "usually too bulky to get into an existing bathroom." By contrast, Kohler's separate receptor-only guide notes that its base-only carton "will fit through any standard door."
So in a finished house the realistic acrylic options are a separate base plus wall sections, or a liner over what you have. Both come in catalog sizes. If your alcove is 58 inches, you get a 60-inch kit and a filler, or a 48-inch kit and a gap to frame in. If the old drain is 2 inches off the kit's drain location, somebody is cutting the subfloor or adding an offset. None of that is a flaw in the product; it is what "pre-molded" means.
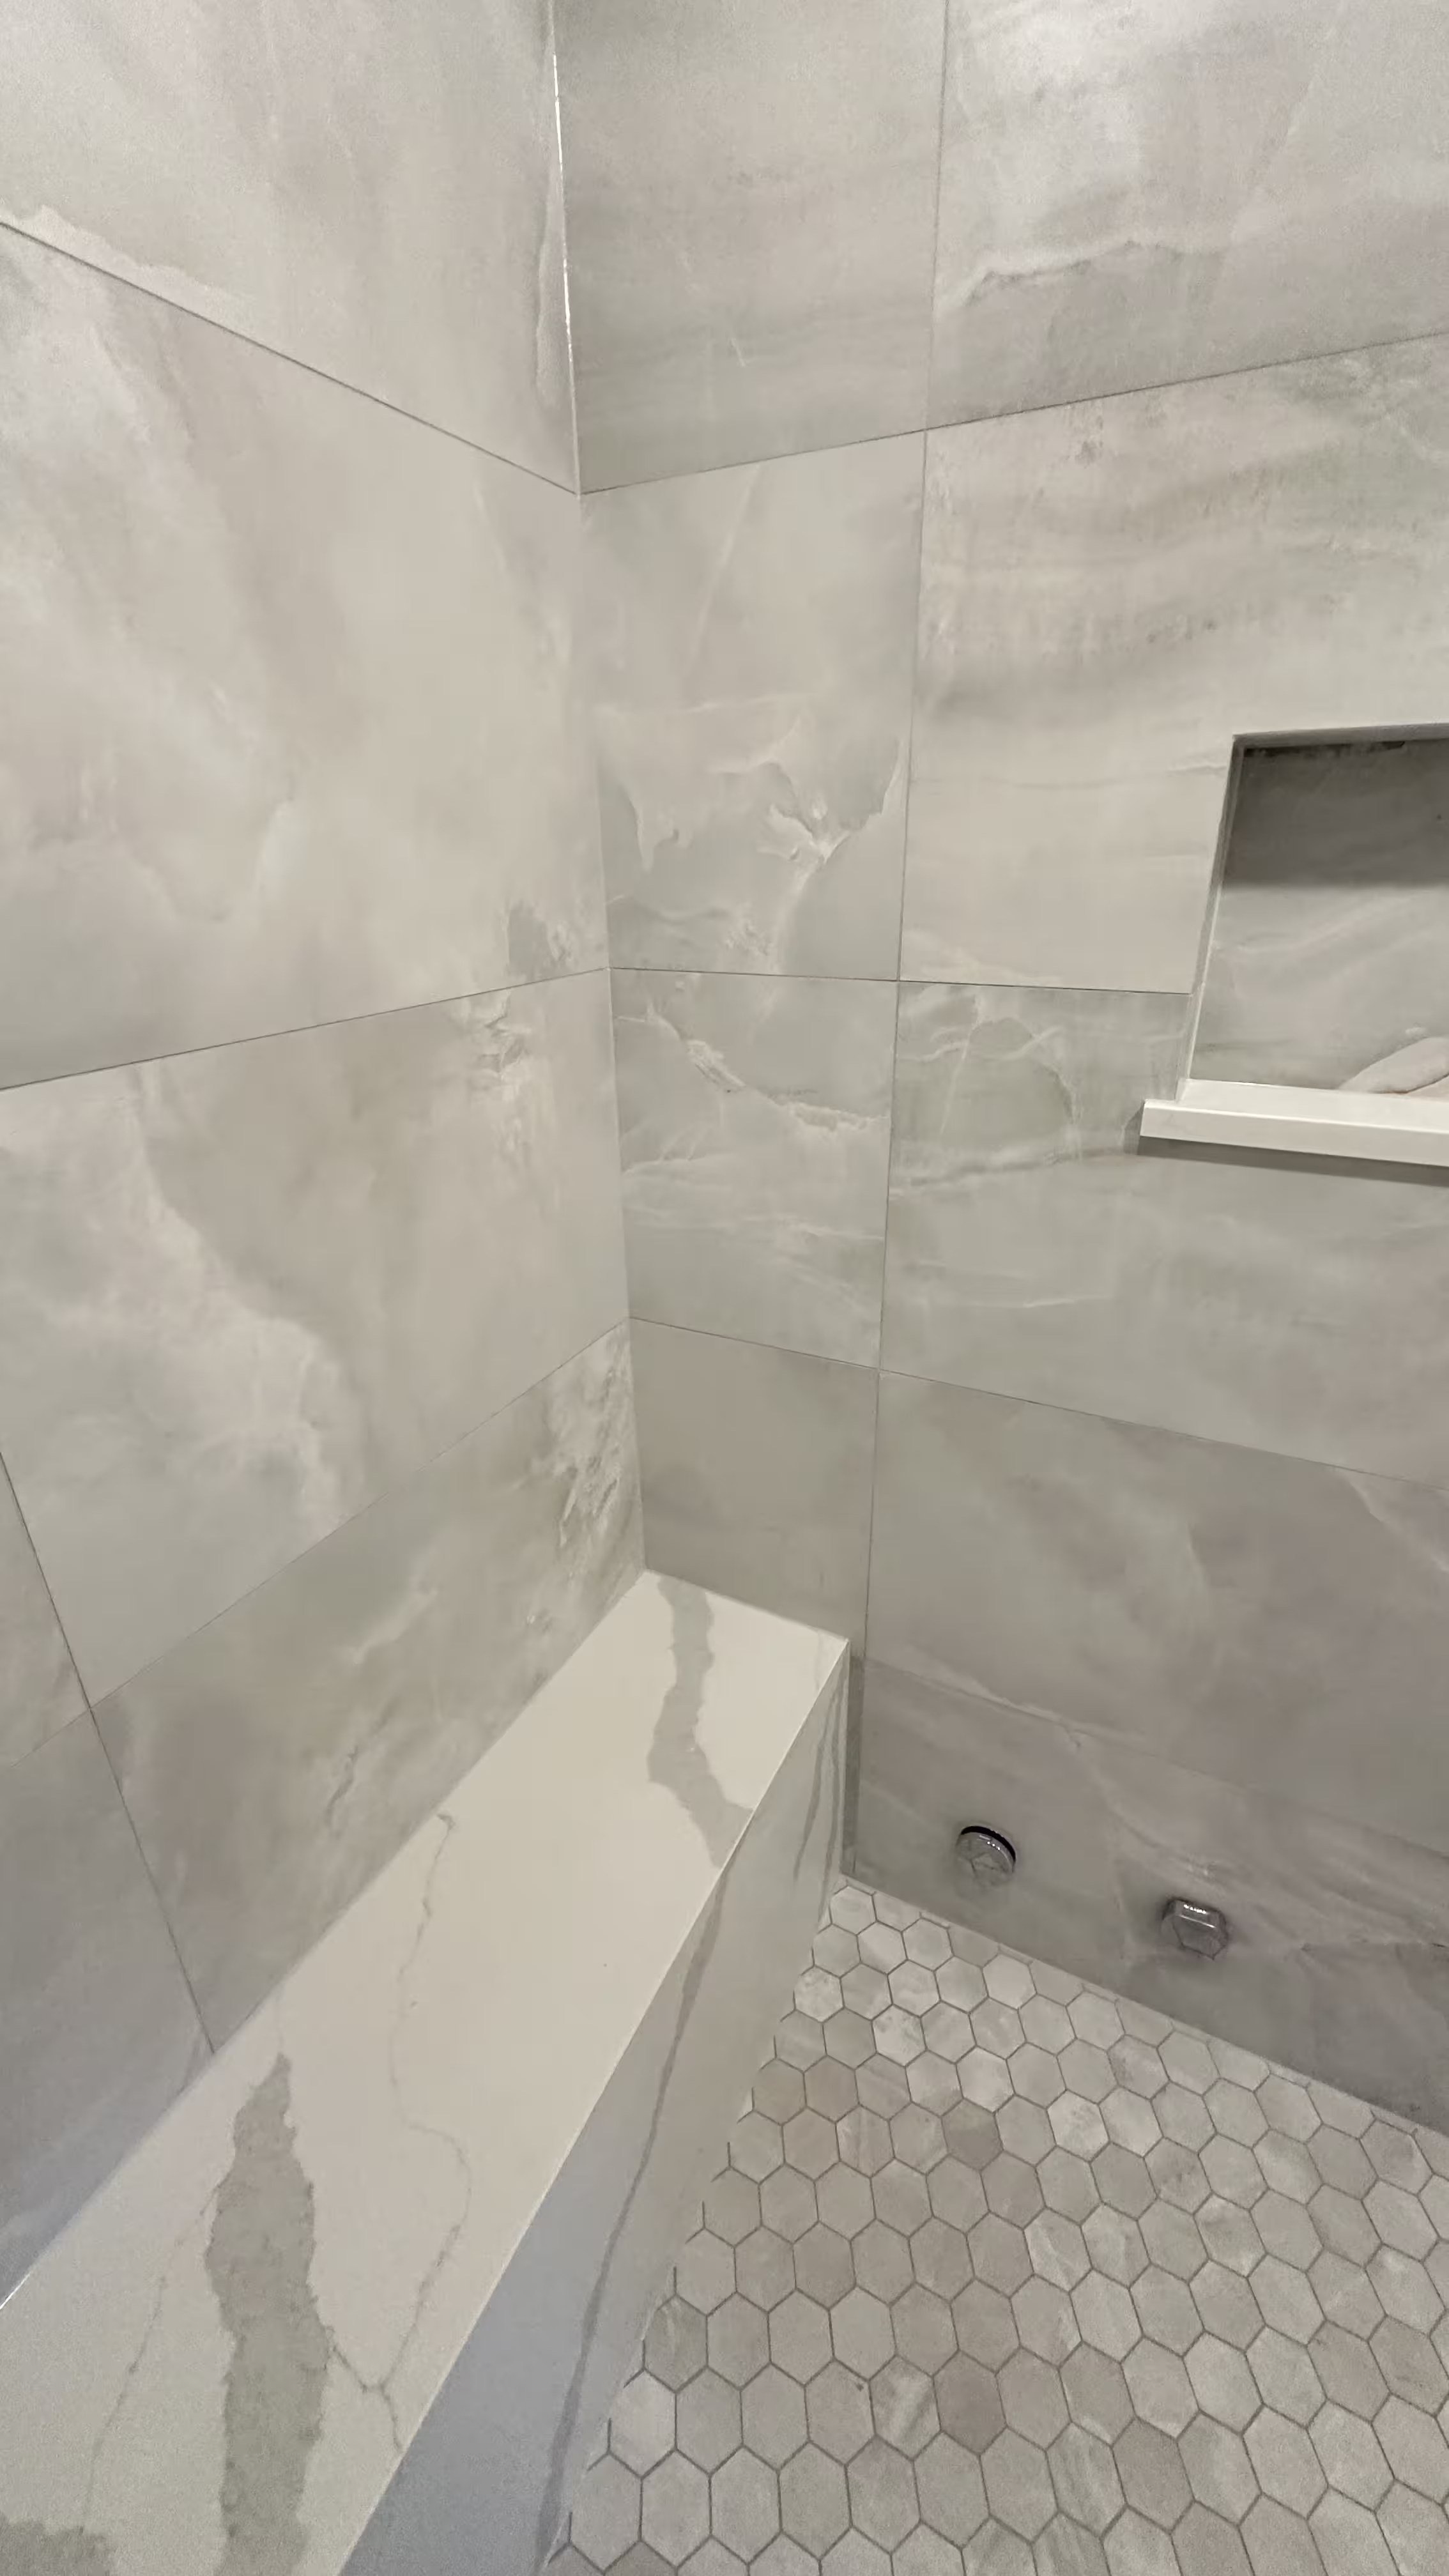
Tile is built to the room. The pan is formed to the actual footprint, the drain goes where the plumbing is or where you want it, and the walls get what the molded shell cannot give you:
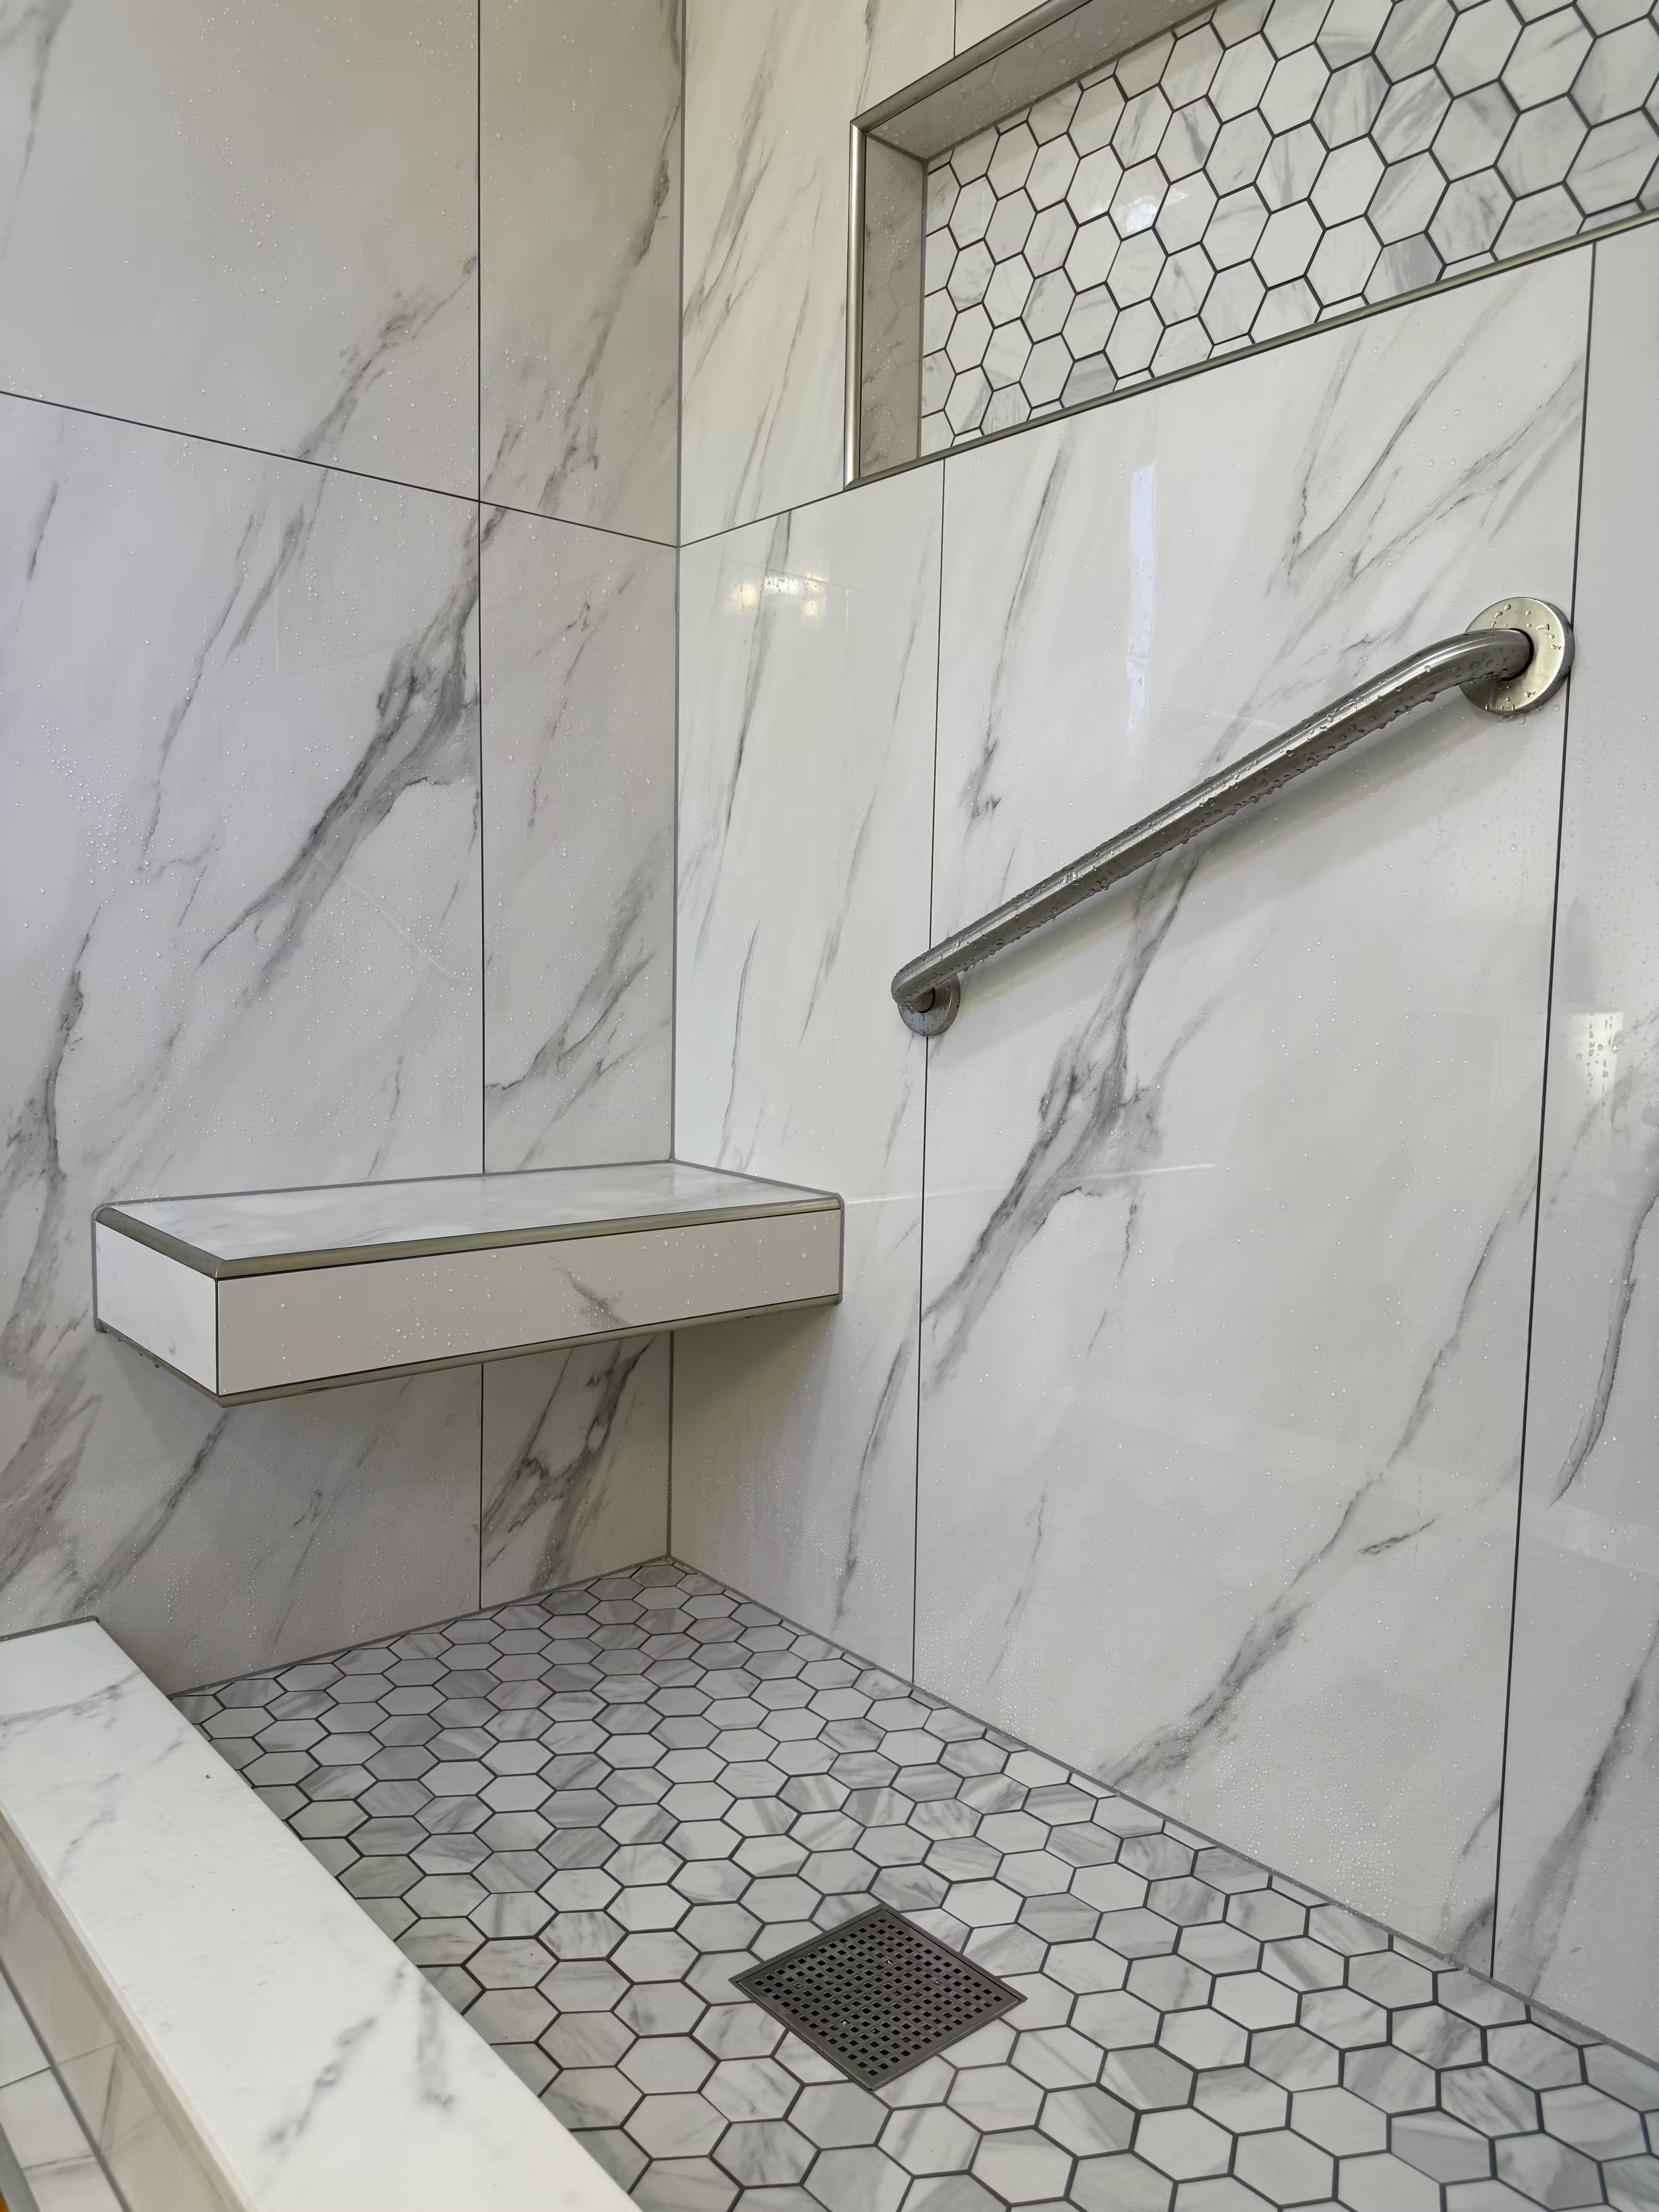
- Recessed niches sized to your bottles, placed where the framing allows, with the waterproofing carried through them.
- A bench or floating seat built into the waterproofing, not a plastic bump molded into a corner.
- A curbless or low-threshold entry with a linear drain, which is a layout decision rather than a product you have to find in a catalog.
- Odd footprints: neo-angle corners, a shower under a sloped ceiling, a wet room where the whole floor drains.
- Any tile, any pattern. For material choices see Porcelain vs. Ceramic vs. Natural Stone Shower Walls; for how the base is built see Mud Shower Pan vs. Foam Shower Tray.

Durability, repair and cleaning
Both sides exaggerate here, so we will stick to what manufacturers and the code say and what we see in demolition.
Acrylic and fiberglass
The finish is a plastic surface, and the manufacturers' care sheets are written accordingly. Aquatic's instructions say to "never use abrasive cleaners such as scouring powders or pads, steel wool, scrapers, sandpaper or anything else that could scratch or dull the surface," and to restore "a scratched or dull unit" with automotive polishing compound. Kohler says fiberglass "can lose color over time" and that acrylic costs more to repair. A cracked base is the common end-of-life event we see when we remove these units, usually where the base was not fully supported or the floor flexed. The silicone at the seams of a multi-piece kit is a maintenance item for the life of the shower; Aquatic's language is that "silicone should be inspected periodically and reapplied as necessary." On the plus side, there is no grout, the surface is nonporous, and a wipe-down is genuinely all a well-installed unit needs.
Tile
In our experience glazed porcelain and ceramic keep their color for the life of the shower, and scratching is not a practical concern on a shower wall. What ages is the grout and the silicone. Cementitious grout needs periodic cleaning and, with most products, sealing; epoxy grout is not sealed and is chosen for stain resistance, which is why our Premium tier uses it (see Epoxy vs. Cementitious vs. Premixed Grout). The silicone at the changes of plane is the same maintenance item it is in an acrylic kit. Repair is where tile pulls ahead: a cracked tile can be cut out and replaced, a failed pan can sometimes be replaced under existing wall tile, and a damaged section does not mean a new shower. A cracked one-piece acrylic base is generally a replacement, and the replacement has the same door problem the original did.
Our two tiers reflect that. The Essential tile shower uses standard-format porcelain or ceramic, cementitious grout and standard trims. The Premium shower uses large-format tile with 45-degree mitered outside corners, epoxy grout, and premium-brand materials such as LATICRETE. Both get the same membrane, slope and flood test; the difference is in the finish and how it ages.
Resale and perceived value
We do not publish dollar or percentage returns on either option, because we have not found a source that measures them honestly for a single shower. What is measured is what renovating homeowners choose. In the 2023 U.S. Houzz Bathroom Trends Study (1,921 respondents, fielded July 19 to 27, 2023), ceramic or porcelain was the top material for upgraded shower walls at 82% and shower floors at 61%, with marble second. Trade coverage of the 2024 edition reported that "nearly 9 in 10 homeowners opted for tile when upgrading their shower." The same 2024 study, summarized by Houzz Pro, found 13% of renovators chose a wet-room design and 64% addressed special needs, with aging in place the top reason.
Read that as buyer expectation, not a guaranteed return. In the Denver suburbs we work in, a tiled primary shower is what a buyer expects in a renovated bathroom; an acrylic surround reads as a serviceable bath, which is right for some homes and price points and a mismatch in others.
Cost, in relative terms
A multi-piece acrylic kit, installed, costs less than a tile shower of the same footprint. That gap is mostly labor and schedule: the kit has fewer steps and no curing, and the tile shower has demolition, waterproofing, a flood test, tile setting and grout. The gap narrows when the acrylic job needs framing or subfloor correction, a mortar bed under the base, or wall repairs above the unit, or when the acrylic option is a premium brand or a franchise liner. It widens when the tile is natural stone, large-format or a complex pattern.
The one number we publish: our tub-to-shower conversions typically run $12,000 to $17,000 depending on the materials chosen and the scope of work. Any contractor, tile or acrylic, should itemize demolition, framing and subfloor repair, plumbing changes, waterproofing, the unit or tile, glass and permits, so you can compare where the money actually goes.
When acrylic is the right call, and when tile is
| Situation | Lean acrylic or fiberglass | Lean tile |
|---|---|---|
| Rental or secondary bath where cost and quick turnaround matter most | Yes, a multi-piece kit | Only if the layout forces it |
| New construction or an addition where the unit can go in before framing closes | Yes, a one-piece unit is a sound choice | Also fine; decide on finish and layout |
| Standard 60 x 30 or 60 x 32 alcove, drain in the standard spot | Yes, kits are made for exactly this | Yes, if you want niches, a bench or a specific look |
| Odd footprint, off-standard drain, sloped ceiling, corner or neo-angle | Hard: filler strips, framing changes or offsets | Built to the room |
| Curbless entry, linear drain, wet room | Limited to specific low-threshold models | A layout decision, not a product search |
| Accessibility retrofit needed quickly: grab bars, low threshold | Barrier-free one-piece units exist for new framing; multi-piece low-threshold kits for remodels | Blocking, grab bars and a bench can all be designed in; longer schedule |
| The current shower is leaking | Only after the cause is found and the structure is repaired | Same; a rebuild is the moment to fix the layout too |
| You want to be able to repair, not replace | Scratches can be polished out; cracks usually mean replacement | Tiles and pans can be replaced in sections |
Our honest summary: if you need a working shower in a rental or a seldom-used bath, at the lowest responsible cost, on a short schedule, in a standard alcove, buy a quality multi-piece acrylic kit, set it level on a solid floor, seal it with 100% silicone, and keep the silicone up. If the bathroom is one you will use every day, if the footprint is anything but standard, if you want a niche, a bench, a curbless entry or a particular tile, or if you want a shower that can be repaired in parts, build it in tile with a tested membrane under it. Site conditions, product compatibility and your local building department can change the right method on a given job, which is why we look before we quote.
Deciding between a surround and a tile shower? We will tell you if a kit is the better fit for your bathroom. If tile is, you get a layout built to the room, a code-listed membrane, a sloped base and a flood test before any tile goes on.
Frequently asked questions
Can an acrylic surround be installed over my existing tile?
Liner systems are designed for exactly that, and some click-together panel products are marketed for it. The manufacturer's condition is the same in every case: whatever is behind the old surface has to be sound and dry first. A liner over a leaking shower hides the leak; it does not stop it. If you have any sign of water below or beside the shower, diagnose it before covering anything.
Is a one-piece unit more leak-proof than tile?
A one-piece shell has no seams below the flange, so it removes one failure point. It still depends on a fully supported, level base, sealed fixture penetrations and a properly sealed joint to the wall above. A tile shower built with a code-listed membrane, a sloped base and a passed flood test is also watertight; the leaks we repair come from showers built without those steps. Neither tile nor grout is waterproof, and no one should tell you otherwise.
Does Denver require a permit for either one?
It depends on the jurisdiction and the scope. Replacing a shower in kind, moving a drain, changing a valve or altering framing can each trigger different requirements, and Denver, Aurora, Parker and the county building departments adopt different code editions with local amendments. We confirm the requirement for each address before work starts, and we treat the liner flood test as something an inspector should be able to witness whether or not one is scheduled.
I want tile but my budget says acrylic. Is there a middle path?
Yes. The waterproofing and pan construction are the same in our Essential and Premium tiers; the Essential tier reaches a lower price with standard-format porcelain or ceramic, cementitious grout and standard trims. You can also put the budget where it shows: a simple wall tile with one feature, or a standard glass panel. We would rather build a modest tile shower correctly than an elaborate one with corners cut underneath.
Sources and notes
- Kohler, Installation Guide: One-Piece Barrier-Free Shower Modules (K-12100 series), doc. 1030529-2-B — "One-piece shower modules are too large to fit through standard door openings. Set the module within the installation area prior to the completion of the framing." Level, adequately supported subfloor; floor framing "similar to the framing used in a stairwell"; water-resistant wall material to within 1/4 inch of the module edge.
- Kohler, Installation Guide: Acrylic Shower Receptors (K-9531 series), doc. 1030520-2-B — "This carton will fit through any standard door"; place the receptor before the framing is complete; level subfloor; concrete or gypsum cement may be used to level the base; cover framing and nailing-in flange with water-resistant wall material.
- Sterling (Kohler Co.), Installation Guide: Shower Receptors and Wall Surrounds, 6201/6202 Series, doc. 1020187-2-F — framing plumb and square within 1/8 inch; receptor and walls can be installed directly to studs, over wallboard or other water-resistant material; optional 2-inch mortar bed ("Use mortar", not gypsum cement or drywall compound); clear 100% silicone, not latex or siliconized latex.
- Sterling (Kohler Co.), Installation Guide: shower base and wall set, doc. 1259818-2 — "If the subfloor is not level and access to shim is difficult, install with a 1" (25 mm) to 2" (51 mm) bed of mortar cement."
- Aquatic, Installation Instructions: Remodeline (Sectional Units) — wall sections nailed to studs 8 inches on center; 100% mildew-resistant silicone at every seam, 24-hour cure; "Silicone maintenance and continual upkeep are the homeowner's responsibility"; never use abrasive cleaners; scratched or dull areas restored with automotive polishing compound.
- Kohler, "What's the Difference Between Acrylic and Fiberglass Tubs?" — manufacturer explainer: acrylic is a vacuum-formed sheet reinforced with fiberglass; gelcoat fiberglass is sprayed into a mold; "Fiberglass can lose color over time"; both lightweight; acrylic more expensive to repair.
- Bath Fitter, Frequently Asked Questions — manufacturer claims: "In as little as 24 hours"; liner "installed right over existing tiling"; acrylic "guaranteed for life against manufacturing defects", "subject to limitations".
- Bath Fitter, "The Benefits of a One-Day Bathroom Remodel" (May 18, 2023) — manufacturer's own limits: not the right choice when "changing the layout or moving plumbing and electrical"; damage behind the walls must be repaired first.
- Family Handyman, "How to Install a Bathtub: Install an Acrylic Tub and Tub Surround" (updated Aug. 27, 2024) — one-piece stalls are "usually too bulky to get into an existing bathroom"; most kits are a tub plus three interlocking wall panels; for larger tubs "the manufacturer may ask you to set the tub in a wet mortar bed."
- 2021 International Residential Code, Section P2709 Shower Receptors (UpCodes) — on-site built-up receptors must be lined; lining extends at least 2 inches above the finished threshold; flanged drain.
- 2021 International Residential Code, Section P2503.6 Shower Liner Test (UpCodes) — fill to at least 2 inches at the threshold, hold at least 15 minutes, no evidence of leakage.
- 2021 International Residential Code, Sections R702.3.7.1 and R702.4.2 Wall Covering (UpCodes) — water-resistant gypsum backing board "shall not be used where there will be direct exposure to water"; backers for wall tile and for wall panels in shower areas must be from Table R702.4.2 (glass-mat gypsum, fiber-reinforced gypsum, fiber-cement, fiber-mat-reinforced cement).
- 2021 International Residential Code, Section R307.2 Bathtub and Shower Spaces (UpCodes) — shower walls must have a nonabsorbent surface to at least 6 feet above the floor; applies to any finish.
- Pro Builder, "Traditional Tiled Shower Construction vs. Bonded Waterproof Assemblies" (Dec. 19, 2018) — cement board and fiber-cement board "are water-resistant but not waterproof."
- Houzz, "These Are the Bathroom Styles and Features Homeowners Want Now" (2023 U.S. Houzz Bathroom Trends Study, Oct. 2, 2023) — ceramic or porcelain was the top material for shower walls (82%) and shower floors (61%); marble second at 11% and 15%; 1,921 respondents, fielded July 19 to 27, 2023.
- Hardware Retailing, "4 Bathroom Tiles to Keep Your Customers on Trend" (Oct. 9, 2024) — trade-press summary of the 2024 Houzz U.S. Bathroom Trends Study: "Nearly 9 in 10 homeowners opted for tile when upgrading their shower."
- Houzz Pro, "What's In for Bathrooms Right Now" (2024 U.S. Houzz Bathroom Trends Study, Jan. 15, 2025) — 13% chose a wet-room design; 64% addressed special needs, with aging in place the top priority.
- Slabwise, "Cultured Marble Countertops" guide — secondary source: cultured marble is marble dust or other calcium carbonate filler mixed with polyester resin under a thin gel coat; scratches easily and cannot be resealed once the gel coat is damaged.
- South Denver Tile Experts: Shower remodeling in Denver (project record)
Code references are to the model International Residential Code (IRC). Denver, Aurora, Parker and other metro jurisdictions adopt different editions with local amendments, so confirm requirements with your building division before relying on them. Last reviewed October 26, 2026.